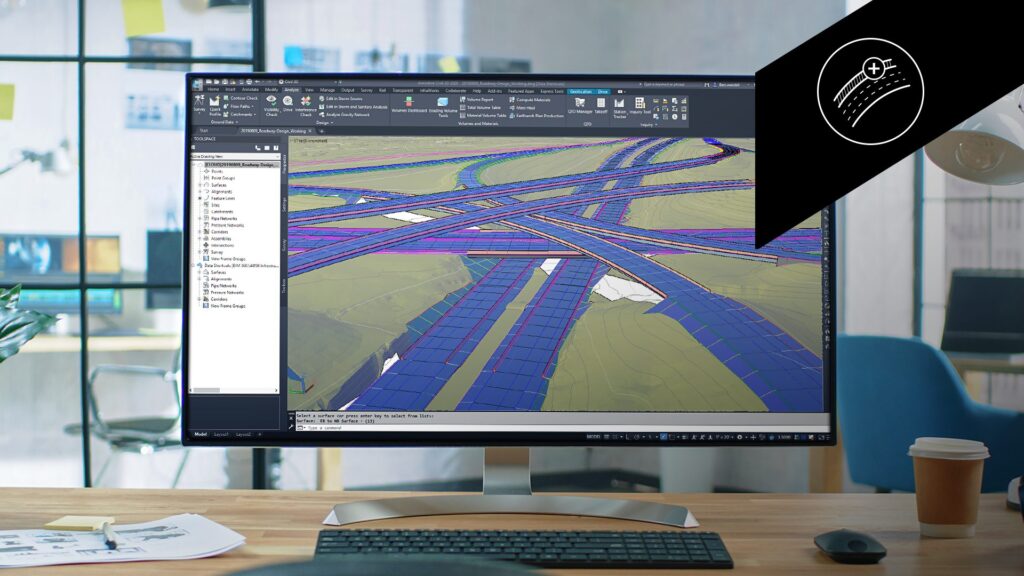
Assemblies and sub-assemblies are the building blocks of roadway design. As road demands become more complex, the ability to detail varied roadway sections is vital for effective transportation infrastructure design and engineering.
Autodesk Civil 3D offers robust tools for designing and customizing subassemblies such as lanes, curbs, and drainage into comprehensive assemblies.
In this fourth part of our series about roadway design in Civil 3D, we explore assembly creation and using the subassembly composer.
Streamline roadway assembly creation
In the Assembly function from the Home tab, designers can create a new assembly, name it, adjust its display settings and select its location on the road.
They can specify properties such as median width, slope, and pavement depth, if they want to create a separated median, for example. Designers can then add lanes as well as shoulders, and calculate superelevation by choosing Lane Superelevation Axis of Rotation (AOR) for the lanes. Naming each part will help manage roadway components in the overall corridor model.
A cut/fill condition can help create elements such as roadside ditches, first specifying the slope and size of section to cut, then inputting parameters (or using the default) for the required fill. Designers can also include retaining walls to support both cut and fill conditions.
For efficient management, it’s good practice to bring up both the properties window and the subassemblies window.
Gain efficiency with time-saving tools
Basic road sections are effectively defined by link-offset-and-elevation assemblies. For symmetrical designs, such as those needing the same lane configuration on both sides of the assembly, the mirror command helps to save time.
To manipulate assembly design, designers can use a mark point. They can connect marked points with other elements using the link-to-marked-point element, such as when drawing a line connecting curb tops.
In components where widths vary, such as a turn lane, designers can use alignments or polylines to control these variations. One method to add a turn lane is by replacing the inside lane. For example, designers can select LaneFromTaperedMedian1, typing replace in the command line, and choosing the lane to replace.
Customize subassemblies with detailed control
In Civil 3D’s Subassembly Composer, designers can create bespoke components by arranging points, links, and shapes. Defining relationships based on offset values, slopes, and distances allows for precise control. Subassemblies can be configured with hardcoded or variable values, providing flexibility in design adjustments.
Subassemblies can also be drawn to target alignment and profiles. By modifying target points, designers can test sub-assemblies, making necessary modifications for optimal performance. The ability to assign materials to each shape further enhances control in design specifications.
Once designers have created a custom subassembly, they can import it into a drawing. They can mirror elements from existing assemblies, integrate custom parts, and define variable values, as well as adjust parameters after the import, ensuring all elements align in the final assembly.
Learn more about roadway design tools
Today’s road infrastructure projects call for smart, multipurpose designs that can adapt to changing needs and adhere to more sustainable construction processes.
Civil 3D’s powerful tools for creating assemblies offer designers unparalleled flexibility and efficiency in precise roadway design.
In the next installment of our learning series, we’ll explore how to bring roadway assemblies, alignments, and profiles into a corridor model.
Catch up on earlier posts in this series:
Catch up on earlier installments:
- Learn How to Design Roadways in Civil 3D, Part 1: Gathering GIS Data and Creating Surfaces.
- Roadway Design in Civil 3D – Learning Series Part 2: Roadway Alignments
- Roadway Design in Civil 3D – Learning Series Part 3: Roadway Profiles
Learn more about Road and Highway Design using Civil 3D as part of the AEC Collection.
