One can only imagine whether Lynn’s vacationing in Vancouver, rollicking in Rio, or lounging in Lucerne. In any case, I’ll take this opportunity to share some more tips with you.
The AutoCAD engineering team every so often hears that, to save list space, AutoCAD layer names should be expandable into layer subsets. There’s merit to the suggestion. But you’ve already got AutoCAD layer groups—a more powerful, often-overlooked feature for managing large numbers of layers.
After you create your layers, you can create layer groups based on function. For example, a layer group might include all the interior furniture layers for a single floor of a multi-story building, or all the layers for the pipeline supports in a specific location.
Creating AutoCAD layer groups is easy. Here’s how they work.
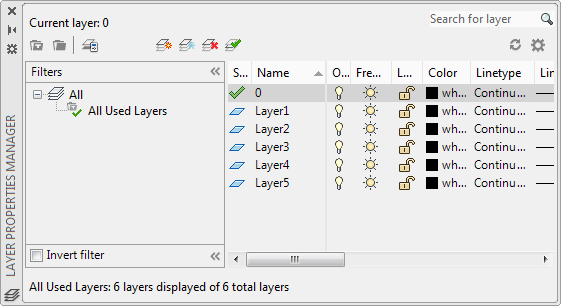
Let’s say I have the following layers defined:
To create a layer group, I click this button …
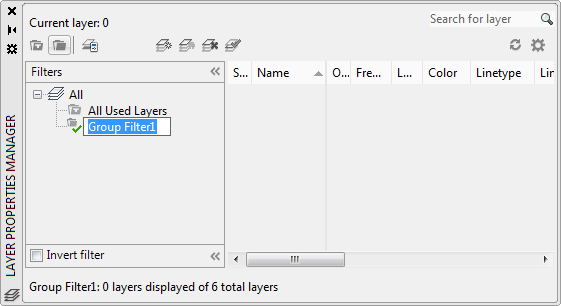
… and name the layer group “Odd.” Next, I’ll repeat the action but name this layer group “Low.”
Both layer groups are empty, so click All to display them. For Low, I click layer 0, press Shift, and then click Layer2. I drag these layers to group Low.
Next, I click Layer1, press CTRL and then click Layer3 and Layer 5, and drag them into layer group Odd.
Now when I click layer group Odd, it displays only those layers in the Layer Properties Manager list, and in the drop-down layer list (including the current layer).
Limiting what’s displayed in the drop-down layer list is a real timesaver when working with complex drawings that have more than 30 layers. It eliminates a lot of scrolling and squinting.
I can right-click the current layer group to change one of the properties of all the layers in that group. For example, I can lock all the layers in the Odd layer group:
Finally, click the Invert Filter checkbox to list all layers except the ones in the selected layer group.
Pretty powerful, if you ask me.
But wait, there’s more!
Bonus tip! Nested AutoCAD Layer Groups
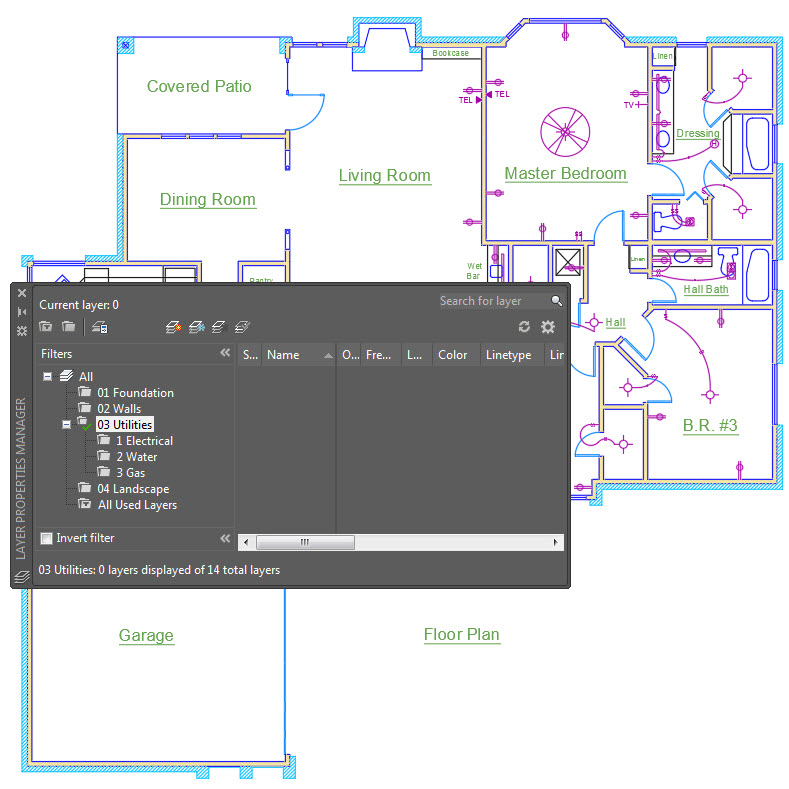
Did you know that you can create nested layer groups? In the example below, I right-clicked the layer group 03 Utilities and created a layer subgroup 1 Electrical. I’m getting ready to create a sub-subgroup under 1 Electrical, perhaps for an alarm system, and so on.
It’s important to remember that layers can belong to any number of layer groups. You can create and delete layer groups with impunity—they will never affect the layers themselves. This also means you can add a system of layer groups to existing drawings.
So any time you find yourself wrestling with a lot of layers, let layer groups come to the rescue!
Note: Layer group names do not sort into any order. When you create a new group, it inserts itself at the letter G (actually, Group Filter1), which is usually not what you want. So, to ensure new layer groups are always added to the end of the list, trust me on this: Name your groups starting with a numeral.
Bonus tip 2! Absolute control of Layer Order
When I create models and illustrations for the Help system or for my home projects, I don’t use nearly as many layers as most of you do—but I am definitely picky about the order of the layers. Here’s the general scheme that I use:
- 000 Reference
- 010 Geometry of one type
- 020 Geometry of a different type
- 030 Text and Dimensions
This scheme locks in my layer order even when I need to add some layers later on. For example, I sometimes need a second reference layer, so I’ll name it 003 Reference and insert it between 000 Reference and 010 Geometry. And so on.
Bonus tip 3! Reference Layers
When I create a 2D drawing, I often create one or more reference layers to check against. That helps me catch errors early on. For 3D models, creating a wireframe as a reference is essential for the same reason. For example, if I’ve already filleted a corner of a solid, and later realize that I need the corner point, I can always turn on one of my 000 Reference layers.
Want to learn more about AutoCAD layers?
If I’ve whet your appetite for more information about AutoCAD layers, pop over to this other AutoCAD Blog post:
AutoCAD Tuesday Tips: The Adventure Continues ….
Last week’s AutoCAD Tuesday tip with Dieter … AutoCAD Cursors — Turn Crosshairs into Windows Pointers
Next week’s AutoCAD Tuesday tip with Dieter … AutoCAD User Interface – Seeing Things Your Way
Can’t wait a week for your next tip? Now you can get 60+ tips all at once when you register to download Lynn Allen’s “best of” AutoCAD and AutoCAD LT tips book.


