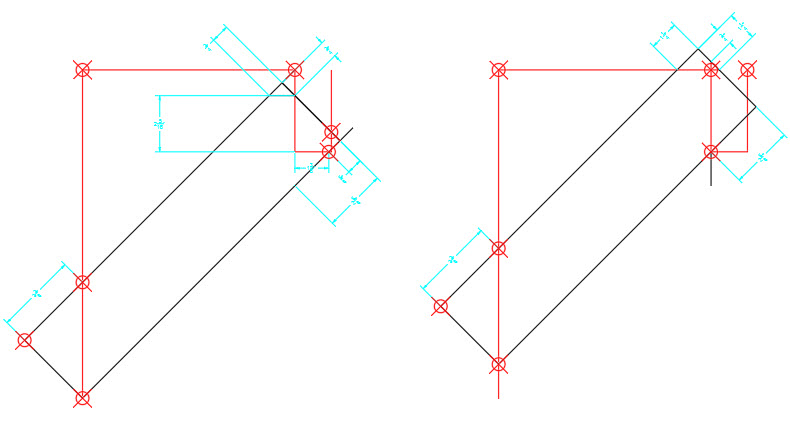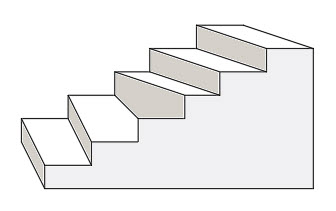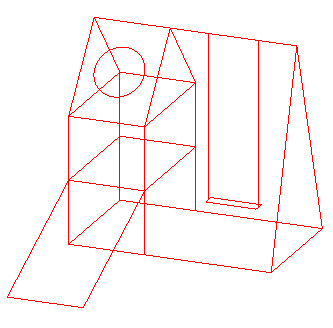
At last year’s Autodesk University, two attendees were telling me how they had to redraw everything they received from the architectural firms they worked with because the drawings were inaccurate and unreliable. Unreliable data means, at a minimum, losing the productivity gained through direct collaboration in AutoCAD. That’s a pity. So how do you ensure AutoCAD drawing accuracy? Look at the drawing below. Does it give you any ideas?
Know how data inaccuracies are introduced
First of all, it’s important to know the source of any inaccuracies. Typical sources include …
 Dumb mistakes. Everyone has a mean-time-between-failure rate. It can be easy to snap to the wrong object or click an intersection instead of an endpoint, not to mention the “What was I thinking?!” errors. Subtle errors are usually harder to find than gross errors.
- Imported PDFs. Using imported PDFs for object snaps and offsets will unavoidably introduce some error due to the way PDFs store data. You can increase the precision of the PDF output—AutoCAD can export PDFs with up to 8,400 dots per inch for vector data—but that still doesn’t come close to matching the double-precision floating-point accuracy maintained by AutoCAD DWG files.
- Externally created geometry. Drawings created by external software, whether as DWG files or in another imported format, might be single precision. Again, this is significantly less accurate than AutoCAD double-precision data.
- The Windows clipboard. Pasting from the Windows clipboard is also only single precision.
Tips to help ensure AutoCAD drawing accuracy
Accuracy errors tend to spread and accumulate within a drawing. Some of the methods for manually checking for inaccuracies include …
 Reference geometry. Dedicate one or more layers to maintain a framework of reference geometry in a unique color. Use the carefully created reference geometry to create other objects and to check your work. Typical reference objects are rectangles, closed polylines, lines, circles, and point objects. This technique is essential for 3D modeling. Point objects have the advantage of specifying a precise location, and you can snap to them only with the NOD (node) object snap. This trick ensures you don’t end up with endpoints that are close but not coincident. For better visibility, set the point style of your choice with the PTYPE command.
- UCS location and orientation. Make sure that the UCS is coincident with the WCS, the ELEVATION command is set to 0, and the THICKNESS system variable is also set to 0.
- Annotation layers. Dimensions and leaders can get in the way, both visually and geometrically, so it’s often advisable to turn off their layers.
- Temporary hides. Use the HIDEOBJECTS command to suppress selected objects that get in the way of object snapping. Use the UNISOLATEOBJECTS command to easily restore them.
- Direct measurement. Check locations and distances with the ID command for coordinates, the Properties palette for selecting and displaying coordinate and length properties, and the DIST or MEASUREGEOM command for distances between objects. Consider displaying the Object Snap toolbar for quick access.
- Decimal places. Use the UNITS command to increase the number of decimal places displayed when using ID, DIST, MEASUREGEOM, and the Properties palette.
- Precision dimension style. For comparing several objects, create a dimension style with the Primary Units precision set to 8 decimal places. Name it something like “Precision,” and use it with the DIM command to spot check distances and angles.
- Non-zero coordinates. Some users report trouble with geometry having non-zero Z coordinates in 2D drawings. While many people use the Express Tool, FLATTEN, I suggest using the QSELECT command to specify the object type. For line objects, specify the Start Z <> 0 to see the extent of the problems, and then correct them directly using the Properties palette without projection. Repeat the process for End Z<>0, and for other object types.
But wait! There’s more!
I asked my long-time colleague and friend, Lee Ambrosius, if he could think of anything else. He added these tips to the list:
- Reduce the size of the object snap target box: Use the APERTURE command to adjust the size of the target box, which is used to specify object snap points. A small target box is better in a complex drawing.
- Reduce unneeded object snaps: Make sure the OSOPTIONS is set to 7, which prevents object snapping to hatches and extension lines nearest the dimensioned objects.
- Control object snaps to underlays with the UOSNAP system variable: A tooltip displays to indicate whether you’re snapping to geometry in an underlay.
- When working with objects very far from the origin of the drawing, relocate the UCS closer to where you are working to help ensure you’re using the proper precision.
Using these tools and techniques, you can be assured of rock-solid, dependable drawing data. If you find yourself checking drawing data frequently, you might also consider third-party tools to help automate the process.
AutoCAD Tuesday Tips: The Adventure Continues ….
Last week’s AutoCAD Tuesday Tip with Heidi … AutoCAD Object Selection Secrets — Shhh!
Next week’s AutoCAD Tuesday Tip with Dieter … Open the Gate — Real-Life AutoCAD Drawing Tips, Part 1
Can’t wait a week for your next tip? Register to download Lynn Allen’s “best of” AutoCAD and AutoCAD LT tips book.


