In my last blog, I showed you how to use the various filtering mechanisms to better manage your layer list in AutoCAD. I wrote a lot about “how” to do it. But other than better managing a large layer list, I wrote little about “why” you would do it. Of course, the answer is probably because you need to either change the visibility of a group of layers or alter their properties.
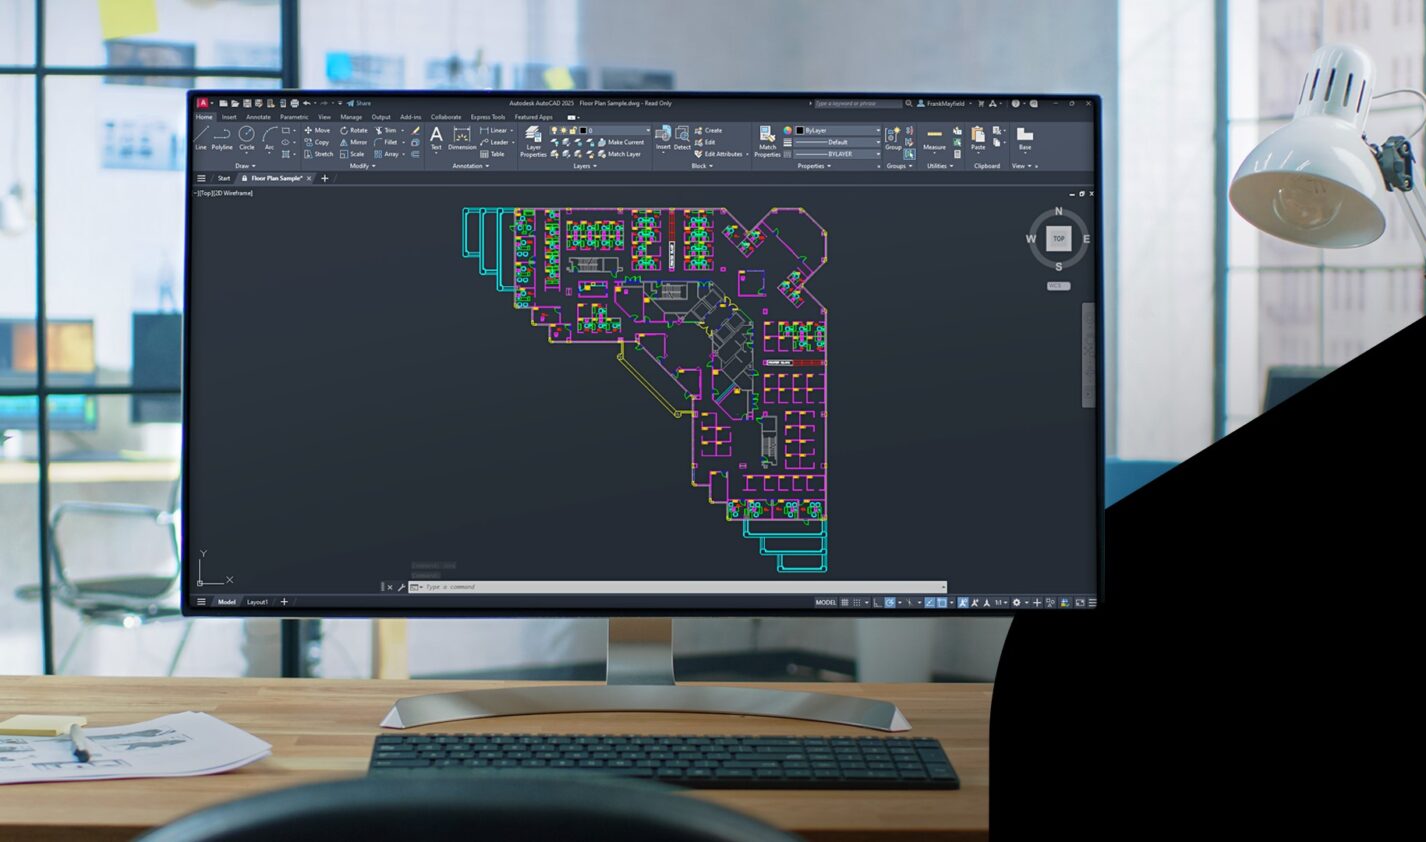
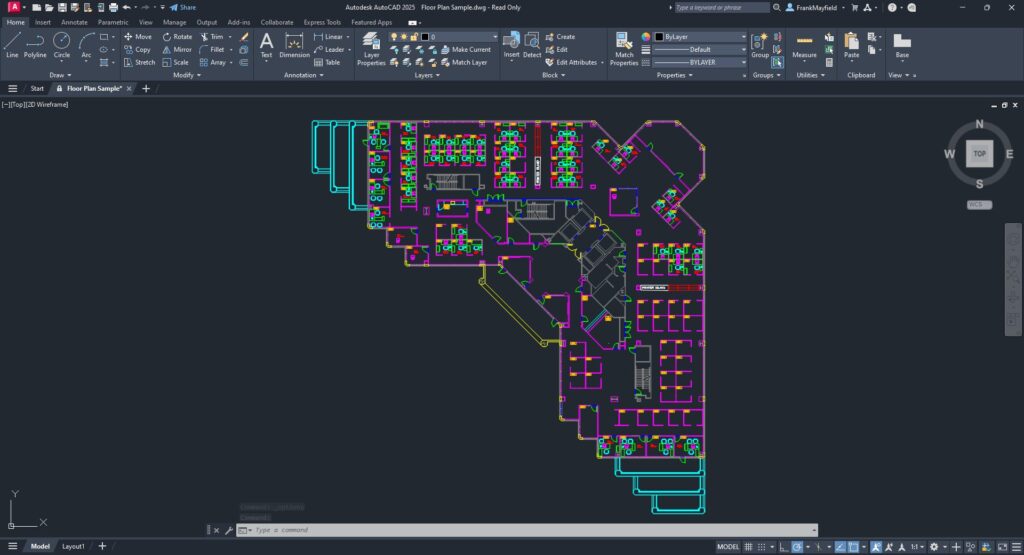
I’ll use the furnished AutoCAD Floor Plan Sample drawing for today’s example. Naturally, everyone’s scenario will be different, but imagine you’re an HVAC designer in an AEC studio. You use the architect’s floor plan as your base file for your HVAC plan. (Granted, you would probably have the structural and reflected ceiling plan, too, but we’re just imagining, remember?)
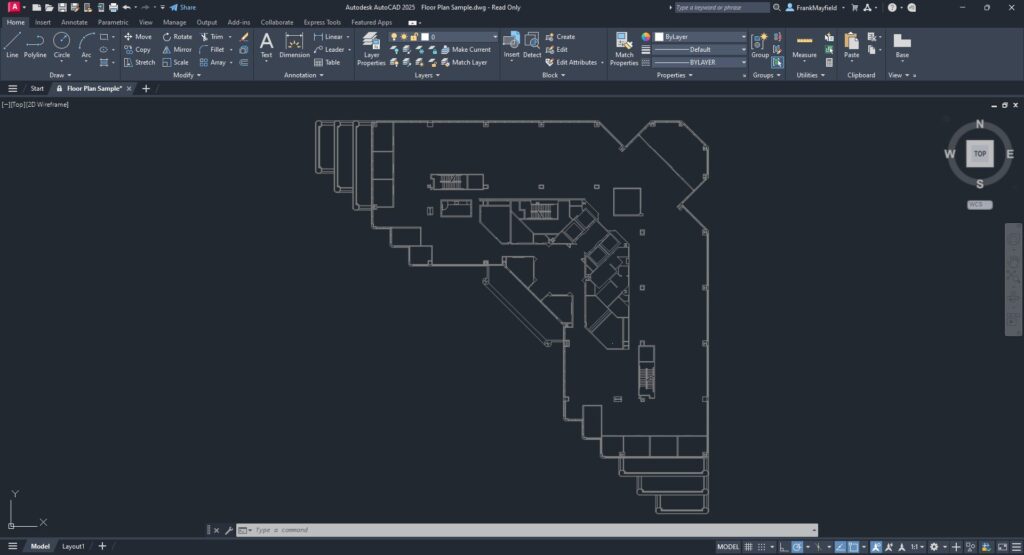
You don’t want all their furniture, cubicles, etc. and your standards say that the HVAC plans should have the walls to be AutoCAD color 8 – or grayed out.
Using various tools, and hopefully, the filter tools we learned about last time, you go about turning things off and changing the necessary layer colors to 8. Now, you have the architectural base layers set for you to start your design. Since you just spent your time performing this task, chances are you don’t want to do it again. That’s where Layer States comes in handy. You can save the current layer settings to a named list within the drawing so that it’s quickly restored if some well-meaning co-worker changes them for you.
OK, since we’re imagining things, what if this was just the first floor of a multi-story building? You can even import these settings into any subsequent floor to design around. Not only will that remove repetition and potential human error, but it will also increase efficiency. More on that in a minute.
Layer States Manager
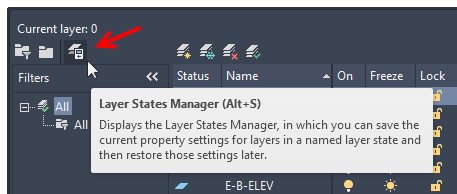
You’ll launch the Layer States Manager dialog from the Layer Properties Manager palette. It’s the third icon in the upper left corner of the palette.
Clicking it will display the Layer States Manager dialog, which is probably empty to begin with. The first thing is to create a new state and give it a name. These steps are probably self-explanatory.
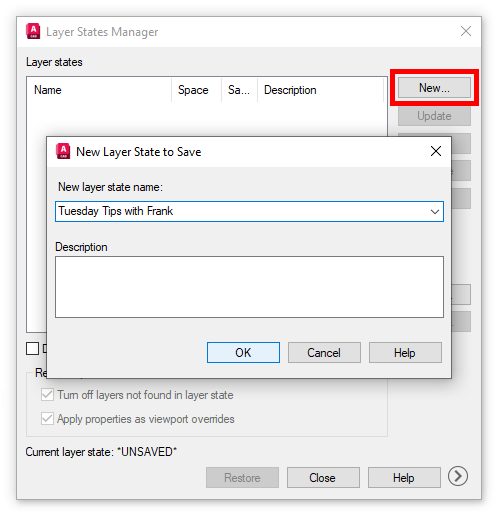
Once you dismiss the New State save box, your state will be listed in the States panel. Think of what you’ve just done as taking a snapshot of your layers’ display and property settings.
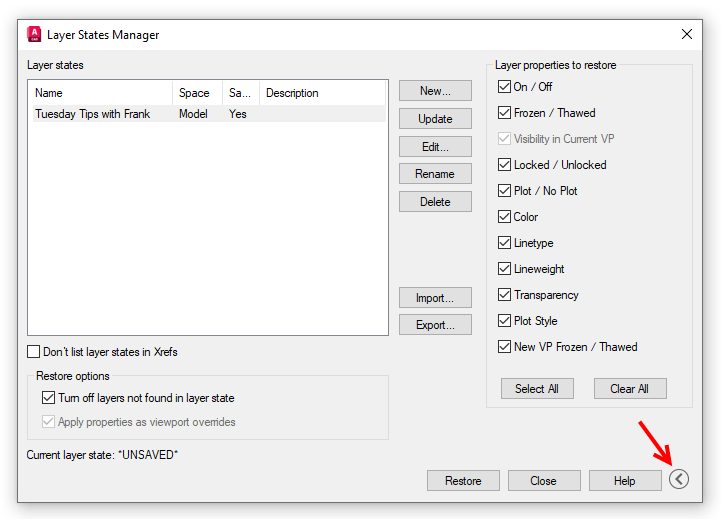
You’ll have a lot of control over what layer settings are restored, but you’ll have to expand the dialog. Click on the chevron in a circle next to the Help button. The dialog will expand, and you’ll be able to set up a custom set of visibility or properties to restore. You can leave the side panel expanded or contracted as you wish.
Once you save your drawing file, the layer state will still be there, waiting for you or someone else to restore its settings.
Importing and Exporting Layer States
Remember the multiple-floor scenario we made up? You can easily export a Layer State to an external file for use elsewhere. Just select the desired state from the Layer States list and click on Export. You’ll get a File Explorer window where you can choose the location for the state. The resultant file will have an LAS extension.
Importing works the same way. You navigate to your file’s location, select it, and click open. However, remember to change your file type pulldown to LAS.
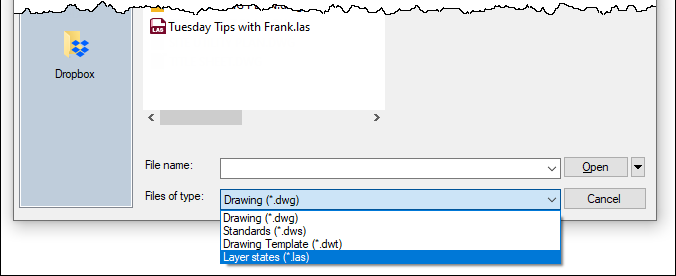
Notice that you have other choices. If you don’t want to go through the overhead of creating an LAS file, you can select a DWG, DWS, or DWT that has at least one state in it. You’ll get a separate dialog allowing you to choose the state you want.
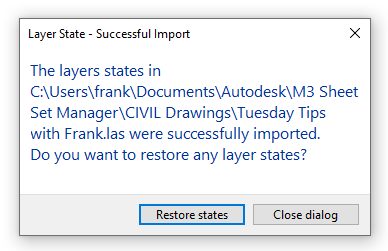
Once the import is successful, you’ll receive a dialog asking if you want to restore the state you just imported. Choose wisely.
Summary
Personally, I like the idea of writing external LAS files. What a tremendous backup opportunity – but that’s the CAD manager in me. In fact, I used to set up Layer States in my project templates so that my users never had to go through the manual process of setting visibility and properties.
Hey, it takes time to set up your layers correctly for your design tasks. But don’t do it more than once if you don’t have to. Save those settings into a layer state and take a moment to write them out to a LAS file. Because if we know anything in our industry, we know that “things” happen.
More Tuesday Tips
Check out our whole Tuesday Tips series for ideas on how to make AutoCAD work for you. Do you have any favorite AutoCAD tips? Tell us in the comments!


