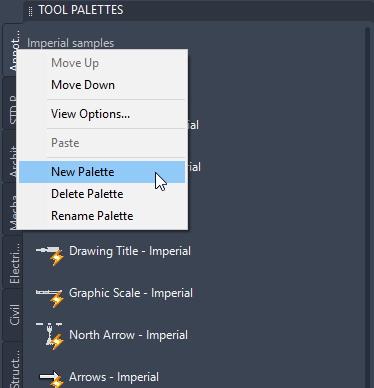
In last week’s Tuesday Tips, I discussed how multileaders are controlled by styles and how you can create custom multileaders to automate your notes. Now, let’s turn our attention to obtaining true automation by adding multileaders to a tool palette.
Although the steps I shared in the previous Tuesday Tips are pretty automated, there’s an even faster way to automate the placement of standard notes for your projects. So, once you have all your notes in your drawing, open up the Tool Palettes palette (press CTRL+3 on the keyboard).
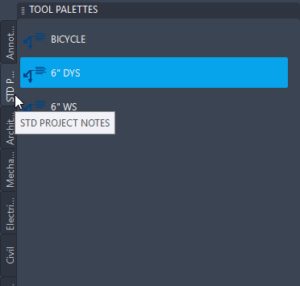
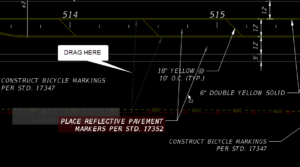
Now, simply drag your notes onto the palette from the drawing. Note: select the multileader and do not pick the grips of the multileader to drag onto the palette. Simply pick and drag the multileader onto the palette.
Now, when you drag the multileader onto the palette, it gives it a name of Multileader. To change the name of it to something that makes sense, simply right-click and choose rename from the shortcut menu.

When you click on the note and place it in your drawing, AutoCAD will ask you if you want to overwrite the default text, and you simply click No to automate the placement of your standard note. The great thing about using the palette is that it doesn’t matter if your drawing contains the layer or multileader style needed for your note, it all gets copied into your drawing. Now that’s automation!
More Tuesday Tips
Check out our whole Tuesday Tips series for ideas on how to make AutoCAD work for you. Do you have any favorite AutoCAD tips? Tell us in the comments!
