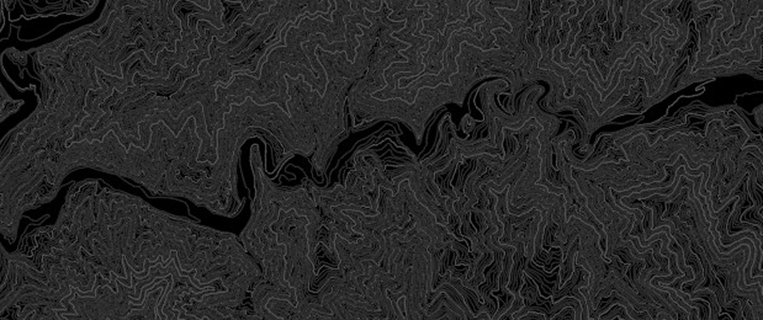
In the second installment of our series on time-saving tools in the Map 3D toolset, we’ll take a look at some additional cleaning up. Be sure to check out the firstarticle that will set you up for success with Boundary Trim.
Boundary Trim
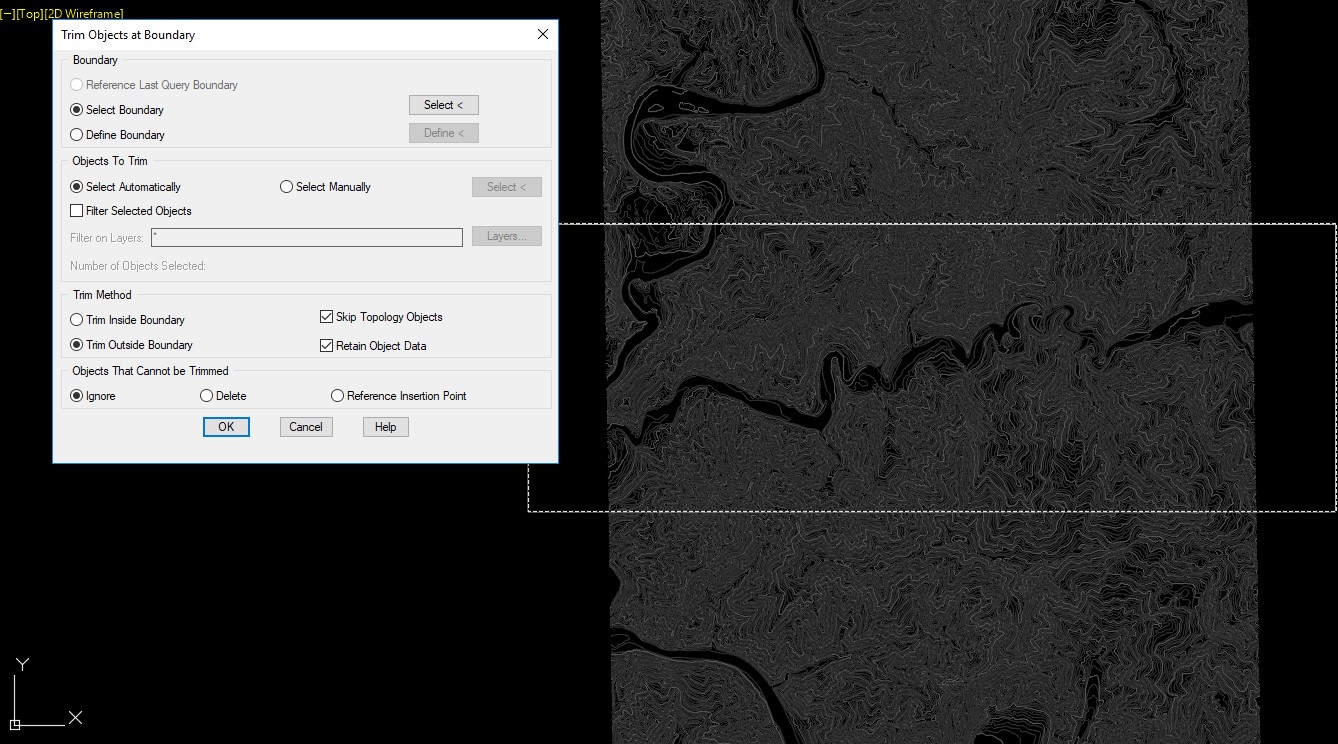
Let’s say in the same file we used in the firstarticle of the series, we only need some of the contour in this drawing—not the entire file. With regular AutoCAD, this would be difficult to clean up. You could create a rectangle, run the trim command, and then select the object as the cutting element. But then you would have data outside the rectangle that you would have to manually erase.
BoundaryTrim to the rescue! This tool is just plain awesome. If you need to “trim out” an entire area of your drawing or trim inside an area of your drawing, this tool does exactly that.
Navigate to the Ribbon: Tools > Map Edit panel > Boundary Trim. This tool is really easy to use. Simply define your boundary manually, or select an object in the drawing. Then simply select the Trim method (inside or outside the boundary), click OK, say Yes to the warning (YES, THIS COMMAND WILL DELETE ALL OBJECTS OUTSIDE THE BOUNDARY!) ……

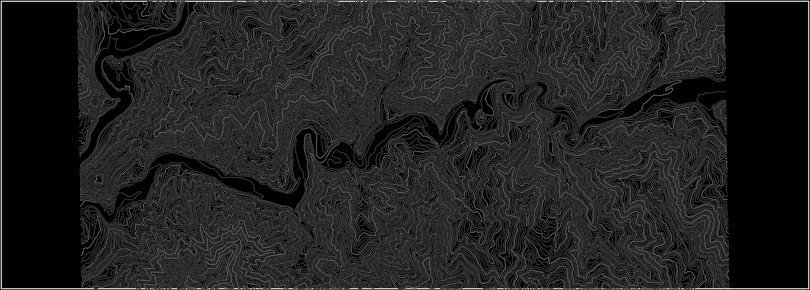
……and, voila, all objects are trimmed outside the boundary.

Now that is awesome!
Stay tuned for the third installment of the “Map 3D Toolset Tools for Regular AutoCAD Objects” series!


