Perhaps you aren’t yet aware of a couple of easy-to-use, time-saving annotation features: Centerlines and Center Marks. Let’s take a look at how these can make a difference right away in your work.
Found in their own panel in the Annotate tab of the Ribbon, they’re about as easy to use as any object in AutoCAD.

Even the icons are smart, as they show you how each one works. Center Marks use Circles and Centerlines designate the center between two lines.
To add a Center Mark, just issue the command and select a Circle. Centerlines take twice as much effort, as you have to pick one line and then (*gasp*) another.
Pretty simple, huh? That saves a lot of time itself, but here’s the cool part. Both objects are associative. So, if you move the circle, the center mark goes with it. Edit its shape, and the center mark adjusts to the new size. The centerline does the same thing.
Consider this scenario (which I’m sure has never happened). You’ve designed a plate with a couple of dozen 1/4” holes in it. The design criteria changes and all those holes are now 3/8”. Prior to these smart objects, this change is cringeworthy. Now? It’s done in seconds with only a handful of clicks.
Make Them Your Own
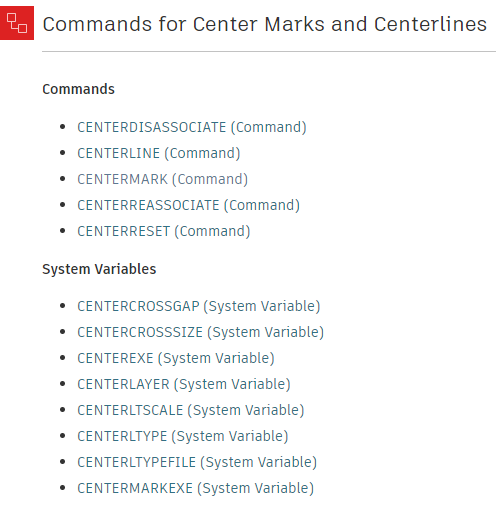
All the aspects of their geometry are controlled with system variables that set things like the extension lengths, gap sizes, etc. Also, if you need to, you can disassociate, re-associate, or reset either type.

Editing these objects is easy also. You can select each object to expose their grips, allowing you to alter their length or positioning.
Should you need to edit more than what the grips allow, all the defining system variables are available from the Properties Palette.
How Easy Is That?
As you’ve seen, using Center Marks and Centerlines is an easy way to solve some potentially painful problems. With just a couple of settings and a couple of clicks, you can save major time down the road.


