How to speed up pattern generation in Autodesk Inventor and reduce file sizes!
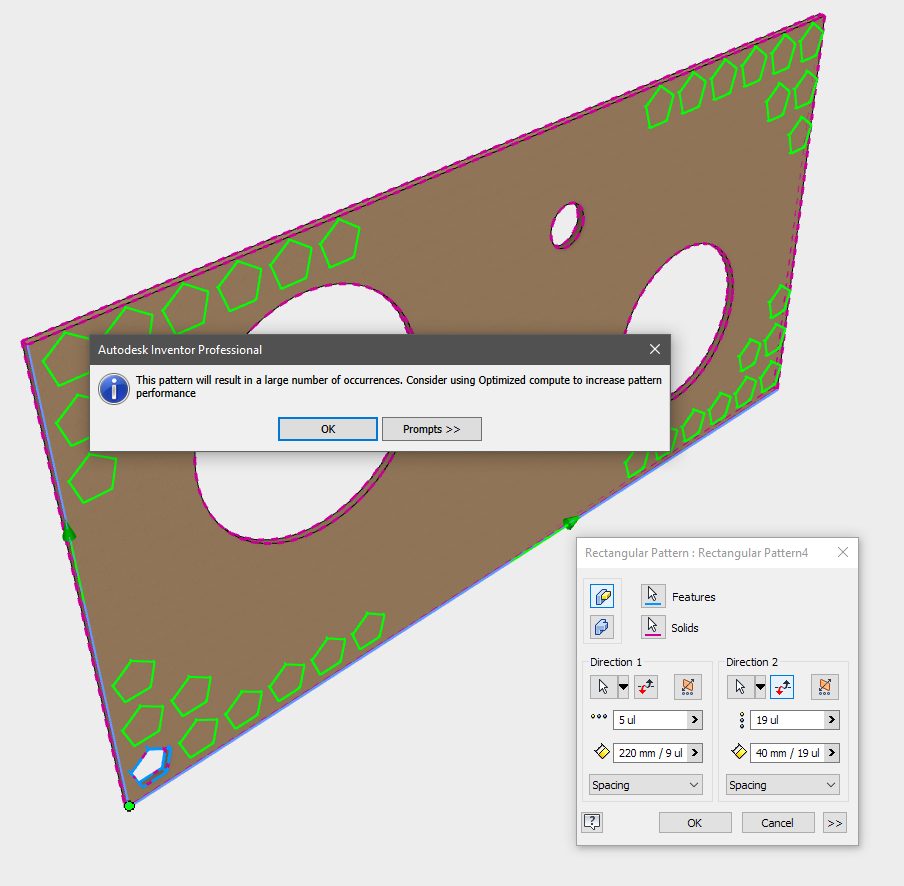
Large patterns in Inventor models can take time to generate and increase file size. Did you ever see this dialogue?

‘This pattern will result in a large number of occurrences. Consider using Optimized compute to increase pattern performance.’
What does that even mean?
This post was first published on the Graitec Blog.
Autodesk Inventor Optimized compute
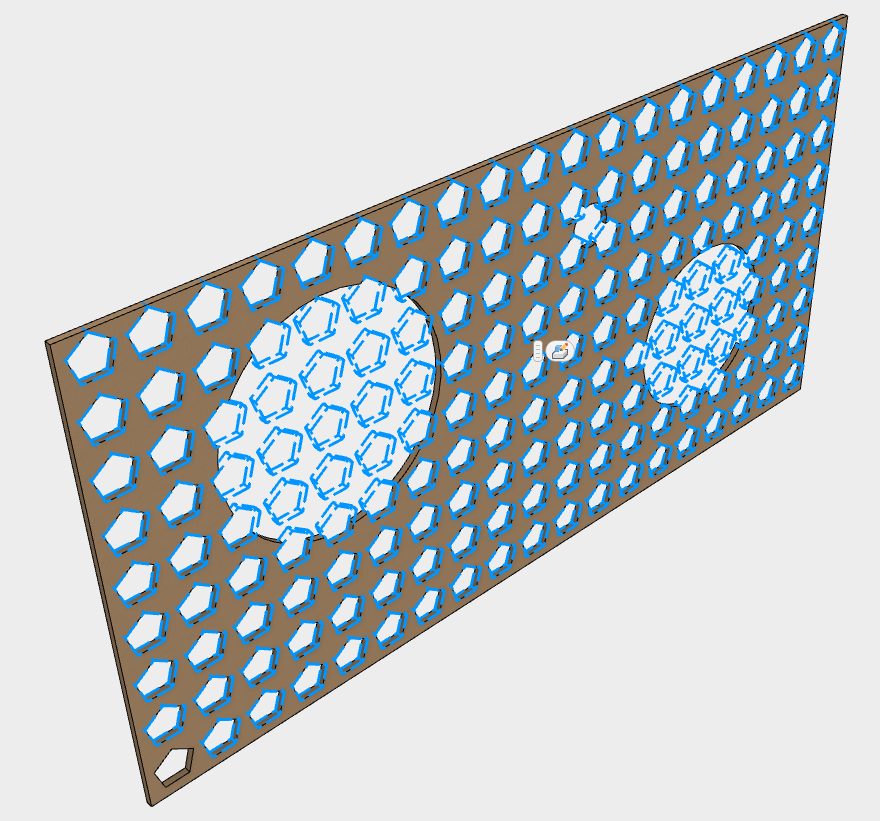
When creating patterns in Autodesk Inventor, Inventor checks every new instance of your pattern to see if it must create new faces.
In the image below, we can see that Inventor will need to calculate new faces where the patterned feature integrates with the body of the part, and it won’t need to create new faces where the patterned feature interacts with a cutout.
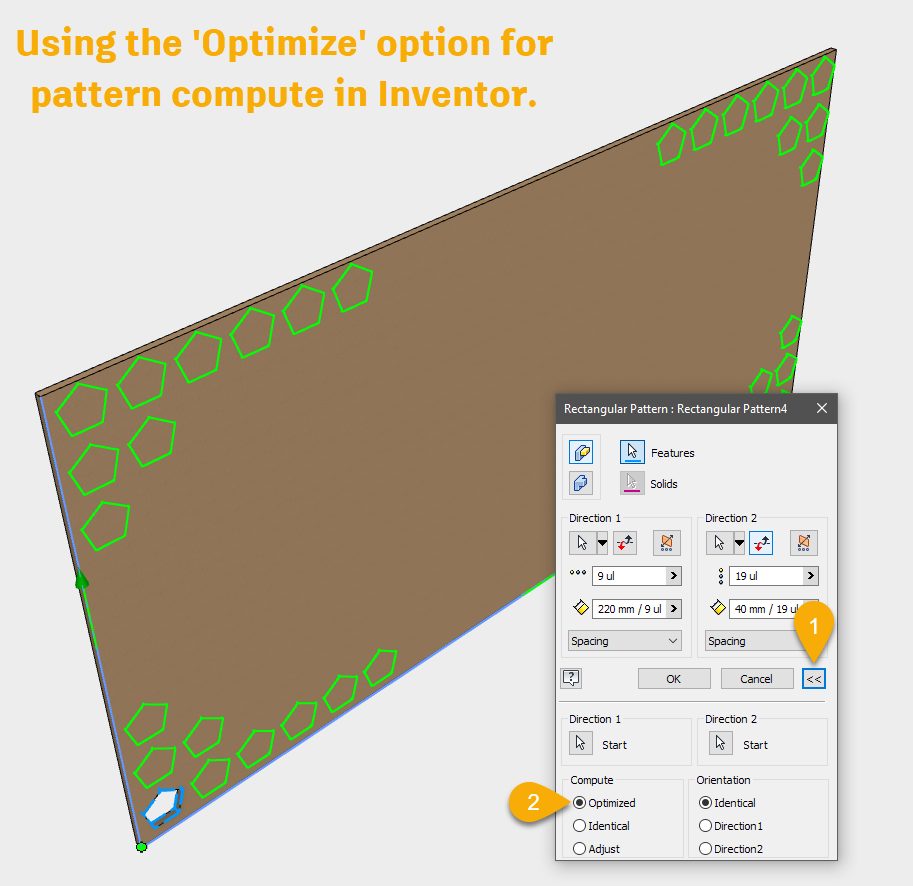
Turning on ‘Optimized compute’ tells Inventor that there are no additional features that the pattern needs to interact with, so it can get on and build the pattern.
To turn on Optimized compute, expand the part feature pattern dialogue by clicking on the ‘>>’ arrow button and select the radial button next to ‘Optimized.’
Here is an Article on the Autodesk Knowledge network with more details.
Warning!
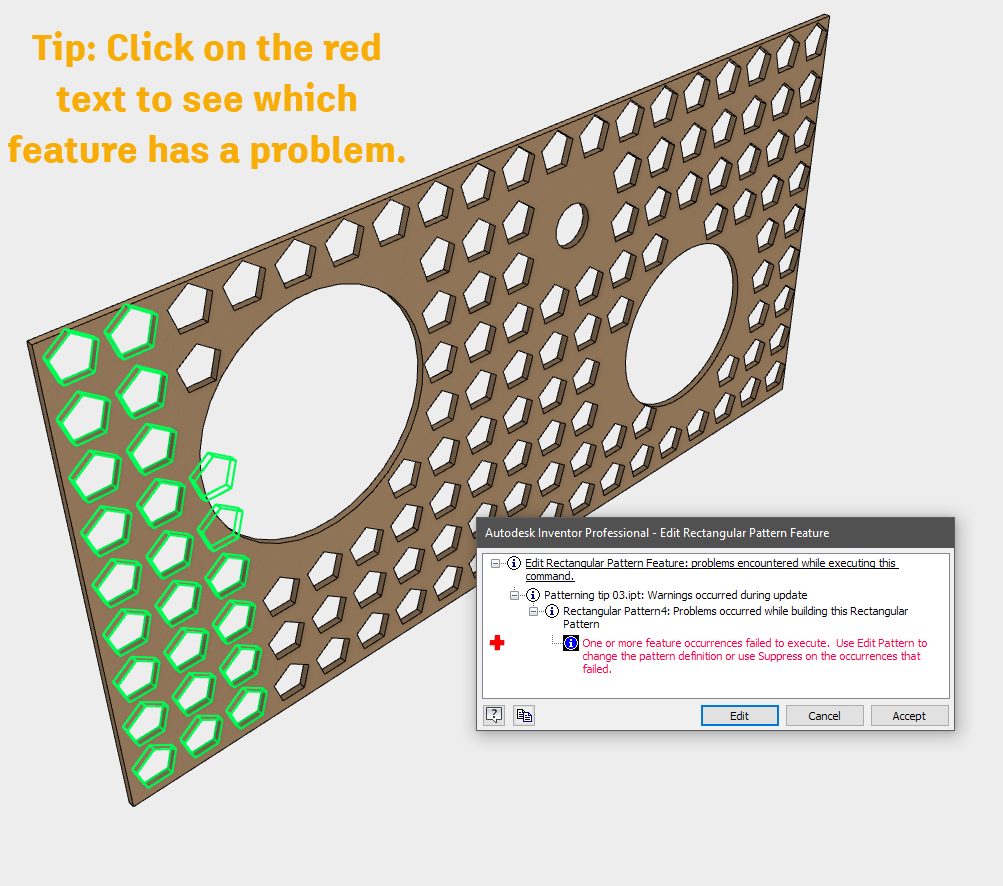
This option will fail if you are patterning over the top of an existing feature. It will work out OK if you create any additional cuts after your pattern.
TIP: If you see an error, In the warning dialog, expand the nodes until you see a node with red text and a red cross beside it. Click on the red text and the problem feature will highlight.
An alternative method
You may get a better result if you create a cut feature as a body, and then pattern the body instead of patterning the cut.
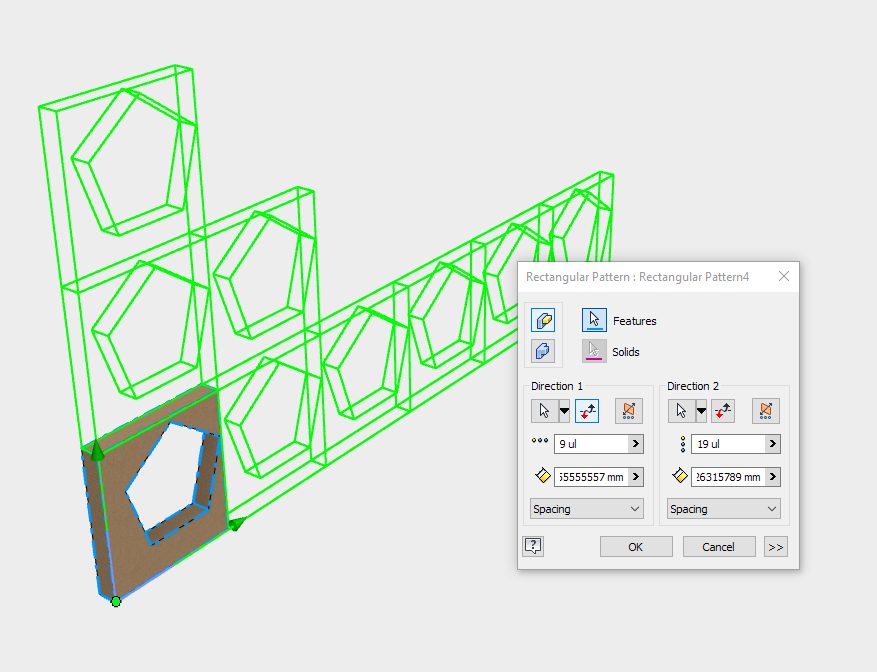
Using this method, Inventor only has to copy the body rather than analyzing the interactions between faces.
Examples
| Workflow | Part file size on disk | Pattern generation time |
|---|---|---|
| Cut first then pattern | 700 KB | 415ms |
| Pattern with optimized compute then cut | 750 KB | 150ms |
| Pattern body then cut | 800 KB | 1430ms |
Conclusion
If you are having trouble with large feature patterns In Inventor taking a long time to compute, giving you large, unwieldy file sizes, or even crashing Inventor entirely, consider changing the order of your features and patterns and try the ‘Optimized compute’ option!