00:00
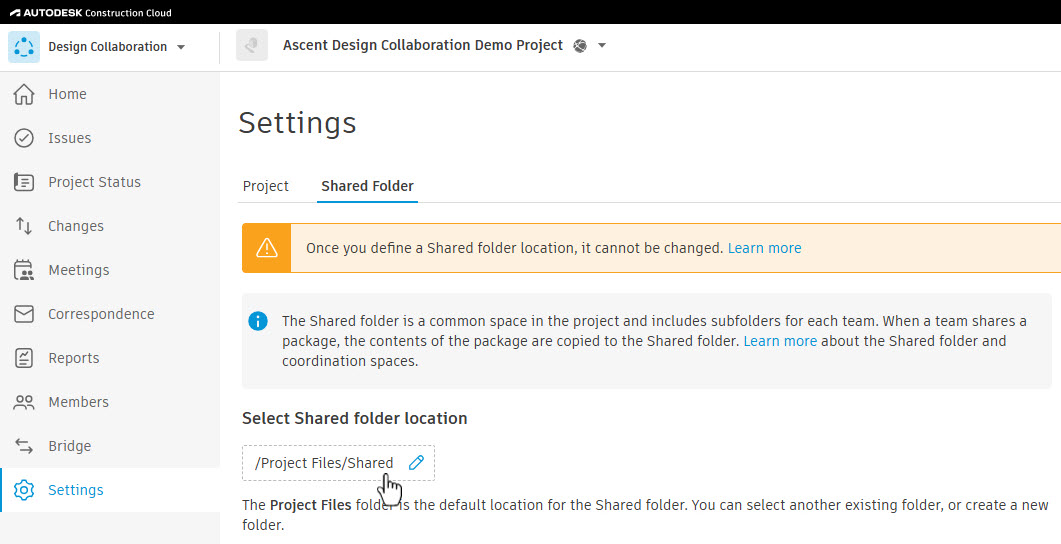
The shared folder in Design Collaboration is created and serves as a
00:04
common location within the project, containing sub folders for each team.
00:10
When a team shares a package,
00:12
its contents are copied into the relevant shared folder.
00:16
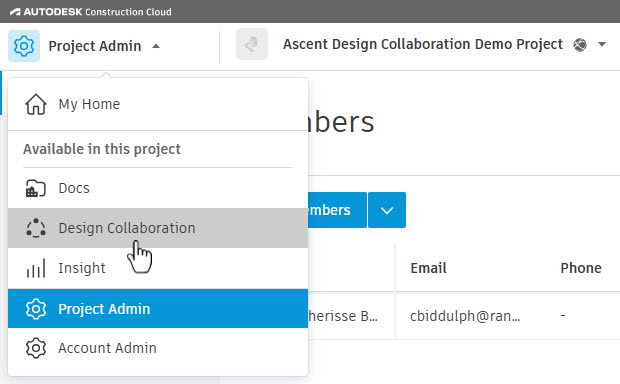
In Autodesk Construction Cloud,
00:18
select the Design Collaboration product from the menu
00:21
in the upper left corner.
00:24
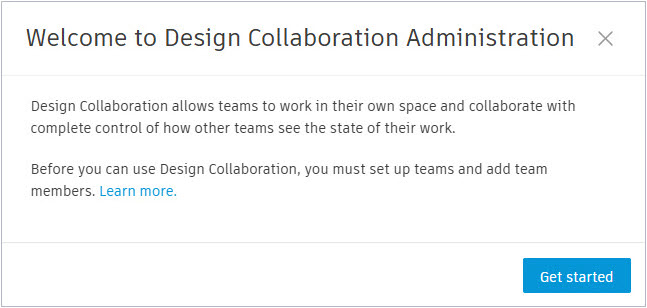
You will be directed to the settings tool, shared folder tab.
00:29
You must complete the shared folder setup before team
00:32
members can use the projects design collaboration product.
00:36
In the Welcome to Design Collaboration administration dialog box,
00:43
In the select shared folder location,
00:45
you can either accept the default folder
00:48
called Shared within the project files folder location,
00:51
or you can specify a different folder by clicking on the pencil icon.
00:57
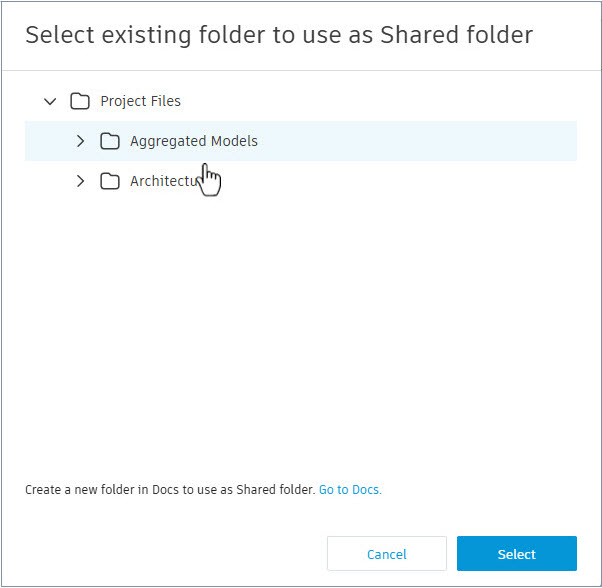
In the Select existing folder to use as shared folder dialog box,
01:02
expand the project files folder to select a folder.
01:07
If you want to create a folder,
01:08
click Go to Docs, to create a folder to use as a shared folder.
01:14
Once you select the folder, click Select.
01:18
If you want to return to the default, click
01:21
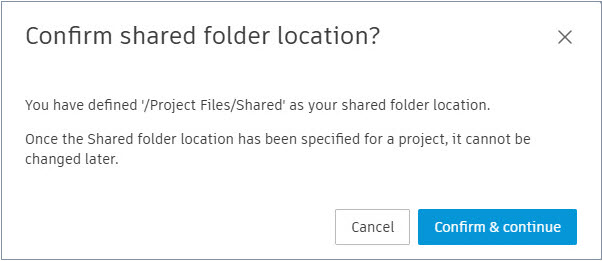
Use default location under the select shared folder location.
01:26
It is important to understand that you cannot change the shared folder location
01:31
once you move to the next step.
01:34
In the lower right corner, click Next
01:37
and in the confirmed shared folder location, dialog box, click
01:40
Confirm and continue.
01:43
You are taken to the team setup tab where you can create team folders.