00:01
Project administrators can manage teams by deleting or deactivating them,
00:06
removing associated docs folders,
00:09
removing team members, and editing permissions.
00:12
They also oversee the main model in DWG file support.
00:18
To deactivate a team,
00:20
in the Design Collaboration product,
00:22
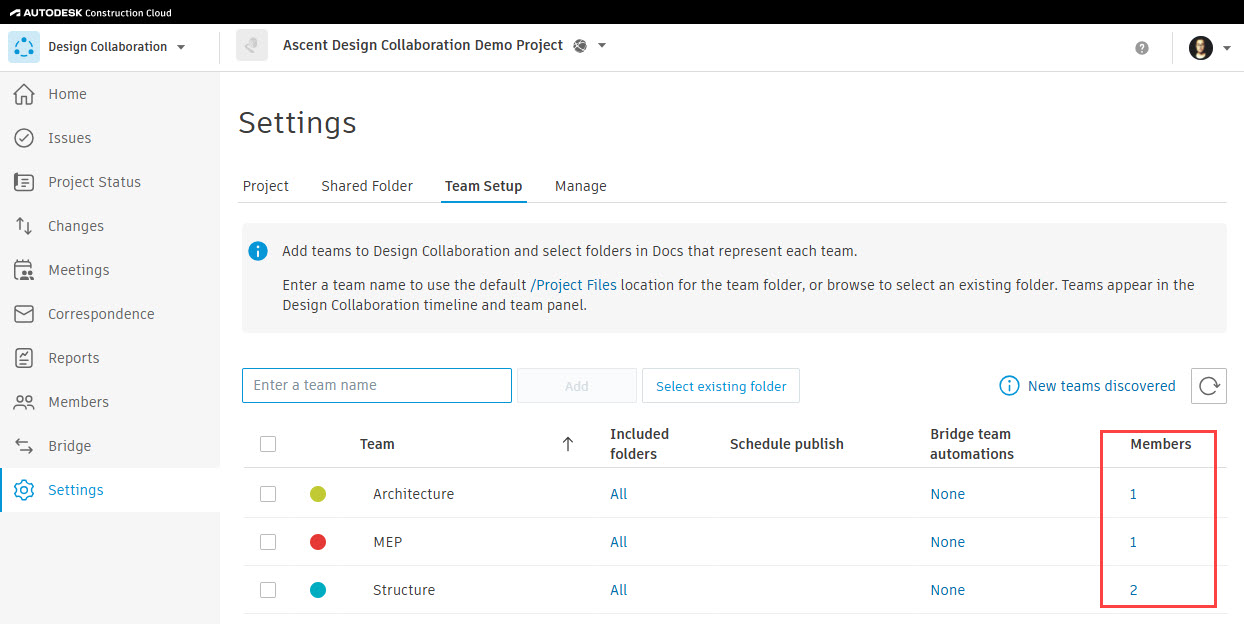
click the settings tool and select the team's setup tab.
00:27
Check the check box next to the team name and at the bottom of the team list,
00:31
click deactivate team.
00:35
In the deactivate team dialog box, click deactivate.
00:39
Notice that the team is grayed out and cannot be accessed.
00:44
To activate the team,
00:46
check the check box next to the team name and at the bottom of the team list,
00:50
click activate team.
00:53
The team is no longer grayed out and can be accessed.
00:59
check the check box next to the team name and at the bottom of the team list,
01:06
In the delete team dialogue box, check the check box
01:09
if you want to delete the team folders and the team shared folder along with the team,
01:17
Notice that the team no longer displays in the list of teams.
01:21
Let's look at how to edit permissions or remove a team member from a specific team.
01:27
Click on the number in the members column for the team you want to manage.
01:32
Alternatively, you can check the check box next to the team name
01:36
and click manage team members at the bottom of the team list.
01:41
In the manage members dialogue box,
01:43
click on the member's permission level to expand
01:46
the options and select a permission level.
01:49
You can also remove the member by clicking remove.
01:53
In the remove permissions dialogue box, click yes remove.
01:58
When finished, click close.
02:01
Now we'll look at how to set the main model for the project.
02:05
Click on the manage tab.
02:08
In the main model section, expand the select menu and select the model.
02:14
The manage tab is also where you can change the DWG
02:19
Toggle on DWG support
02:23
files to be viewed and used in the team space.