Modifying ducts fitting to fitting in Revit
Fittings to fittings - Exercise
Task 1: Identify interferences
- Open the practice file 001-Small Medical Center-Fittings.rvt.
- Open the 01 Ground Floor HVAC Plan.
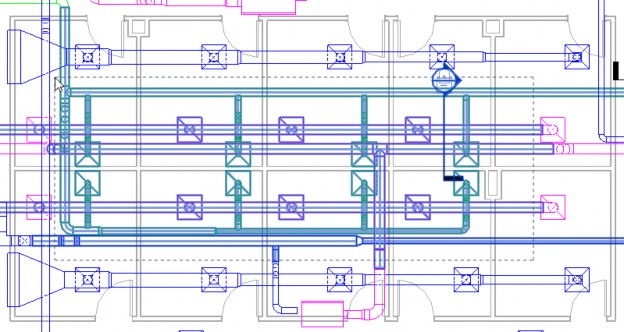
- Create a crossing window around the elements shown below, focusing on the exhaust and return air ducts.
- In the Collaborate tab > Coordinate panel, expand Interference Check and click Run Interference Check.
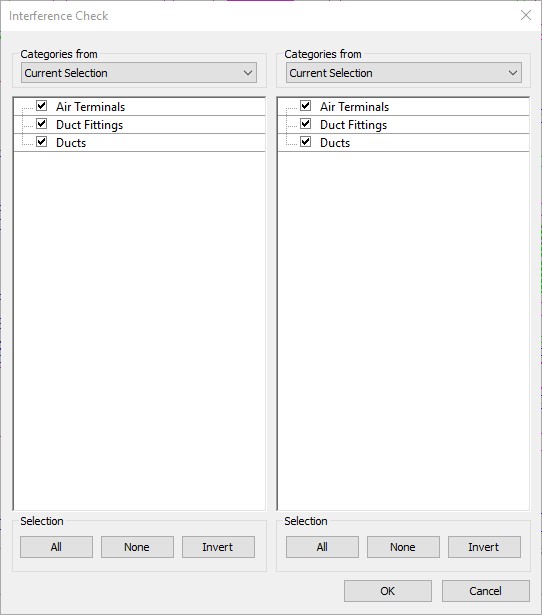
- In the Interference Check dialog box, you can see that you are going to check the categories selected, as shown below. Click OK.
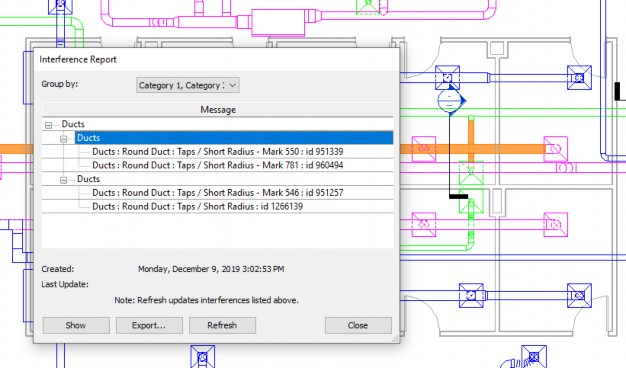
- The number of interferences that display depends exactly what elements you selected. The one we want to work on now is shown below.
- Save the project.
Task 2: Correct the interferences by placing fitting to fitting
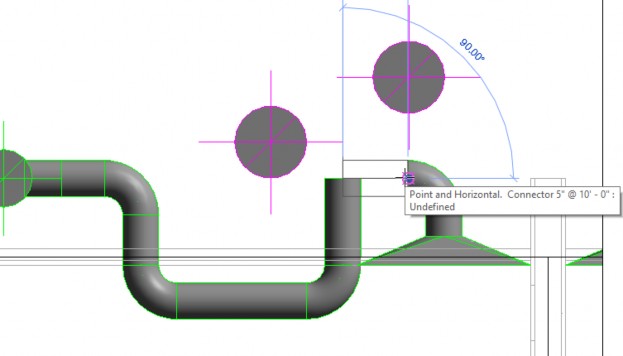
- Double click on section near the intersection of the interferences.
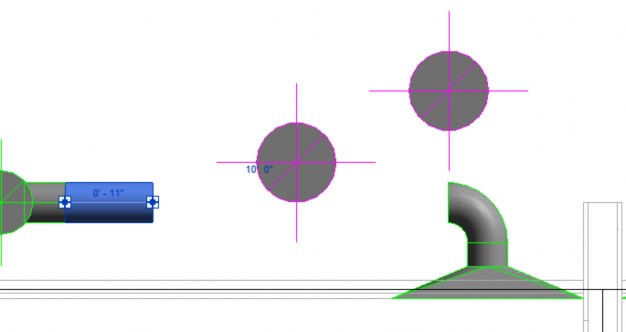
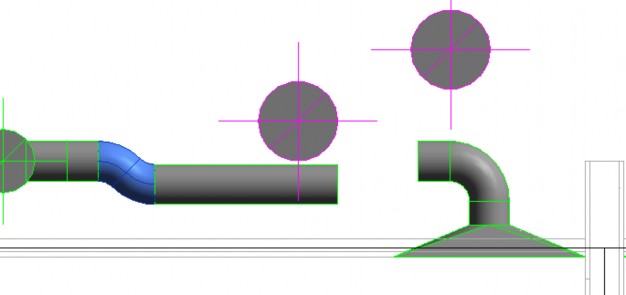
- Select the exhaust duct and drag it back away from the elbow connected to the air terminal.
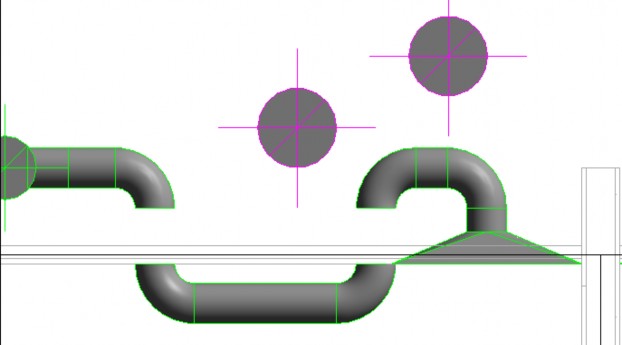
- Draw duct down, over, and up to reconnect the duct to the fitting, while avoiding the return duct, as shown below. Don't worry that it is below the ceiling. You need to have enough room for the fittings to automatically be applied.
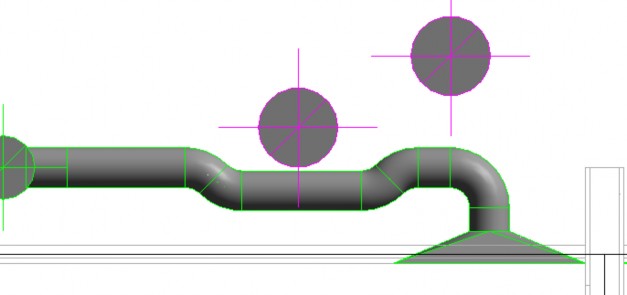
- Click Modify and remove the duct segments shown below.
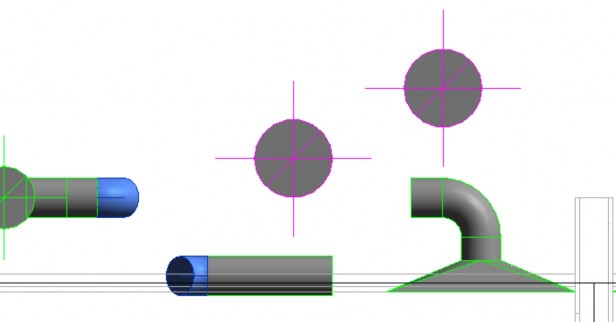
- Drag the connector of the fitting to touch the other fitting, as shown below.

- You can see that there is still not quite enough room. So, we need to replace the 90° fittings with ones that are 45° degrees.
- Delete all four of the elbow fittings.
- In the Systems tab> HVAC panel, click Duct Fitting.
- In the Type Selector, select Round Elbow: 1 D.
- In Properties, verify that the Angle is set to 45°.
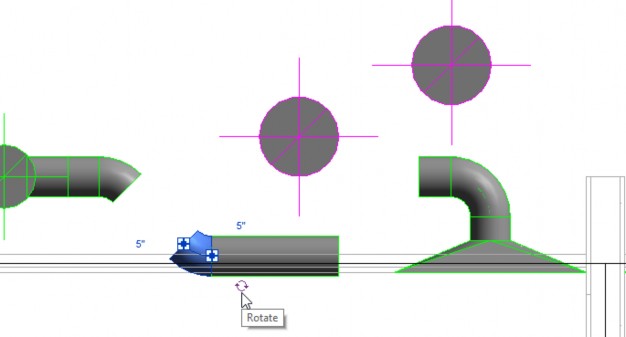
- Add a fitting to each end of the ducts on the left, as shown below. They are still not in the right rotation.
- Select each fitting and use the rotate control to get them to place, as shown below.
- Drag the lower elbow up to meet the upper elbow, as shown below.
- Mirror the two elbows to the other side and drag the connections around as needed. The final example is shown below.
- Save the project.


