To explore the Autodesk Insight application, an Energy Analytical Model is required. To create one, you will create a simple mass model in Revit representing a rectangular four-story office building. You will also create a five-story L-shaped building as a second option.
- Start a Revit model using the Imperial Multi-Discipline template that comes with Revit.
- Switch to the default 3D view by clicking Default 3D View on the Quick Access toolbar.

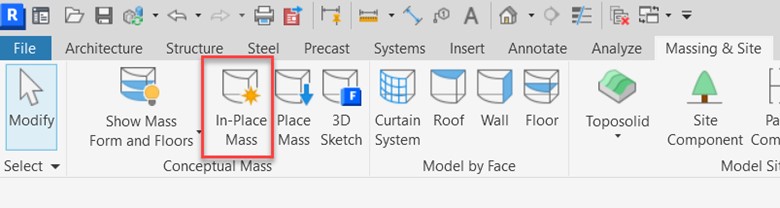
- In the Massing & Site tab>Conceptual Mass panel, click In-Place Mass.
- Revit will enable the Show Mass mode, which is fine. Click Close.
- Name the new mass model Option 1 and click OK.
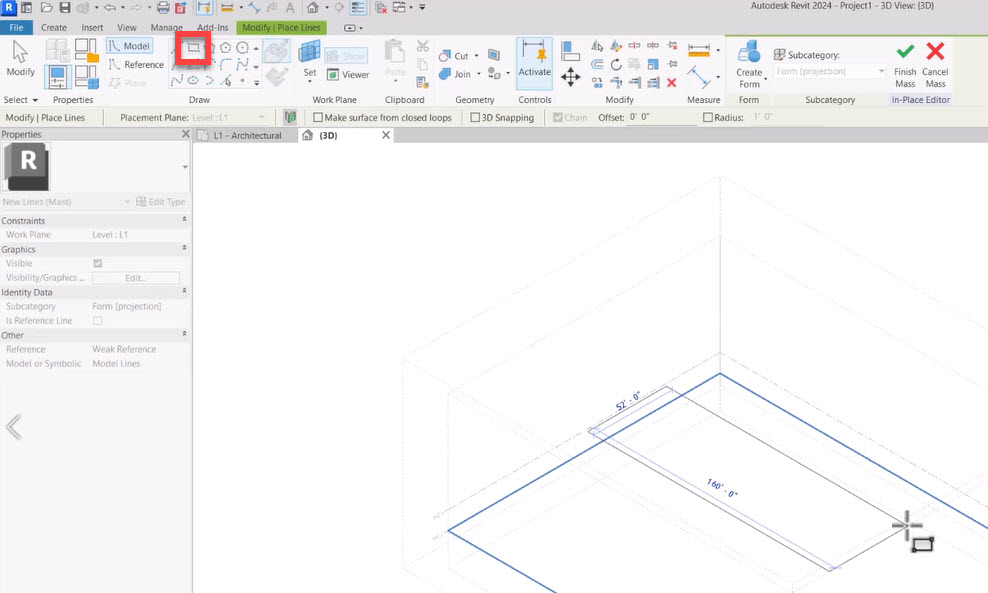
- The basic shape of the office building will be rectangular, approximately 50' wide x 160' long. In the Modify | Place Lines tab>Draw panel, select Rectangular and sketch out a rectangle with those approximate dimensions, as shown below.
- In the Modify | Place Lines tab>Form panel, select Solid Form from the Create Form drop-down list, as shown below.
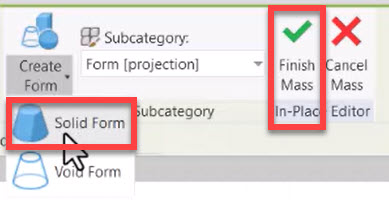
- Revit uses 50' as the default height, which is too tall. Enter 45' as the height of the form.
- In the Modify | Place Lines tab>In-Place Editor panel, click Finish Mass (as shown above) to save the mass form. The template used to create this file only has two levels set; you need to create two more.
- In the Project Browser, set the Elevation North – Architectural view as current.
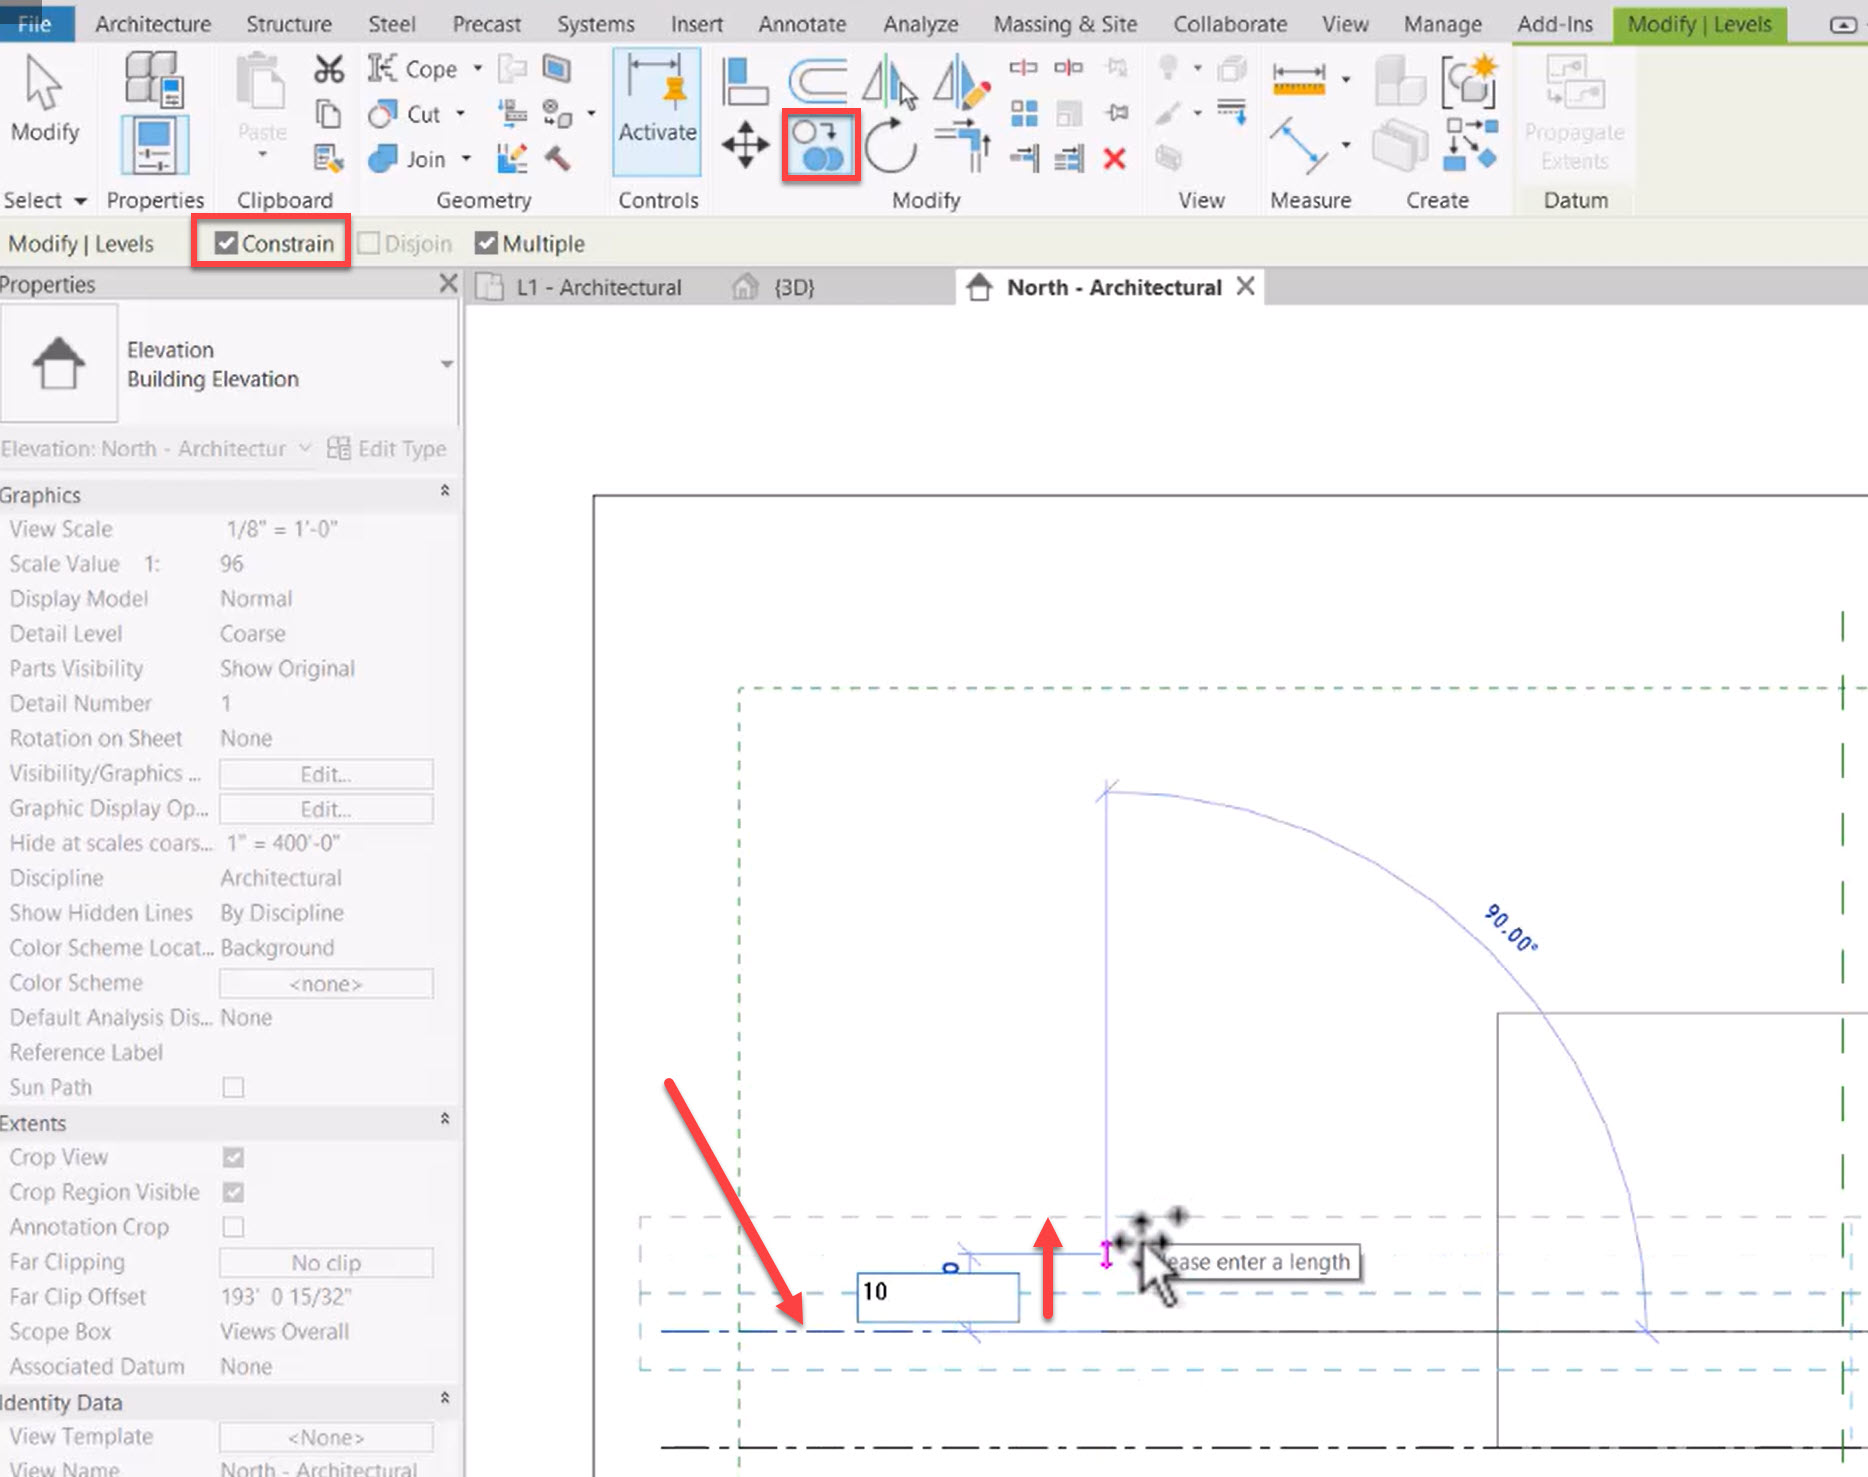
- Select the L2 level, and in the Modify | Levels contextual tab>Modify panel, select Copy.
- Ensure the Constrain option is toggled on in the Options Bar, and in the model area, point upwards for the direction.
- Type 10' for the distance, as shown below.
- Point upwards once again for the direction and type 10' for the distance to create the fourth level.
- Click Modify or press <Esc> to finish the Copy command.
- Note that the level markers for L3 and L4 are black, which means there are no corresponding plan views for those levels, as shown below.
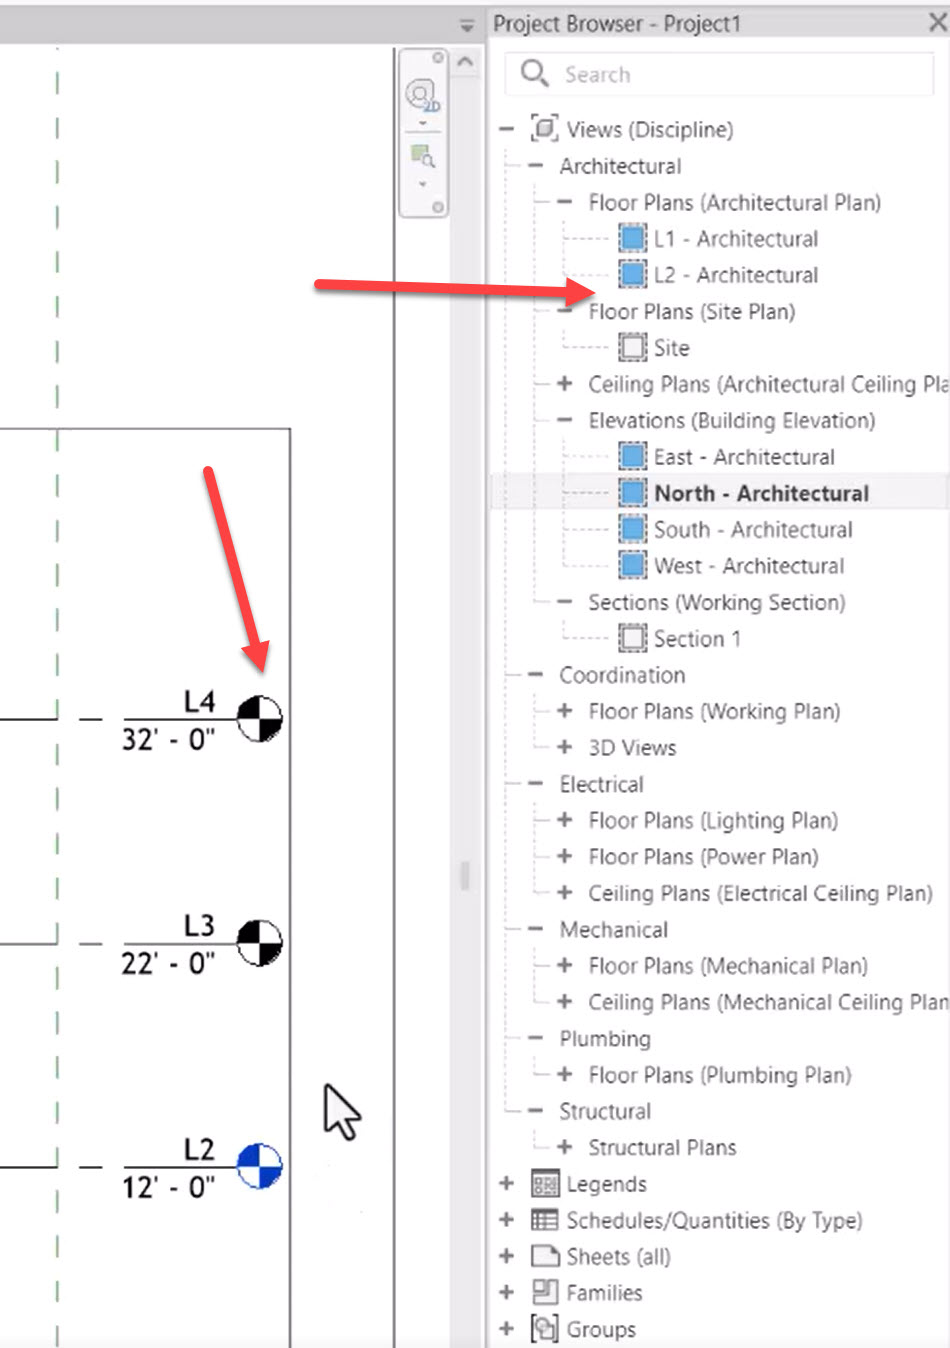
- In the View tab>Create panel, in the Plan Views drop-down list, select Floor Plan.
- Select L3 from the New Floor Plan dialog box’s list to create a plan view for L3.
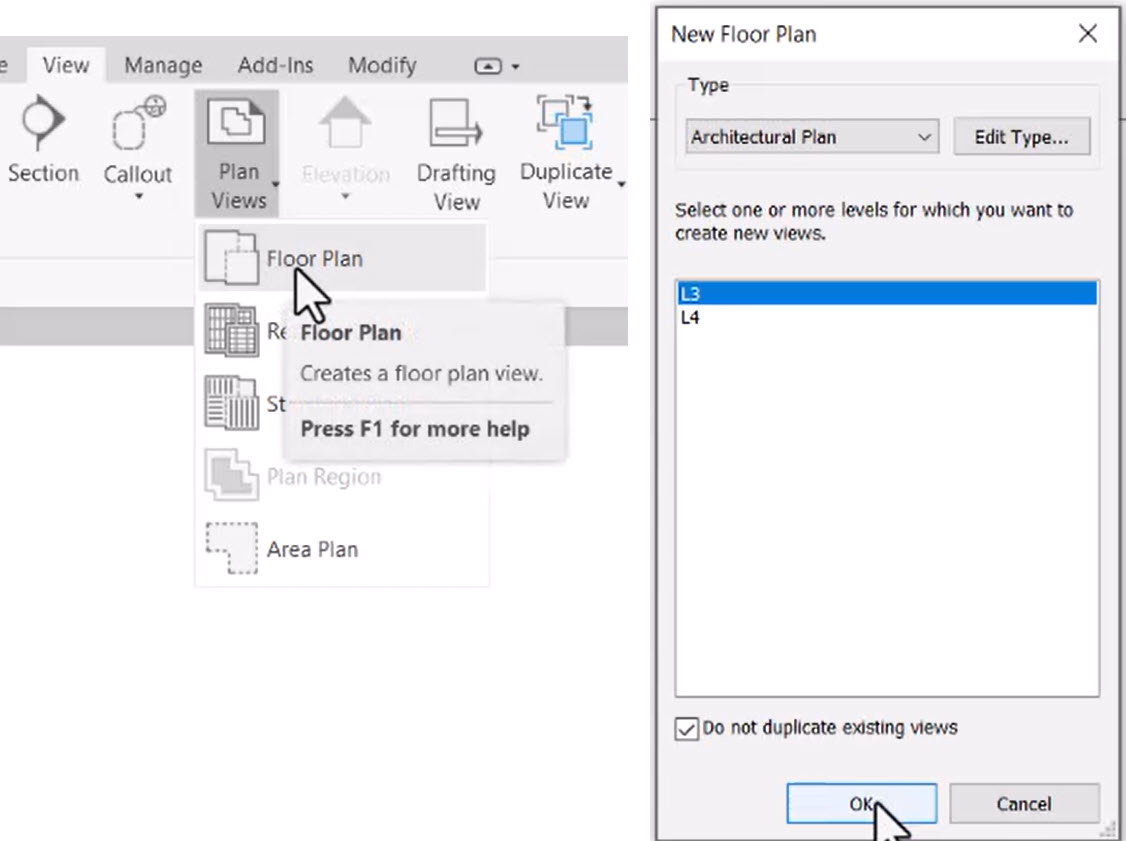
- Repeat the process to create a plan view for L4.
- Save the file as Option-1.
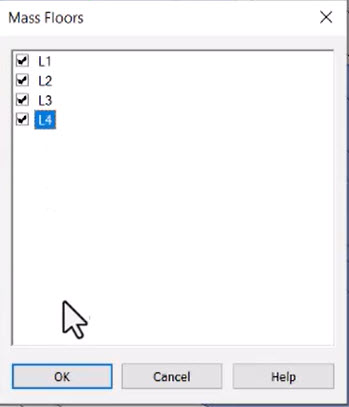
- To generate floor plates within the massing model, select the mass and in the Modify | Mass contextual tab>Model panel, select Mass Floors.
- In the Mass Floors dialog box, select all four levels.
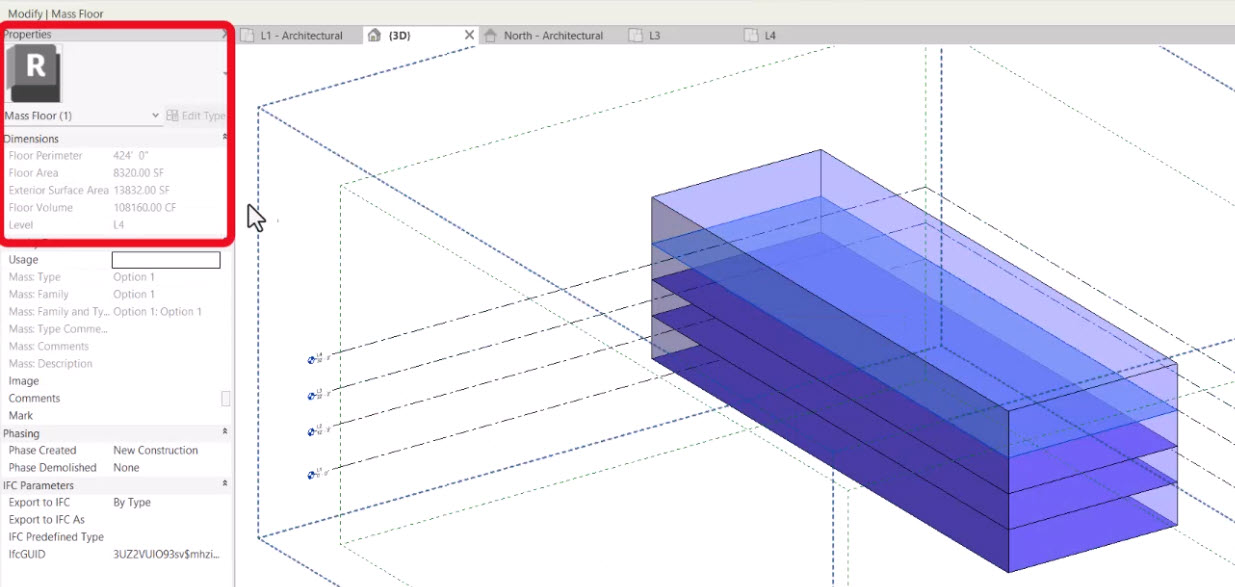
- To see the floor plates better, change your visual style to Shaded.
- Select one of the mass floors and note the details of the floor in the Properties panel, as shown below.
- Autodesk Insight needs to know the location of the proposed building to be able to properly calculate the energy consumption. To do this, go to the Manage tab>Project Location panel and select Location.
- In the Project Address area of the Location and Site dialog box, type Allentown, PA.
- Select the first choice that appears in the map.
- Expand the Location and Site dialog box, and drag the location marker near the West End, as shown below (accuracy for this is not essential). You could also type in the physical address.
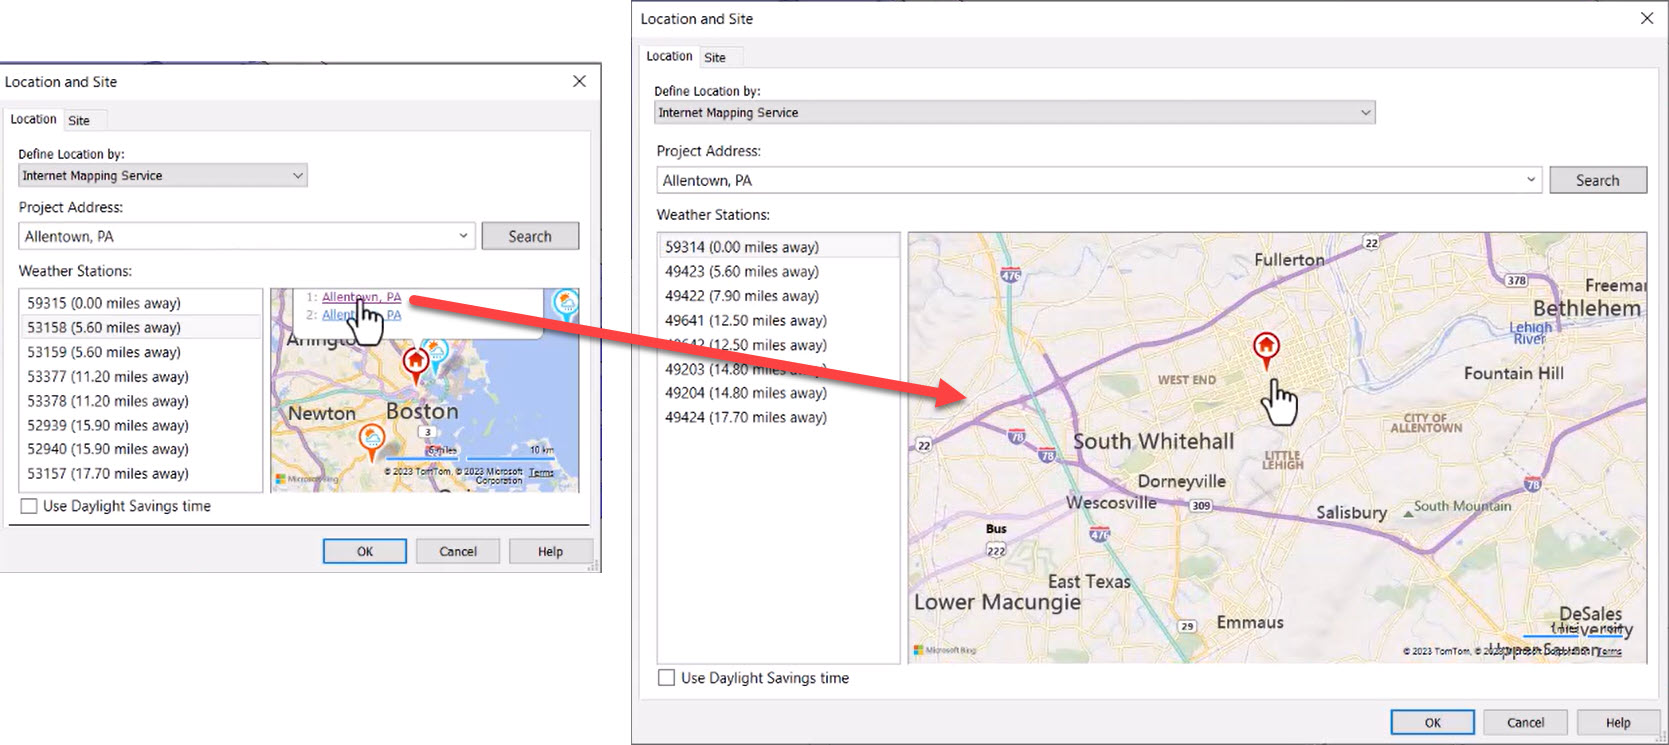
- Click OK to set the location and close the Location and Site dialog box.
The model now has all the information required for the Autodesk Insight analysis.
Optional Task: Create Option 2
- Create another Revit mass model and name it Option 2.
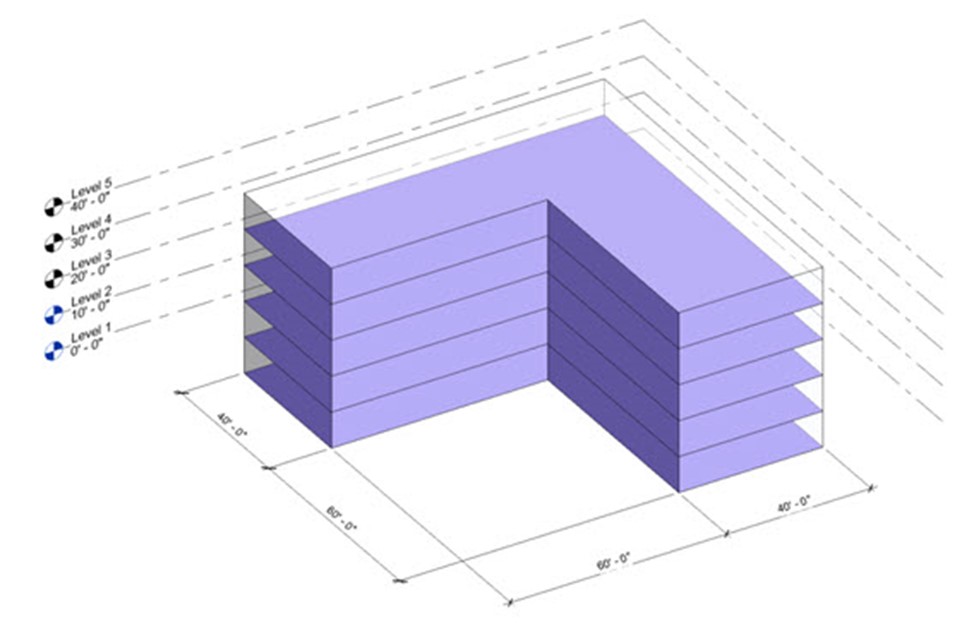
- Draw an L-shaped building, approximately 100' x 100'. For this model, create five floors instead of four, as shown below.
- For the location, you can use your current location (or any location of your choice).
- Save the model as Option 2.


