Bridge Design Workflow Conceptual Design – Practice Exercise
Task: Establishing the InfraWorks model
- Open InfraWorks.
- In the project selection page select Model Builder on the right side.
- In the search bar type Glenogle, BC, Canada.
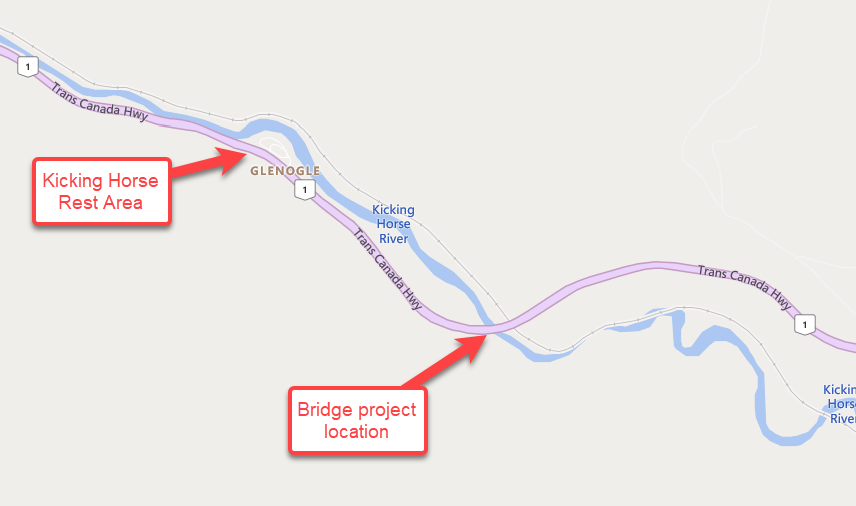
- Zoom out slightly and pan to see the stretch of highway from the Kicking Horse Rest Area in Glenogle south and east to just past the bridge crossing of the Kicking Horse River. It should look roughly like the screenshot below:
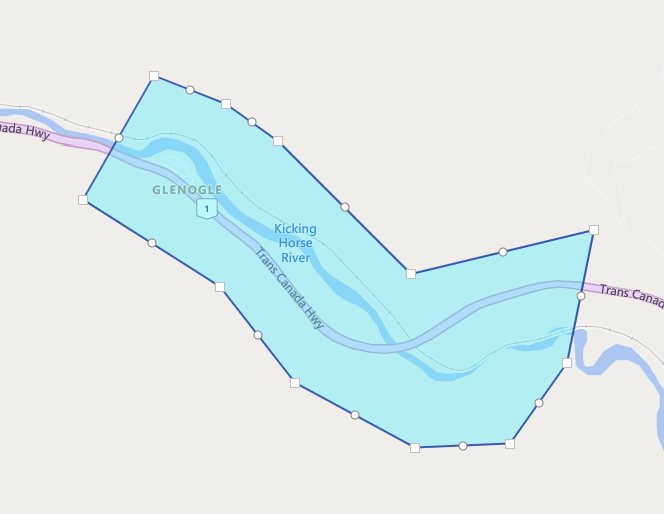
- Use the Polygon tool to draw a project limit around the project area. The area should look roughly like the screenshot below:
- In the Model Name bar type Park Bridge.
- Below the name bar is the coordinate system assignment. Click the “None Selected” text and type CANBC-TCN. This will filter down to that specific coordinate system. Click OK.
- Accept the message that appears and close the Model Builder window.
- The InfraWorks model will appear in the project area in 5 to 10 minutes. You will receive an email when that happens, so you do not need to keep InfraWorks open while you wait.
- In the InfraWorks project area select the Park Bridge project.
- Orbit the project so that you can see where you will be working.
- In the Manage ribbon > Display panel pull down select Sun and Sky.
- Set the Date and time sliders so it is roughly noon on some date in late June or early July. You are trying to make the model easier to see under better sun condition.
- Close the Sun & Sky dialog.
- In the Proposal drop-down select Add to create a new proposal from the Master.
- Name the proposal Existing and click OK.


