00:00
We are now going to focus on how we can reference design sketches and other formats within FormIt.
00:09
This will be based on the project information that we've already brought into the environment.
00:16
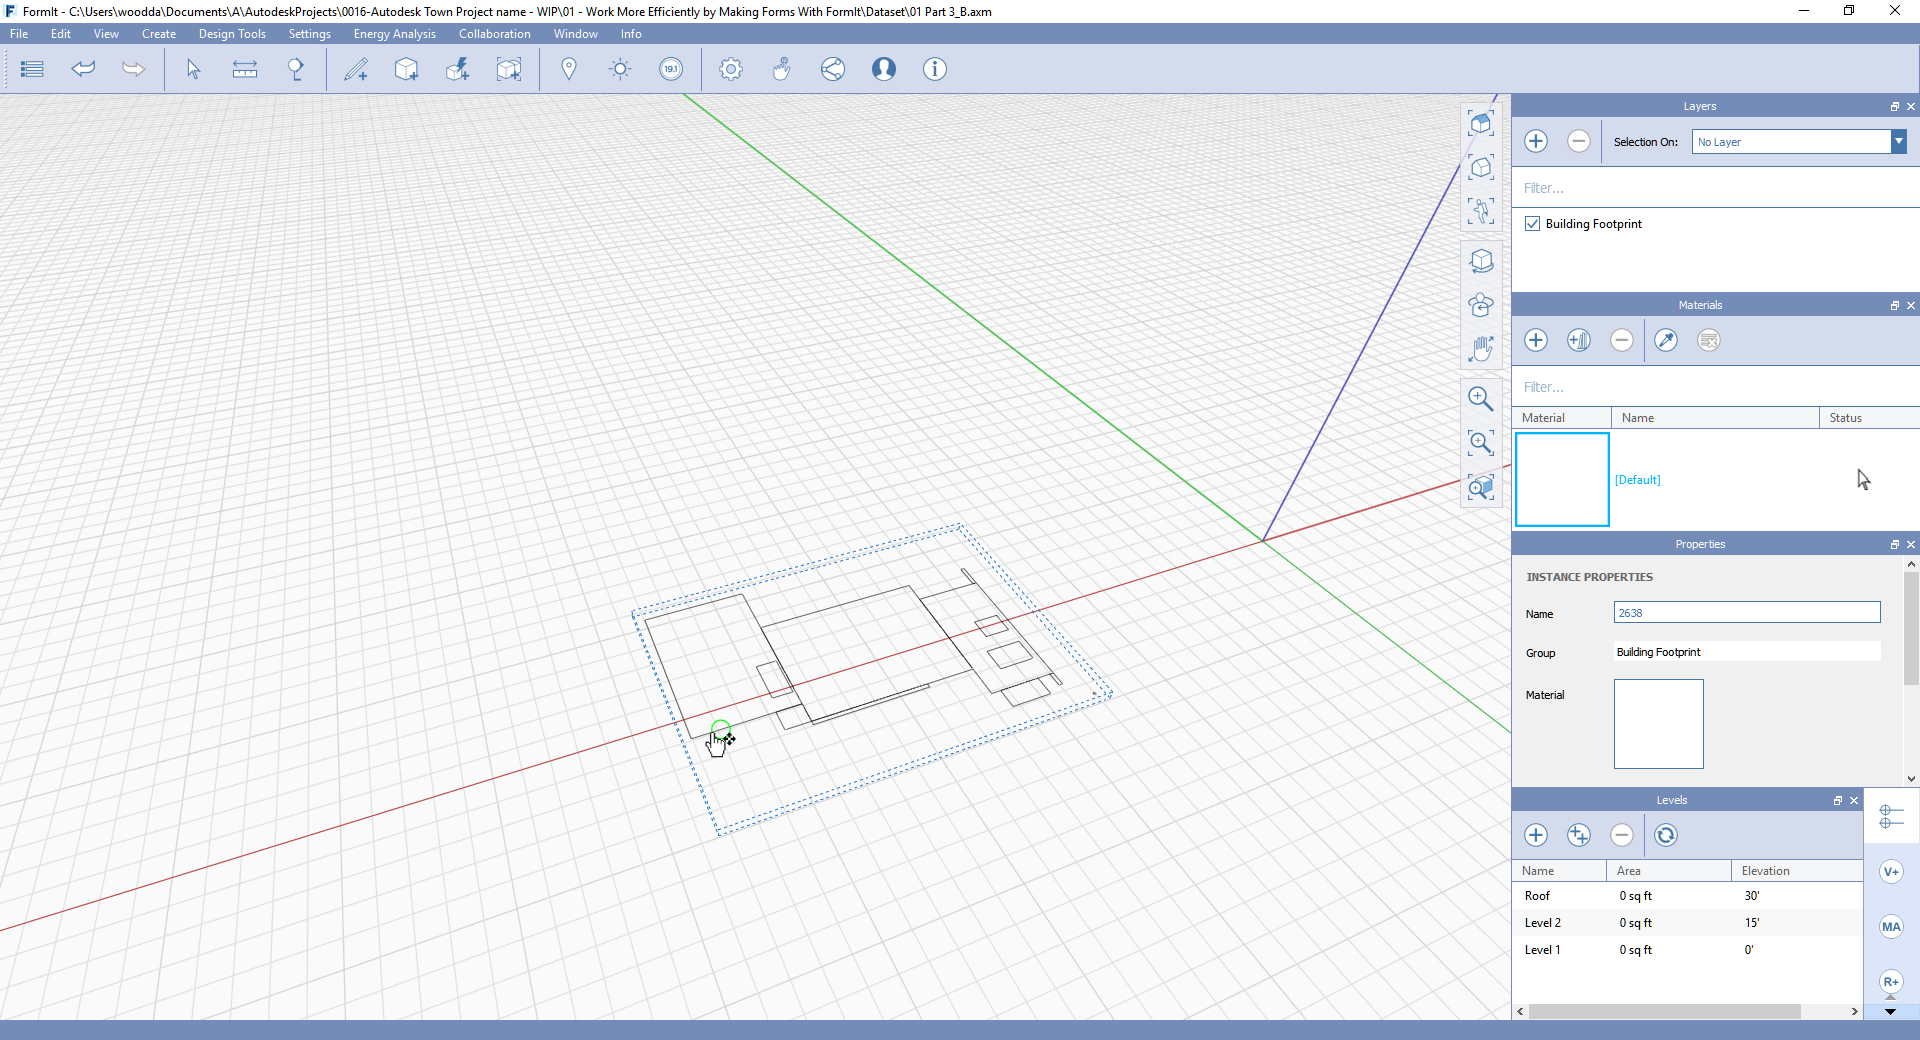
We're now going to import a 3D image,
00:20
which is a DWG of a particular building footprint.
00:26
We can now use this as a reference point for the proportion of the different rooms to the building.
00:35
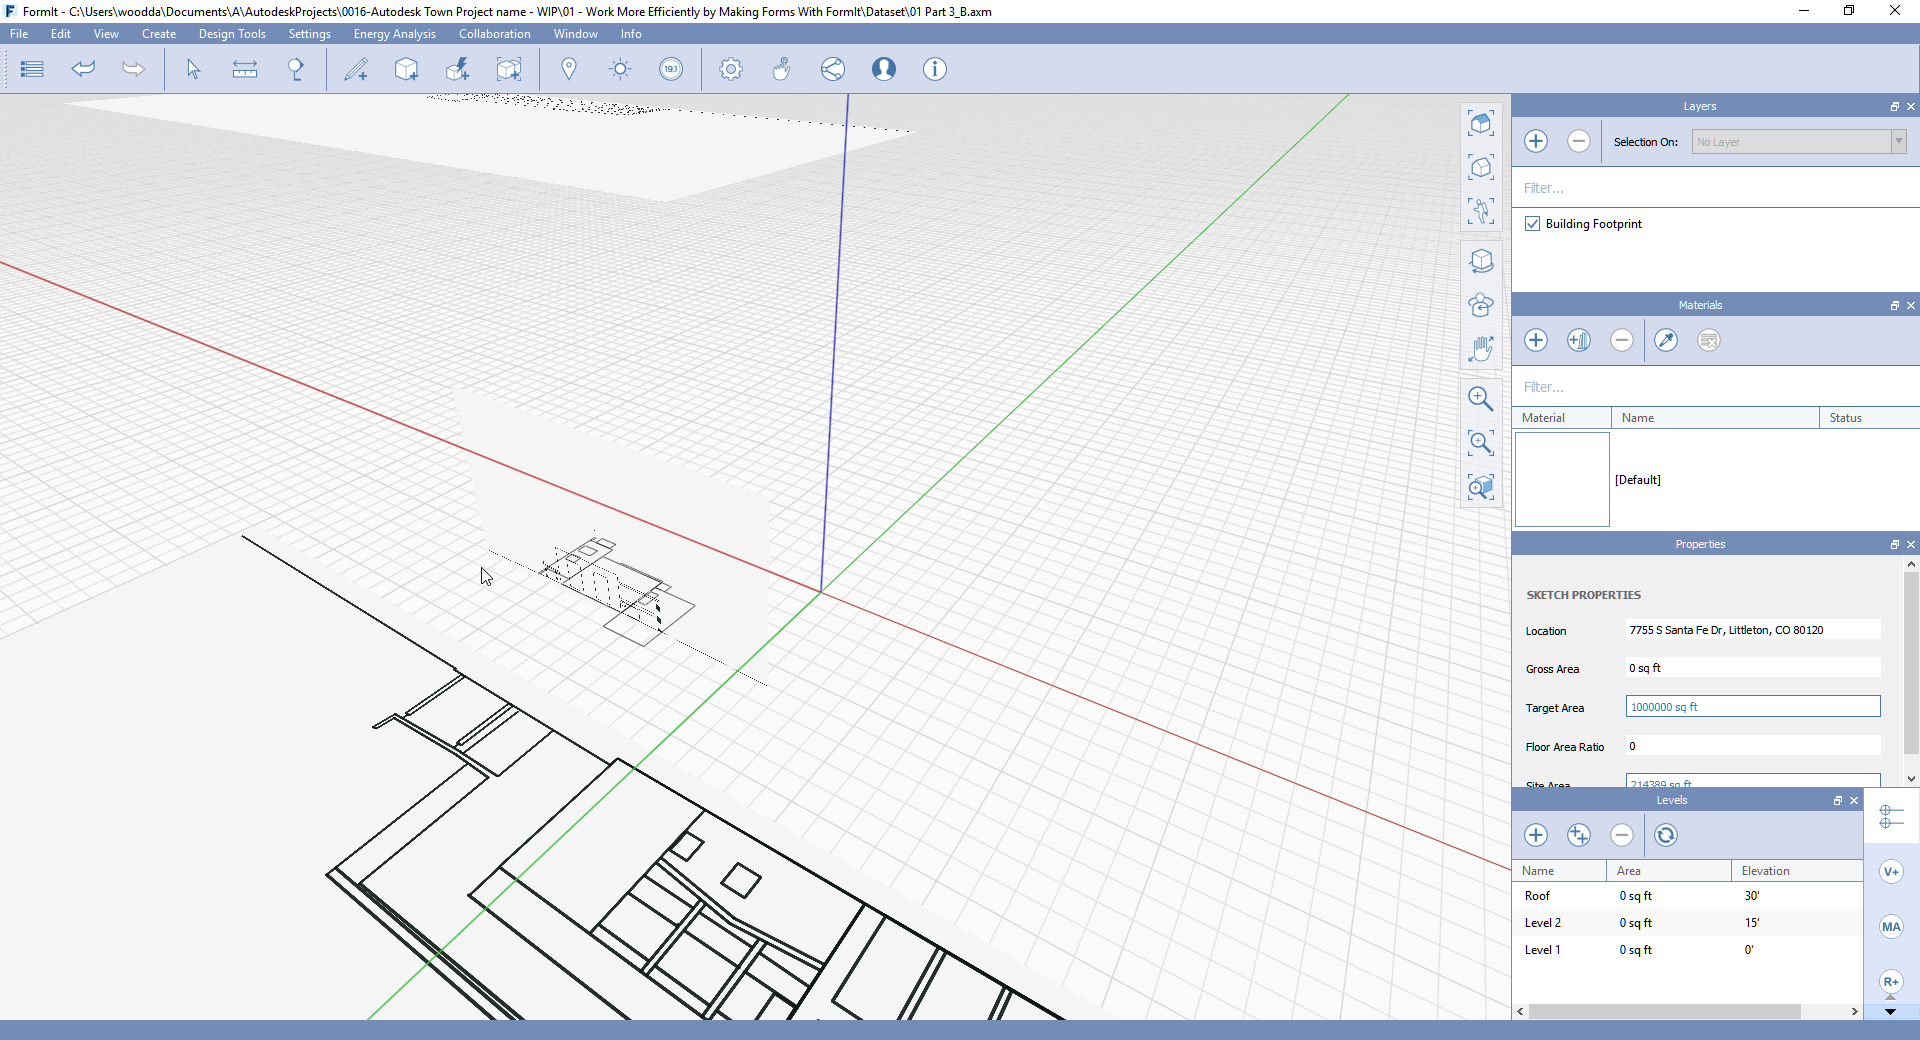
As well, we can import a JPEG file image off the actual elevation of the building.
00:44
As you can see, the scale is not correct.
00:48
This can be modified.
00:52
But first, we're going to import the rest of the images to create a three dimensional mass.
01:01
By rescaling and re-orientating the image, you can right click and select Rotate.
01:10
What we're doing now is we're identifying a reference point,
01:15
within the image that we want to rotate the image around the axis of 90 degrees.
01:22
What we can now do is identify the image,
01:25
within the vertical plane to then help us scale the image down based on building footprint.
01:34
So, we're now going to select the reference point of the building footprint and the image is then associated to that.
01:43
We're then going to scale that from the reference point that we placed,
01:49
and then we're going to place the other point onto the point that needs to be reduced to the building footprint.
01:59
This will then bring the scale of the image down and to act as a reference point for creating our geometry.