00:00
Design options are an important aspect to any project.
00:04
To be able to demonstrate such options to clients and stakeholders effectively,
00:08
and efficiently contribute substantially to the quality, and positive outcome of the project.
00:15
The Design Option tool that Revit provides is just another facet of why we would use BIM over conventional 3D modeling or 2D drafting.
00:25
Suppose you have a client that wants to see some options.
00:28
Certainly you need to show the client these options you have in mind.
00:33
But we can do that in any other drafting or modeling program really.
00:37
Traditionally, you would just make copies of the files, and design different stuff in these different files.
00:44
And once you're done, the winner stays and the loser gets removed.
00:48
But what about the rest of the project, that part that's not affected by these options?
00:54
Do we have the rest of the team working on other parts of the building, or just sit there and wait?
00:59
If not, how do we copy the model?
01:02
What model are we having people working on? And what's the name of the copied models?
01:08
What happens when the options is chosen? Do we copy and paste and merge our models together?
01:15
The objective of this video is to create a few options for the client without creating several extra models.
01:21
Let's go into Revit and see how it's done.
01:24
Okay. Here in Revit, let's open up the architectural model that we've been working on, and it's here in our recent files.
01:33
This is a central model and Revit is going to create a local copy of it for us to work on.
01:40
And we want to override our existing copy of the local copy.
01:45
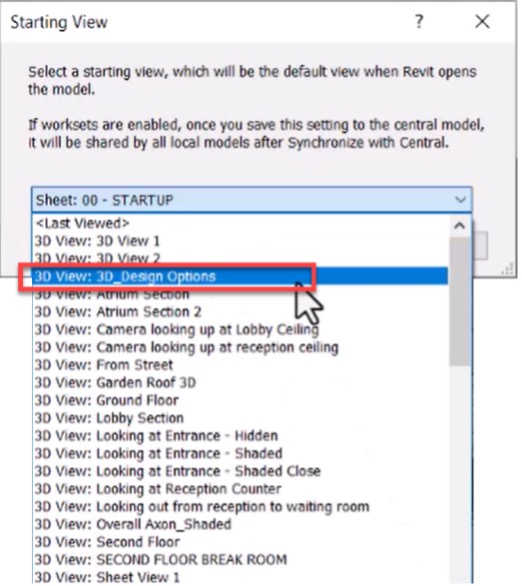
So to save some time in the subsequent videos, let's create a customized 3D view of our model.
01:52
And we can set that as our starting view temporarily.
01:57
So I go to my 3D views and right click on the default 3D view.
02:02
And I wanna make a copy of that.
02:05
I'm gonna to duplicate that view, right click on it to rename it, and call it "3D Design Options".
02:15
Now let's temporarily set this as our starting view.
02:20
So I go to my Manage tab, and under managed project panel select starting view,
02:28
and I'm going to temporarily override this 3D design options that I just created.
02:36
Then at the end of this video series, we can always set it back to the default starting view.
02:43
OK. In this scenario, we want to present the client with two different options,
02:51
one for treatment of the front of the building, and one showing different options for this roof that we created earlier for the garden.
03:02
Just going to orbit around a little bit.
03:10
Holding my shift key down in the wheel zoom in using my wheel on the mouse.
03:18
So we want to show the client different options for this sign, and different treatments for this facade.
03:27
And another option is for the roof,
03:30
showing them different options for a red roof or a blue roof or no roof whatsoever.
03:38
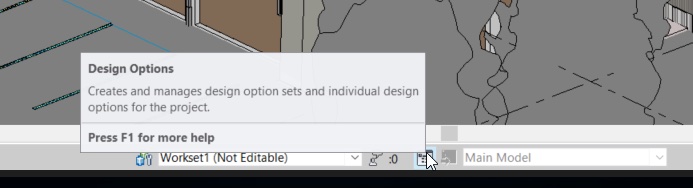
So down on the status bar, we have our design options.
03:42
I click on that, and we see currently there is no options available in the model.
03:50
Over on the right hand side, I have a panel for option sets, and below that panel for options.
03:59
The only available command currently is new for option sets.
04:04
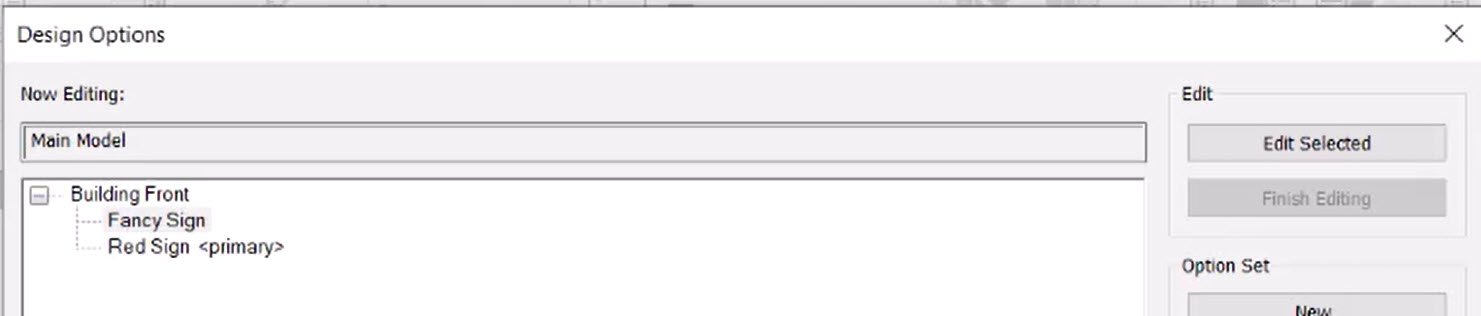
So I'm gonna click on that and create a new option set with the option that created.
04:10
I click on the title, and under option set, I click on rename.
04:17
We'll call this one building front, Click OK.
04:24
Now for the option itself, I click on option one, and I'm going to rename that one to red sign.
04:35
We want to create another option for the building front.
04:38
So under option, I click on new once again, highlight it, and go to rename,
04:46
and we will call this one fancy sign, and click Ok.
04:53
So for a building front, we have two options, and red sign is the primary one.
05:01
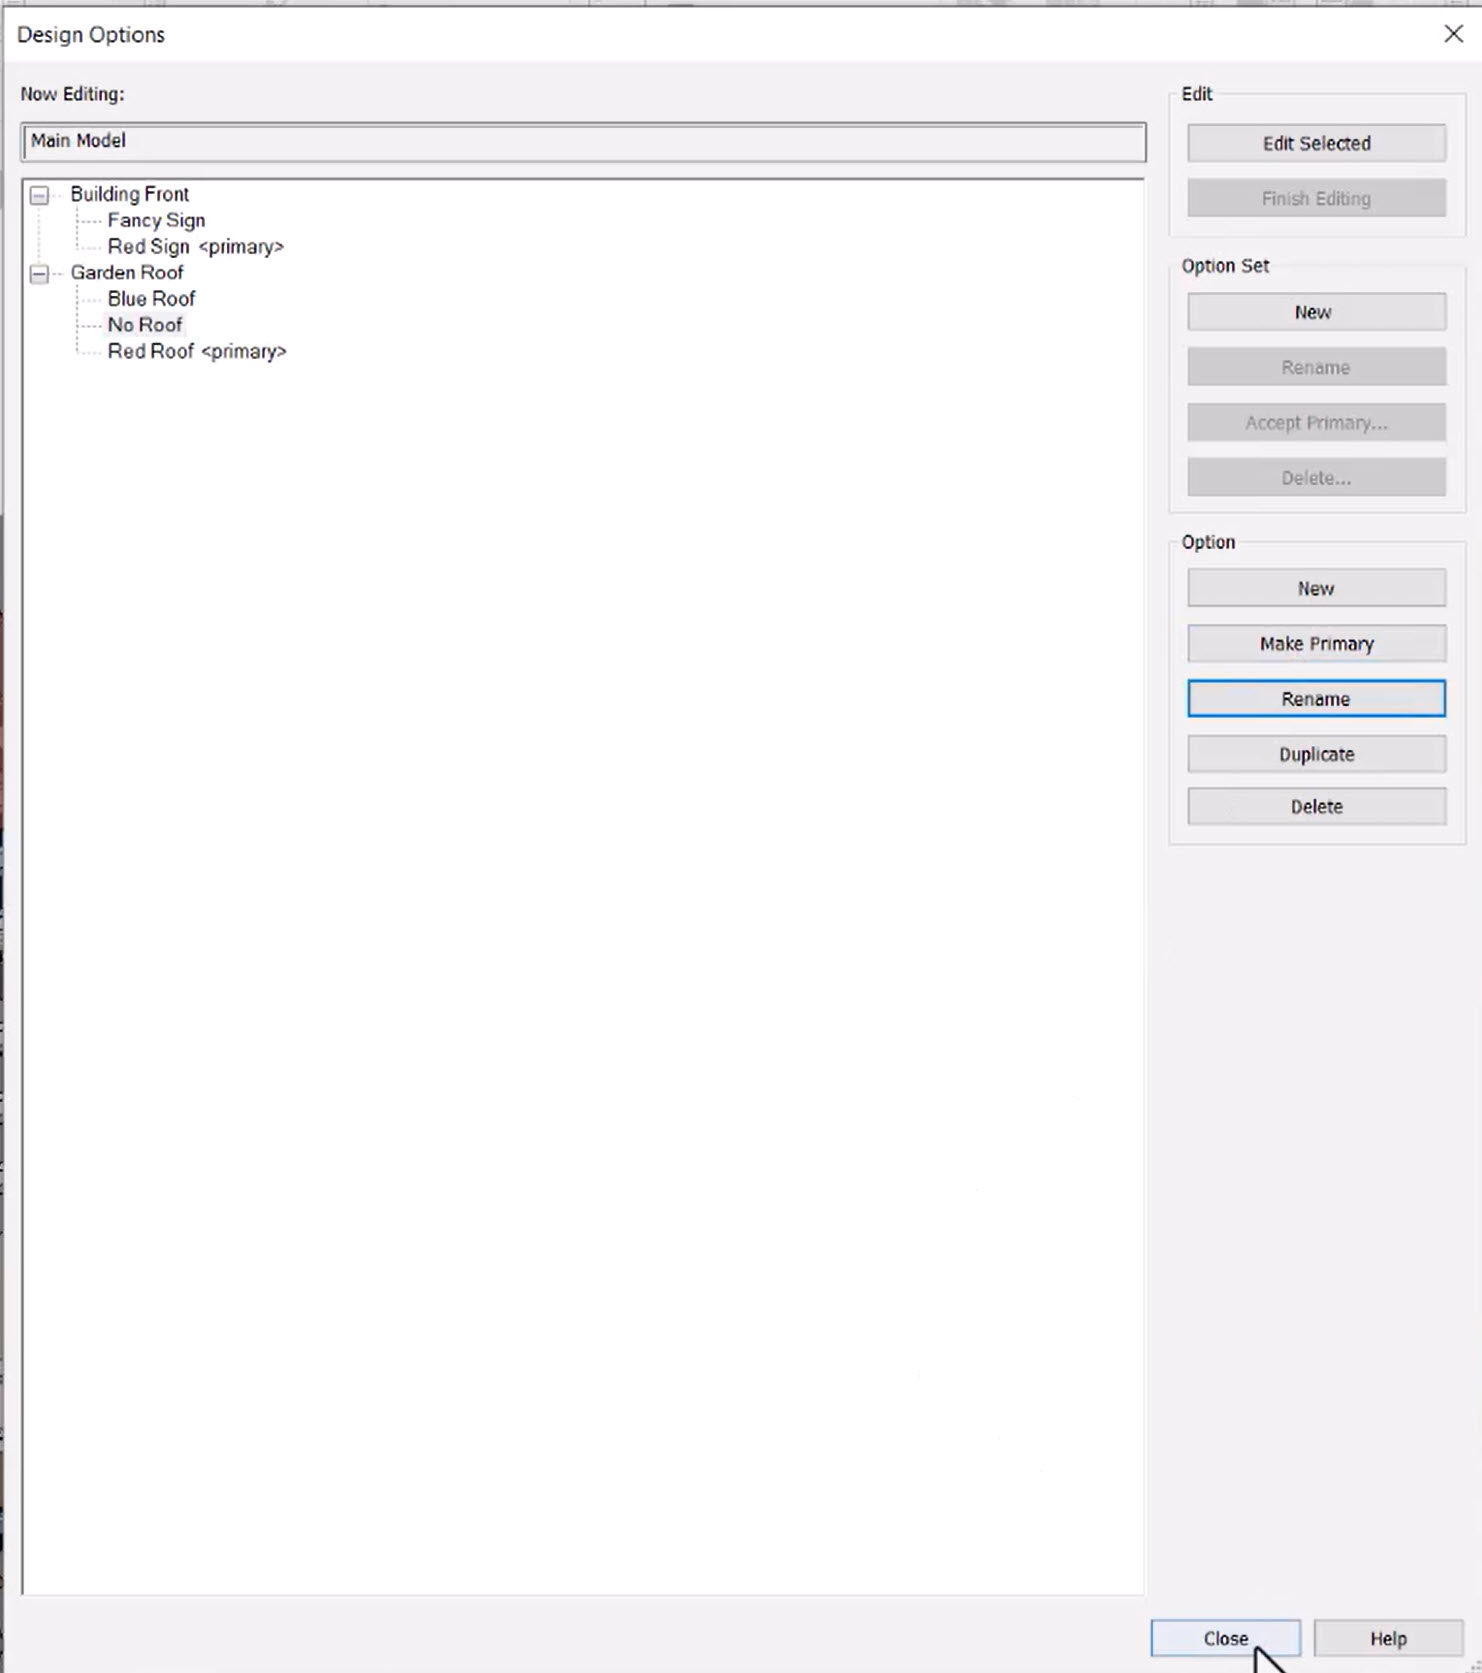
I'm going to create a new option set. So I go to my option set and click on new.
05:08
Click on the newly created option set one, and let's give it a better name than option set one.
05:15
So I click on rename, and I'll call this one garden roof.
05:22
You click Ok, Option one, I select it, and under the option panel,
05:31
I click rename, and I will call this one red roof.
05:36
I want to create another option.
05:40
So I click on new and I rename this one to blue roof.
05:46
And finally, we'll have a third option. Click on that, and I'll call this one no roof, and click OK.
05:55
You'll notice that the very first option that we created becomes the primary option.
06:02
Later on, we can select any of the options and make that one primary. So click close.
06:09
So now we have the various design options, but notice that our current design option is set the main model.
06:18
And in our drop down, we have a choice of selecting any of the design options that we just set up to work on.
06:26
But currently, there is nothing in these design options,
06:31
and everything in the model, the main model is selectable by us to work on.
06:39
What we now need to do is to add the walls and the roof to the garden roof option set.
06:48
And we need to add the front facade, the sign, and these curtain walls to the building front set.
06:57
We will do that next.