00:01
Hello and welcome to gravity pipe network interference
00:04
My name is Stacey Morykin, design technology manager.
00:08
In this session, we will navigate and correct
00:10
the interferences created from the previous session.
00:14
We are now at the second and final step of the workflow,
00:17
navigate and correct the interferences.
00:19
So let's switch over to Civil 3D and get started.
00:24
You can use the same file from the previous session
00:27
or open the interference checks in Civil 3D, begin2.dwg file.
00:34
In the prospector tab of the tools base and our plan view,
00:38
there are two interferences denoted in the drawing.
00:42
There are also two profiles that show the sanitary sewer runs,
00:46
and the storm pipes have been projected onto the profiles.
00:50
Our interference check criteria is currently set to 5 feet.
00:55
First let's review the profiles to see
00:57
exactly how close these pipes are
00:59
at these specific locations.
01:02
In profile 1, click on the storm pipe crossing
01:07
and right click to edit the pipe properties.
01:11
In the Information tab, change the style to crossing storm.
01:26
The distance between the top of the storm
01:28
and the bottom of the sanitary is 4.9 feet.
01:31
This is very close to our 5 foot criteria,
01:34
so we want to modify the storm just
01:35
to drop it a bit so we are well outside the 5 foot criteria.
01:39
Let's first take a look at the rule for the storm pipe.
01:45
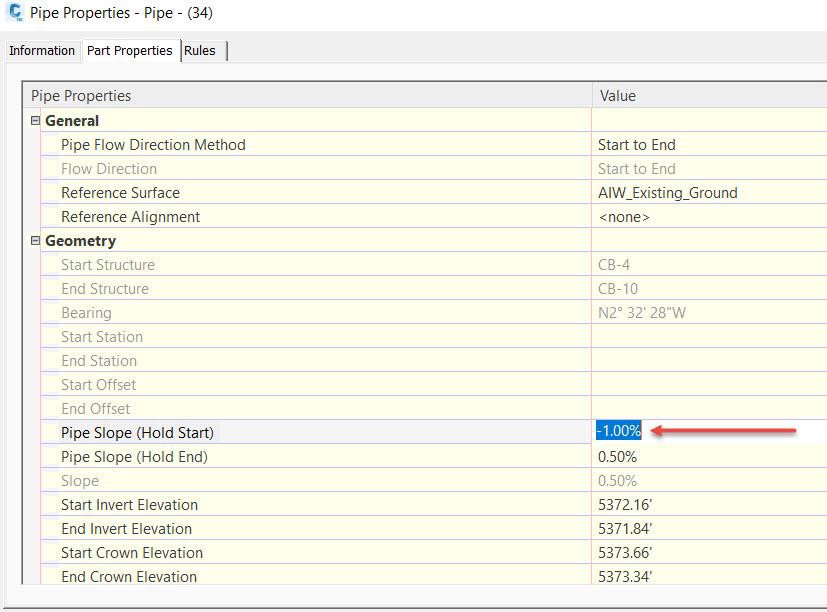
Under our basin 2, under our pipes, this is pipe 34.
01:54
If we find pipe 34, first, let's refresh just
01:58
to make sure that we're not violating any of the rules.
02:02
Underneath pipes, we find pipe 34.
02:10
Right click and go to the pipe properties.
02:15
In the Rules tab, you'll notice we are not
02:18
violating any of the rules.
02:20
Our minimum slope is a half a percent and our maximum slope
02:27
Underneath the part properties tab,
02:30
in the area of the pipe slope, hold start,
02:33
we will change this value to negative 1.
02:38
You hit Enter and OK.
02:43
Notice that because we have made a change to the pipe,
02:45
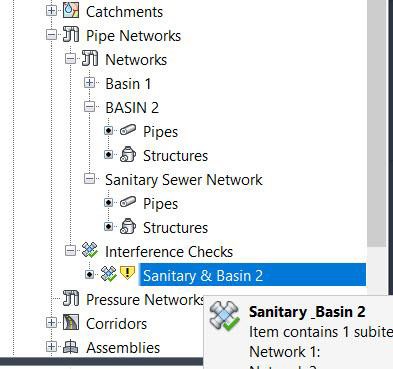
our interference check now needs to be rerun.
02:48
To rerun the interference check, simply right click
02:52
on the interference check and rerun the interference check.
02:57
Civil 3D now tells us that we have one interference check
03:00
that we still need to fix.
03:10
Going back to the planned view, we
03:12
see that the next interference is between catch basin 5
03:18
So we will zoom back into profile 2.
03:22
This pipe number is 29.
03:24
So again, we want to ensure that we're not potentially
03:27
violating any of the rule set that we have for this pipe.
03:31
Under pipe 29, we will right click and go
03:34
to the pipe properties.
03:37
Under the Rules tab, you'll notice that our minimum cover
03:40
is violated, which means that we will need to drop this storm
03:43
sewer pipe even further.
03:46
If we drop it further, it will get closer
03:48
to our sanitary line.
03:50
So in this instance, we want to modify the sanitary line.
03:54
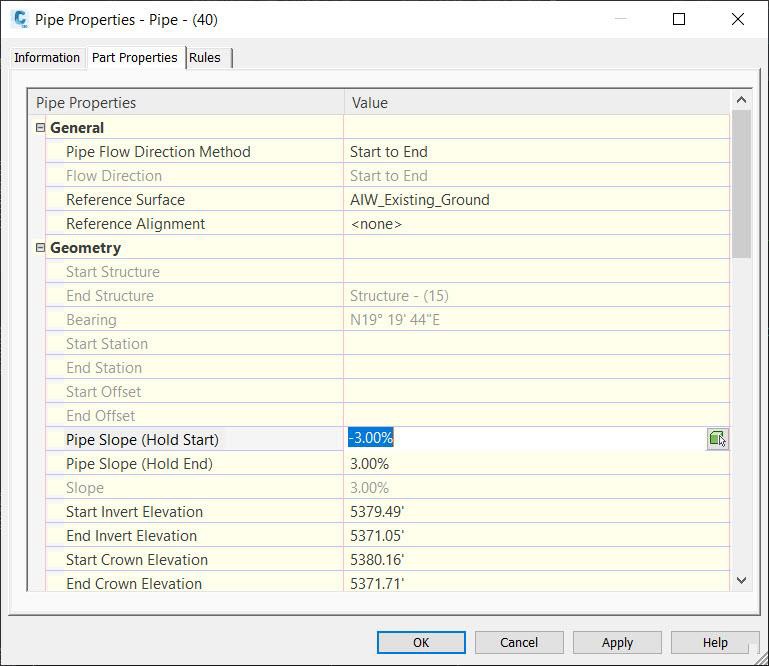
We'll click to find out the name of this pipe, which is pipe 40.
03:58
Underneath our sanitary sewer network, under the pipes,
04:02
we will find pipe 40 and review the rules.
04:08
Under pipe properties are rules that
04:11
allows for a minimum slope of
04:16
Our current pipe value is at 2%, so we do have room
04:19
to increase this slope.
04:22
Underneath the part properties, we
04:24
want to change our pipe slope, hold start, to negative 3%.
04:31
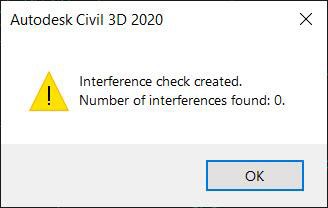
We'll go ahead and click OK and rerun our interference check.
04:39
Civil 3D now tells us that there are no interferences found
04:42
between these two networks.
04:45
Any modification to either pipe network from this point
04:48
forward would require us to rerun the interference check
04:52
and modify pipes as we go.
04:55
Now that we have no interference checks,
04:57
you want to make sure that you go back through your pipe
04:59
networks just to make sure that all of the pipes
05:01
are following the rules that you have established.