00:01
Creating 3D Sections in the Autodesk Viewer.
00:05
Frequently, you want to be able to see inside a model when you're viewing.
00:10
You can navigate around and walk into the space.
00:13
But another way is to cut a section through the building. So let's take a look at that now.
00:19
I'm here in my 3D view. I'm going to zoom in a little bit closer so you can see my building.
00:26
And now I'm going to go to the Section Command.
00:29
When I click on the "Section Command", you have additional options: X plane, Y plane, Z plane, and Box.
00:39
Let's see how each of these work.
00:42
First of all, X plane.
00:44
It just cuts it at a random spot on the model,
00:48
but then I can use the various tools here to modify the section location.
00:55
Notice that you don't pick right on that arrow, but you want to get the yellow arrow or golden arrow, and move it on out.
01:02
And then you can move it back and forth on the X plane.
01:08
The arcs actually let you modify the angle of the section.
01:14
So here I've got this one, I'm going to just pull it this way,
01:19
and you can see the section cuts slightly differently in that way at an angle.
01:24
And here's the other angle, I'm going to cut it back open.
01:28
So it just depends on what it is you need to see that you can get it on the plane that you need to see it on.
01:38
Let's look at Y plane.
01:42
This one it doesn't even have enough to show you at the moment.
01:46
So I need to zoom in, find my arrow, and pull it out.
01:50
And then you can start to see the building here.
01:53
So I'm going to orbit around a little bit and zoom in.
01:59
And again, you hover over to the point where I need to see there's my arrow, I can see that a little better,
02:04
and then I can do my arcs and modify the angle as well.
02:11
So it depends on what you need to see.
02:17
So if I pick on section and then turn it off, it just goes back to its irregular place. Let's see the Z plane.
02:25
This one's a very useful one if you need to see more or less the floor plan of the building.
02:31
So you set your Z plane, you move your arrow up, and down to see the appropriate items that you need to see.
02:38
I wouldn't say that the arcs here are quite as useful in this case as it is in the other ones.
02:47
Once again, we're going to click on the next one.
02:50
This is Box and what it does is cut it at a plane on all three directions.
02:56
Your X, Y, and Z-axis are all moved.
03:02
Let me just move it up out here a little bit and now we can look at these arrows.
03:07
You can see that there's arrows and there are planes.
03:10
And so when you pick on the arrow, it moves that part of the section, in this case, the z-axis up and down.
03:17
But if you pick on the plane, you can see it actually moves all of the axis in those directions.
03:25
So here's my arrow, I can move that back and forth.
03:30
Here's my plane and I'm moving it now on the X/Y axis.
03:35
And here I'm moving my X-axis back and forth.
03:39
So the Box allows you to do more options.
03:42
You can also, in this case, bring out the whole building, and show the items that you may need there.
03:51
So let's turn off the sections.
03:57
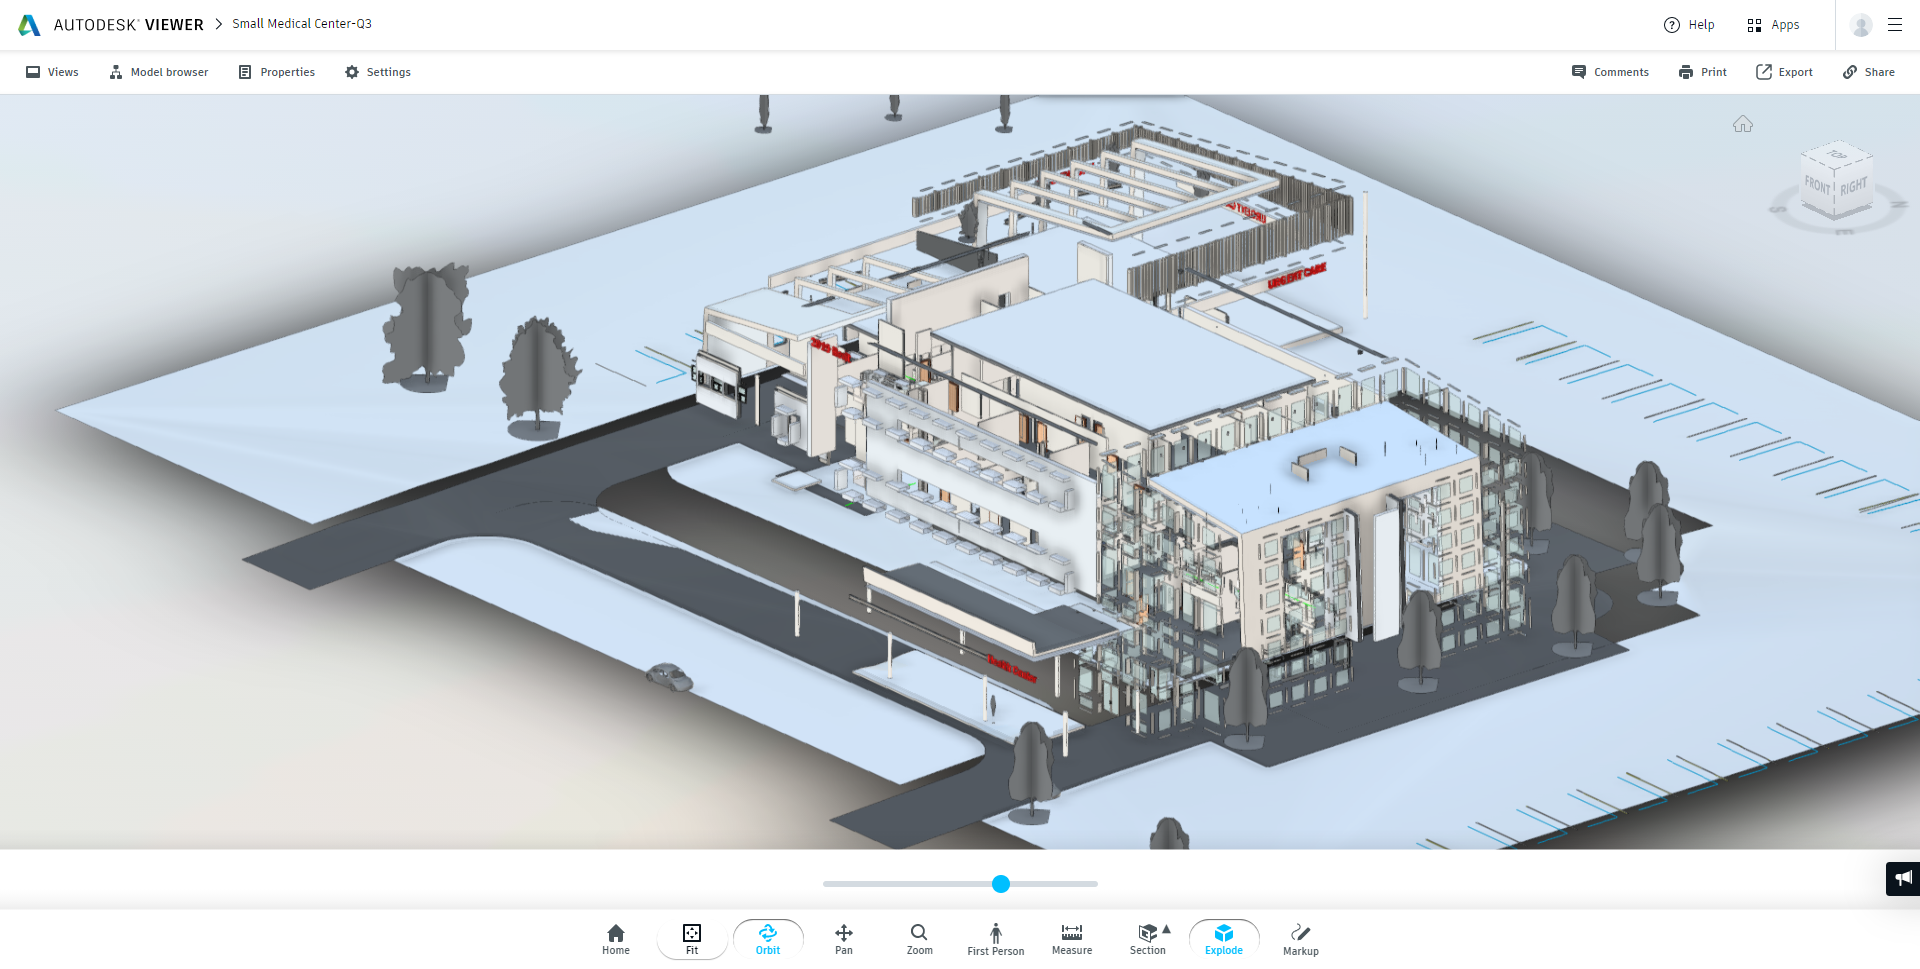
Now one other little tool that you might be interested in is this Explode button.
04:02
So when you explode, you move the slider bar, and it actually opens up the entire building.
04:09
So all the walls, windows they move out as if they are being exploded.
04:14
Unfortunately, you don't have a lot of control over this, so it's not as exciting of an option, as it may have been.
04:28
Now the sections may help you understand the building, but what you need to do next is actually go ahead, and start commenting.
04:36
So in the next set of videos, we'll talk how to comment.