| |
| |
Completion Time: 15 Minutes
|
· Completion of the Swapping and Updating Blocks Lesson
| |
Objective: In this exercise, you change the symbol library setting from NFPA to IEC. Then you swap a limit switch from the NFPA library with a proximity switch from the IEC library.
|
| |
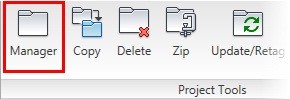
1: If the Project Manager is not displayed, on the Project tab, Project Tools panel, click Manager.
|
| |
2: If Schematic_Editing_NFPA is the active project, skip to step 6. If it is open but not active, in the Project Manager, do the following:
■ Right-click Schematic_Editing_NFPA.
■ Click Activate.
■ Skip to step 6.
|
| |
3: In the Project Manager, click Open Project.
|
| |
4: Browse to where you installed the exercise files. Select the Schematic_Editing_NFPA.wdp project.
|
| |
5: In the Project Manager Projects list, click the expansion node next to Schematic_Editing_NFPA to expand the drawing list.
|
| |
6: Double-click Schematic_Editing_NFPA_04.dwg to open the drawing.
|
| |
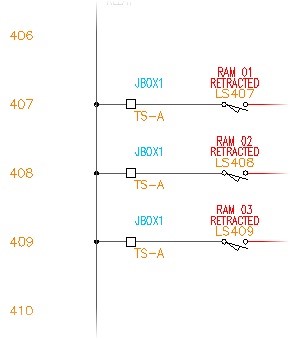
7: Zoom in to the upper area of rungs 406-410.
|
| |
8: Swap a Block:
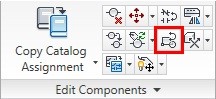
On the Schematic tab, Edit Components panel, click Swap/Update Block.
|
| |
9: In the Swap Block dialog box, click Swap a Block - One at a Time
|
| |
10: Click Pick New Block from Icon Menu. Click OK.
|
| |
11: In the Insert Component dialog box, click Miscellaneous Switches.

|
| |
In the NFPA: Other Switch Types dialog box, click Proximity Switch NO.

|
| |
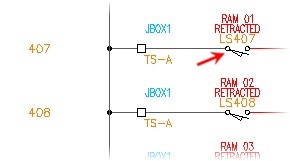
13: Click the LS407 limit switch on rung 407.
|
| |
14: Click OK to QSave the drawing, if necessary.
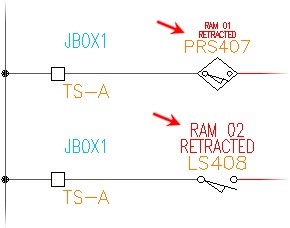
The machine layout drawing is opened, the component information is updated, and you return to Schematic_Editing_NFPA_04.dwg.
|
|


