View, Create, and Edit Roles - Exercise
One of the first things you’ll want to do when you get access to your tenant is create new users. In this exercise, you will create three new users: an Admin user, an Engineering user, and a Consumer user. Before you begin, note that you will need to have created email addresses and Autodesk Accounts for the three users.
Task 1: Create an Admin User
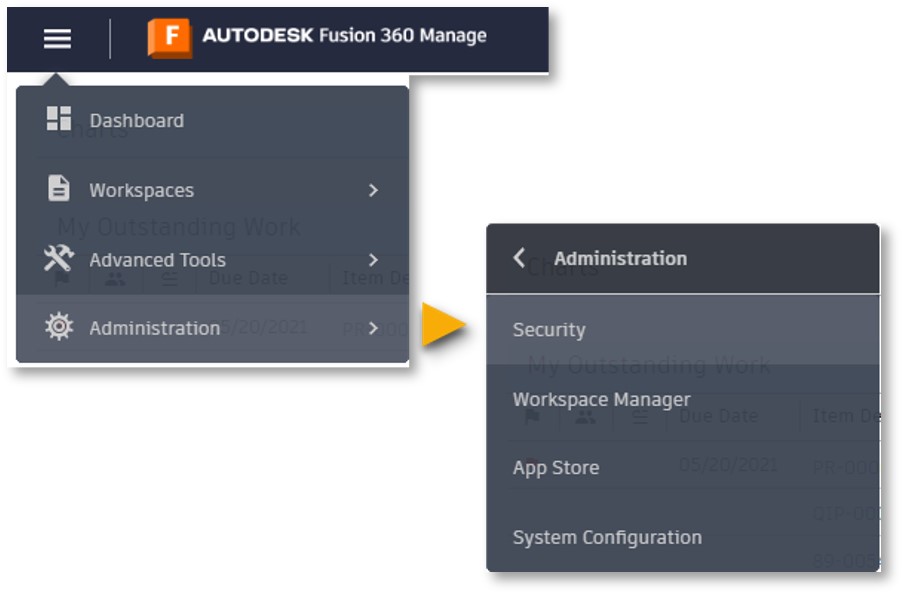
- From the navigation menu, select Administration > Security.
- On the Security page, click the New User icon.

- In the Account Information, fill in the First Name, Last Name, and Email for the user, then set the following:
- For the License Type, select Professional.
- For the Time Zone, select Eastern Standard Time.
- For the Interface Style, select Modern.
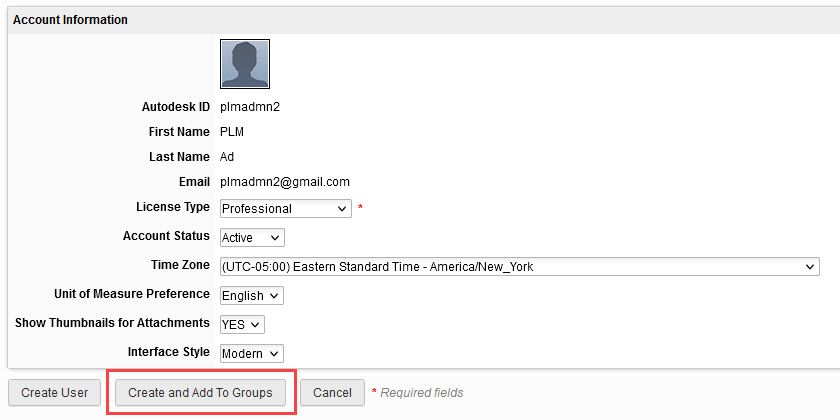
- Once finished, click the Create and Add To Groups button. In the Notify user? dialog, select Yes to notify the user about their account.

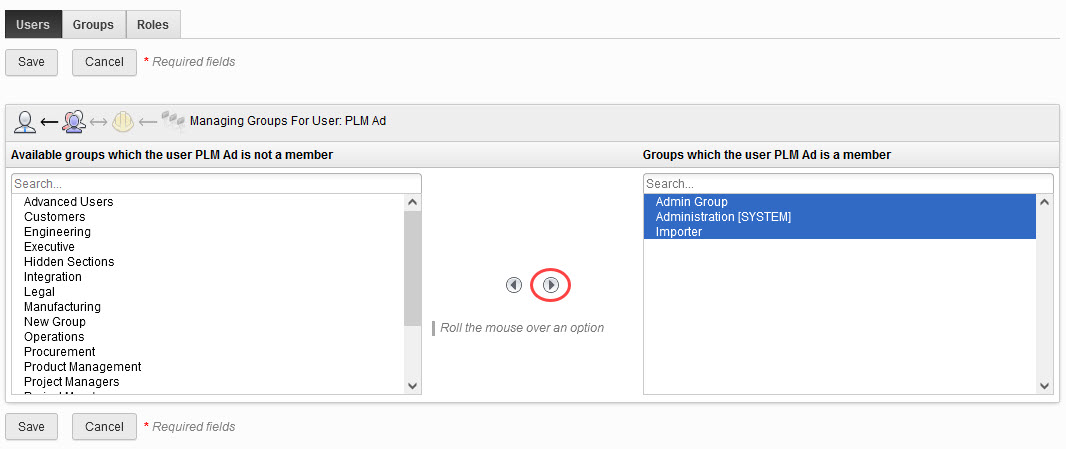
- In the Available groups which the user is not a member list, select the Admin Group, Administration [SYSTEM], and Importer groups and click the right arrow to add them for the user. Click Save to complete the process.
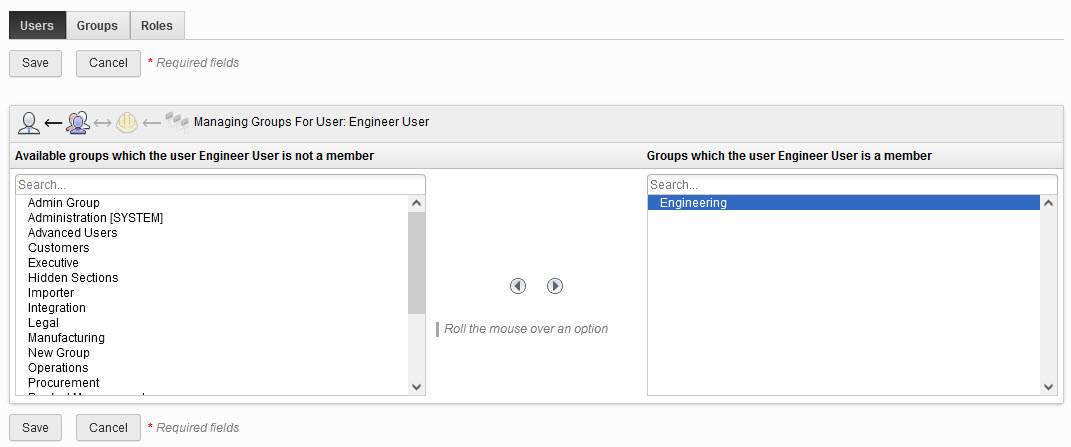
Task 2: Create an Engineering User
In this task, you’ll create an Engineering user using the same process as Task 1, but will assign the user to a different group.
- On the Security page, click the New User icon.
- In the Account Information, fill in the First Name, Last Name, and Email for the user, then set the remaining options as needed. For the License Type, select Professional.
- Once finished, click the Create and Add To Groups button. In the Notify user? dialog, select Yes to notify the user about their account.
- In the Available groups which the user is not a member list, select the Engineering group and click the right arrow to add it for the user. Click Save to complete the process.
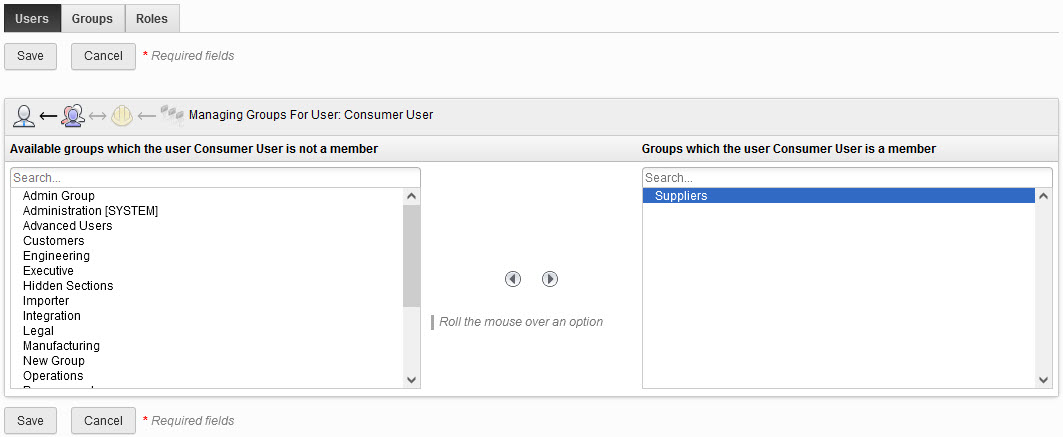
Task 3: Create a Consumer User
In this task, you’ll create a Consumer user using the same process as Task 1, but will assign the user a different license type and assign them to a different group.
- On the Security page, click the New User icon.
- In the Account Information, fill in the First Name, Last Name, and Email for the user, then set the remaining options as needed. For the License Type, select Participant.
- Once finished, click the Create and Add To Groups button. In the Notify user? dialog, select Yes to notify the user about their account.
- In the Available groups which the user is not a member list, select the Suppliers group and click the right arrow to add it for the user. Click Save to complete the process.
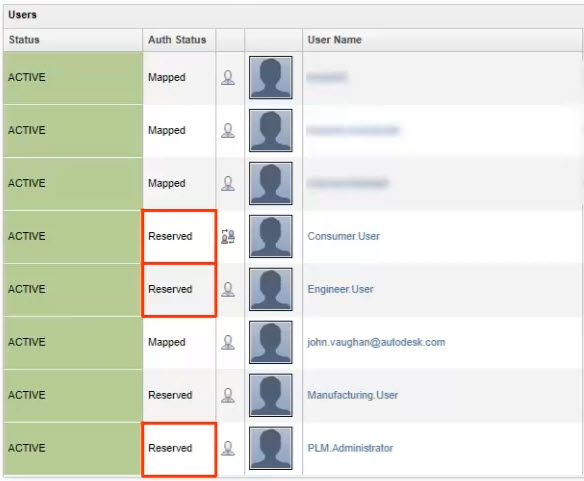
After saving, notice that the three new users have an Auth Status of Reserved. The Auth Status will change to Mapped once the users have logged in.