Import Item Data into a Workspace - Exercise
In this exercise, you will set up an import project for importing item details into a workspace. The .xlsx files for this exercise are available to be downloaded using the Download Resources button on the Module Overview page.
Task 1: Import Data from a File into Fusion Manage
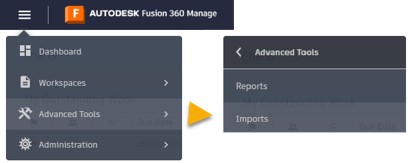
- In the navigation menu, select Advanced Tools > Imports.
- In the Create New Import Project section, set the following:
- Workspace: Items and BOMs
- Import Type: Item Details
- Import File: Items Details Import 1.xlsx (click Choose File and browse to select your file)
- Name: Item Details
- Description: Item Details
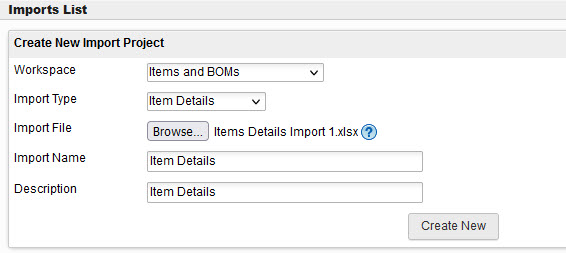
- Click Create New. Note that no changes are required for the field mappings since the column header names in the file match the Fusion Manage field names.
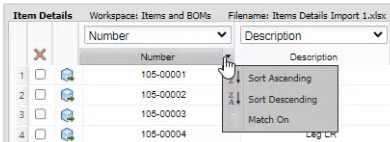
- At the bottom of the Edit Import page, select the Problems tab. There is an error that No column was selected as Match On.
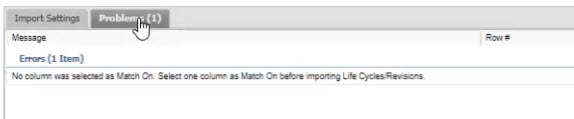
- Click the Number column header (not the drop-down list above it) and click Match On.
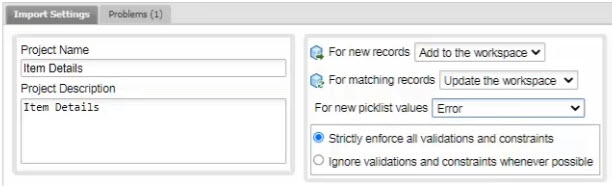
- At the bottom of the page, select the Import Settings tab. Set the following:
- For new records: Add to the workspace
- For matching records: Update the workspace
- For new picklist values: Error (in this case, the import doesn’t have any, so any option would work)
- Click Save.
- In the Problems tab, there are now problems listed but these are warnings indicating that the Number is read-only and cannot be edited after import, so can be ignored. Unlike errors, warnings don't prevent you from running the import.
- At the top of the page, click Run.
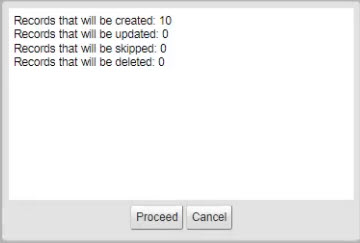
- A dialog will display indicating the number of records that will be created, updated, skipped, or deleted. In this case, 10 records will be created. Click Proceed to continue, then click OK.
- Click Cancel to return to the Imports List page. The import project will appear in the My Import Projects list with a Status of Done.

- Click the home icon to return to your dashboard.
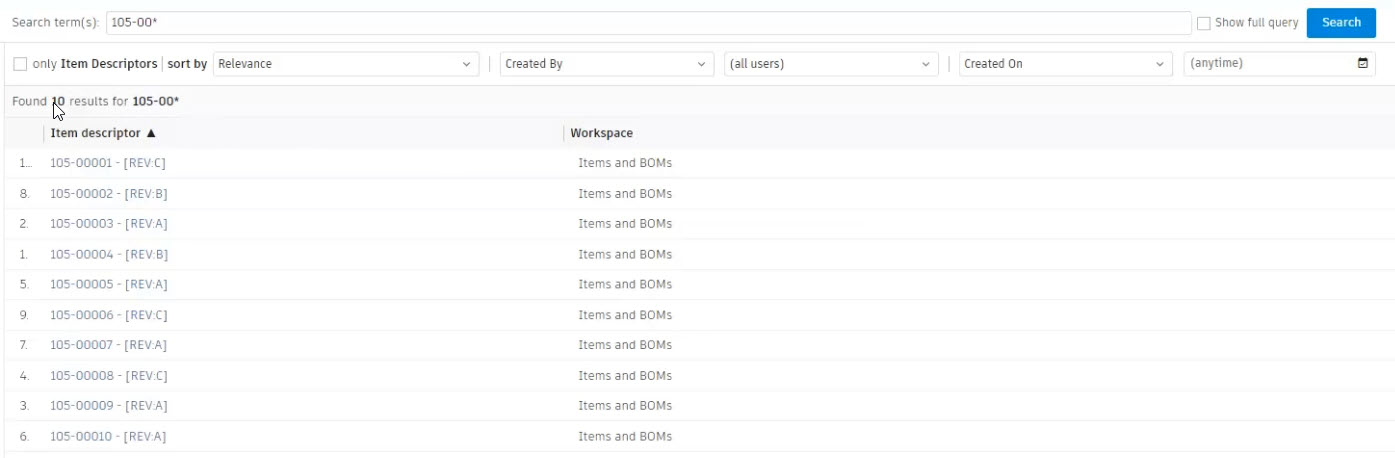
- In the search bar at the top of the dashboard, type 105-00 and press <Enter> to search for the newly imported records.

- The search results should display the 10 new records.
Task 2: Re-import Data from a New File
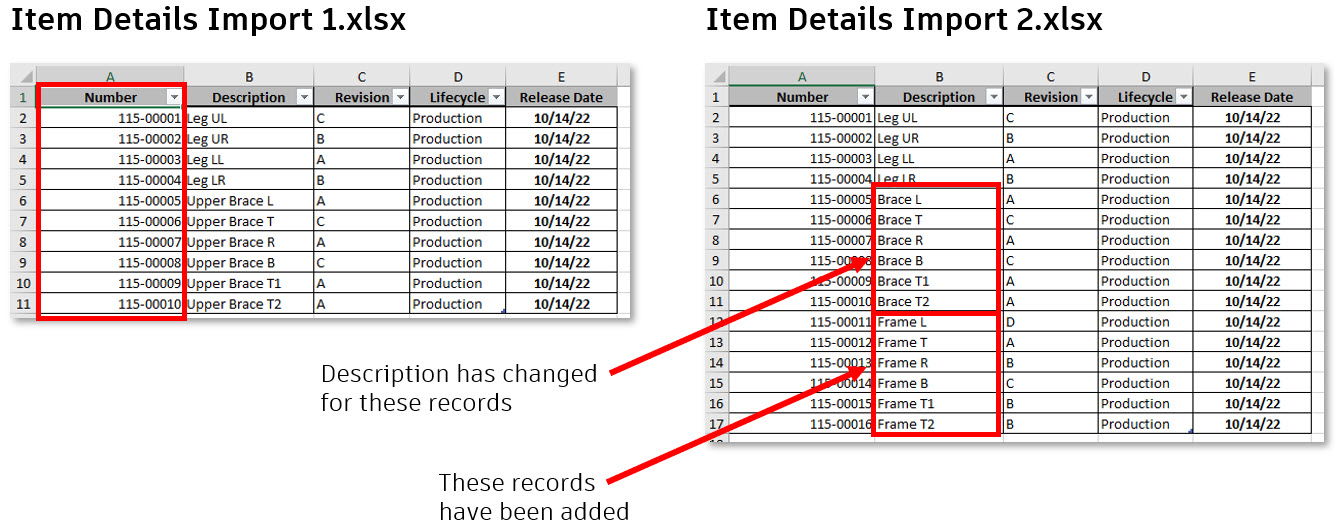
In this task, you will create another import project to import data to update existing records and add new ones. The image below shows the difference between the first imported spreadsheet and the updated one.
- In the navigation menu, select Advanced Tools > Imports.
- In the Create New Import Project section, set the following
- Workspace: Items and BOMs
- Import Type: Item Details
- Import File: Items Details Import 2.xlsx (click Choose File and browse to select your file)
- Name: Item Details 2
- Description: Item Details 2
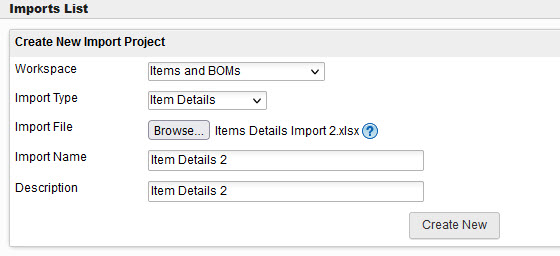
- Click Create New.
- On the Edit Import page, click the Number column header (not the drop-down list above it) and click Match On.
- At the bottom of the page, select the Import Settings tab. Set the following:
- For new records: Add to the workspace
- For matching records: Update the workspace
- For new picklist values: Error (in this case, the import doesn’t have any, so any option would work)
- Click Save.
- Click Run.
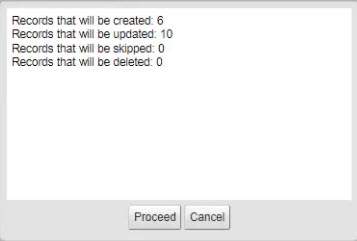
- A dialog will display indicating the number of records that will be created, updated, skipped, or deleted. In this case, 6 records will be created and 10 records will be updated. Click Proceed to continue, then click OK.
- Click the home icon to return to your dashboard.
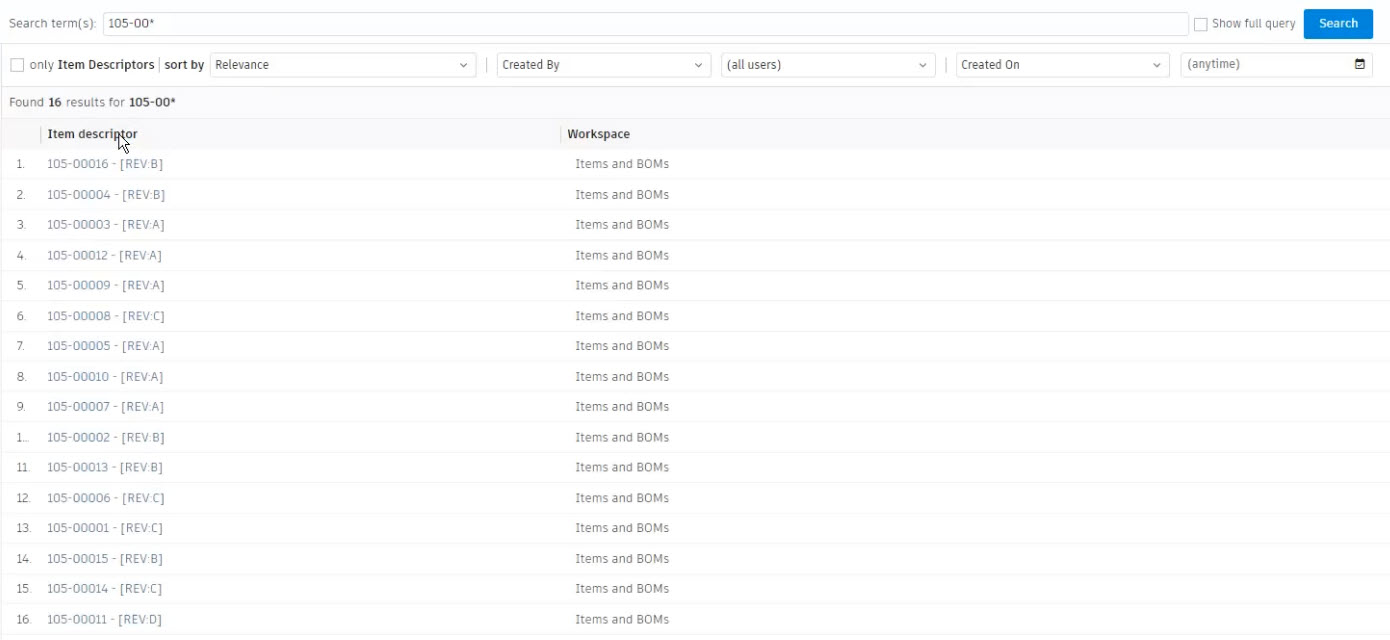
- In the search bar at the top of the dashboard, type 105-00 and press <Enter> to confirm that the import was successful. The search results should display the 16 records.
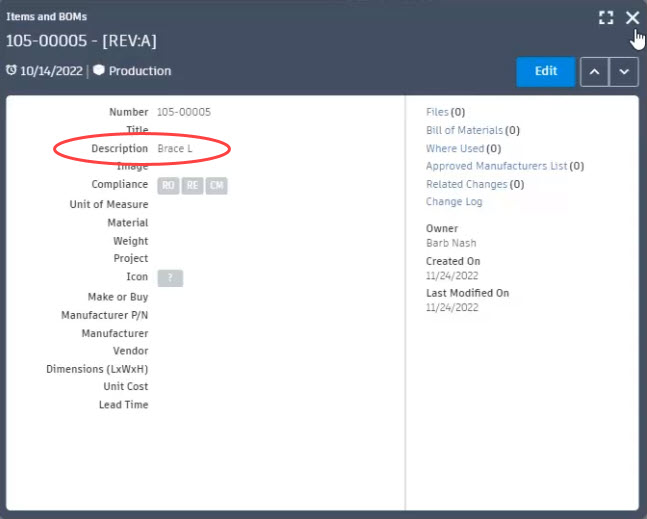
- Click on 105-00005 to confirm the Description change matches the updated spreadsheet (shown at the beginning of this task).