00:03
Once you have imported elements such as pipes, valves and tanks,
00:08
you can have info water pro automatically create junctions at all pipe end
00:12
points that do not already have a current connection to a node.
00:16
The direction that a pipe is drawn is critical to the overall flow of your system.
00:21
The tools in this lesson,
00:22
save you time by adding connections based on the tolerance level that you set
00:30
Double click the desired project dot APR
00:36
Once the project starts click the info water pro tab to open the info water pro ribbon
00:44
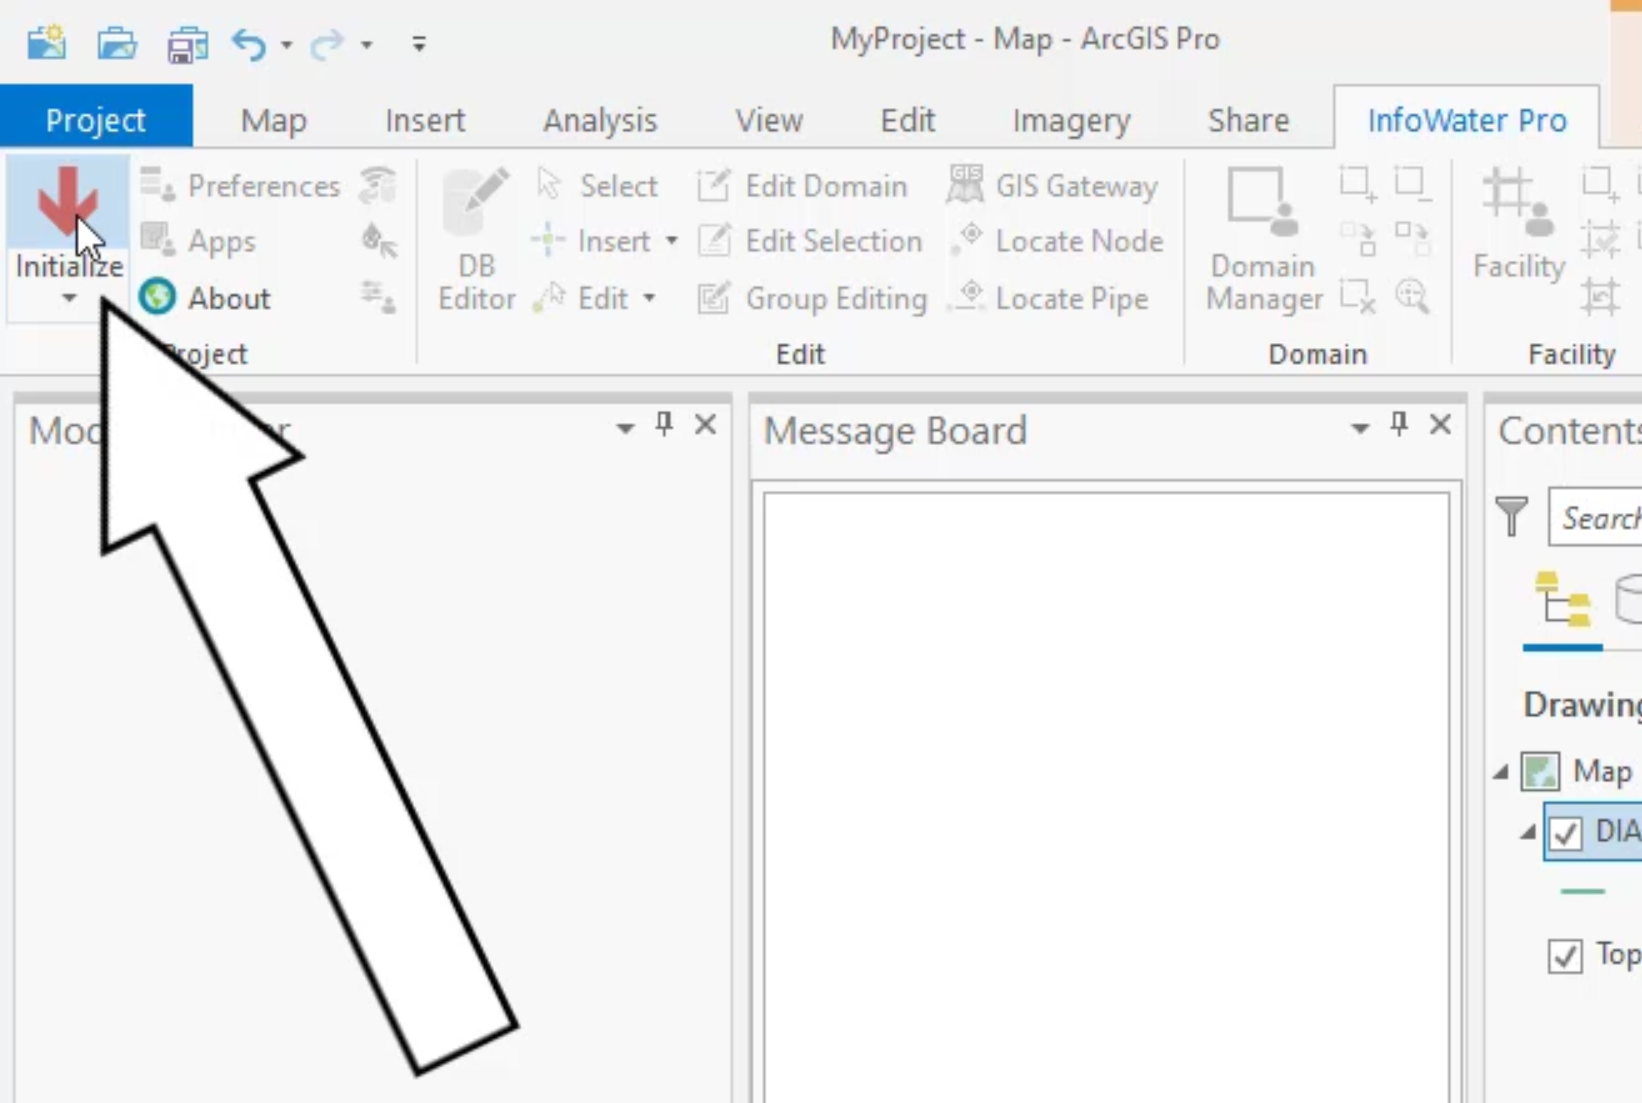
in the project panel, click initialize
00:48
from the model explorer command center tab expand the
00:52
utilities connectivity folders and then double click fill pipe connectivity
01:00
in the fill pipe connectivity.
01:01
Dialog box set the searching distance map unit to 0.5.
01:07
So that the closest junctions within this tolerance
01:10
are assigned as the start or end node
01:14
in the method group.
01:15
Make sure that effective neighborhood search fill one and node at a time is selected
01:22
click fill and then close the dialog box. If it does not close on its own,
01:29
be aware that the pipe fill connectivity tool
01:31
does not create nodes that are missing.
01:34
For this functionality. You can use the append nodes tool
01:39
in the command center, expand the exchange folder and double click append nodes.
01:45
This tool depends nodes to the end points of the imported pipes.
01:51
For the searching distance.
01:52
With this tool, you can start with your shortest pipe length divided by two
01:56
and then iterate by increasing the value once or twice more.
02:02
For this example, set the searching distance map unit 20.5.
02:08
Make sure that automatic mode is enabled and set the node type to junction
02:13
and link type to pipe.
02:17
Click a pen and then close the dialog box. If it does not close on its own.
02:24
you can review the network connectivity and geometry for
02:27
potential errors by looking for orphan nodes and pipes.
02:32
An orphan node is a node that is not listed in the
02:35
start node or end node fields in the pipe connectivity database table.
02:40
An orphan pipe is a pipe with no value in one or both
02:44
of the start node and end node fields in the pipe connectivity database table
02:51
on the info water pro ribbon
02:53
in the domain panel, click domain manager
02:57
in the domain manager enable special query
02:59
and then expand the two drop down lists and select pipes and orphan respectively.
03:09
in the message board. You can see the results
03:12
in this case, the message reports, no change,
03:16
repeat the special query but change the dropdown lists to nodes and orphan
03:24
the message board again states no change.
03:30
there are no orphan nodes or pipes as the append
03:33
nodes tool was used to place junctions in the model.
03:37
But it is important to know that when junctions are imported from G I S,
03:42
there are generally some orphan nodes or pipes
03:44
that can be addressed with these queries.