& Construction

Integrated BIM tools, including Revit, AutoCAD, and Civil 3D
& Manufacturing

Professional CAD/CAM tools built on Inventor and AutoCAD

Integrated BIM tools, including Revit, AutoCAD, and Civil 3D

Professional CAD/CAM tools built on Inventor and AutoCAD
Transcript
00:03
When you import features from the GIS gateway,
00:06
some information may not be present and needs to be added manually to the model.
00:10
For example, you can add pipe roughness to all pipes using the DB editor
00:17
to begin double click the desired project dot APR
00:20
file to open
00:22
Agis Pro.
00:24
Once the project starts,
00:25
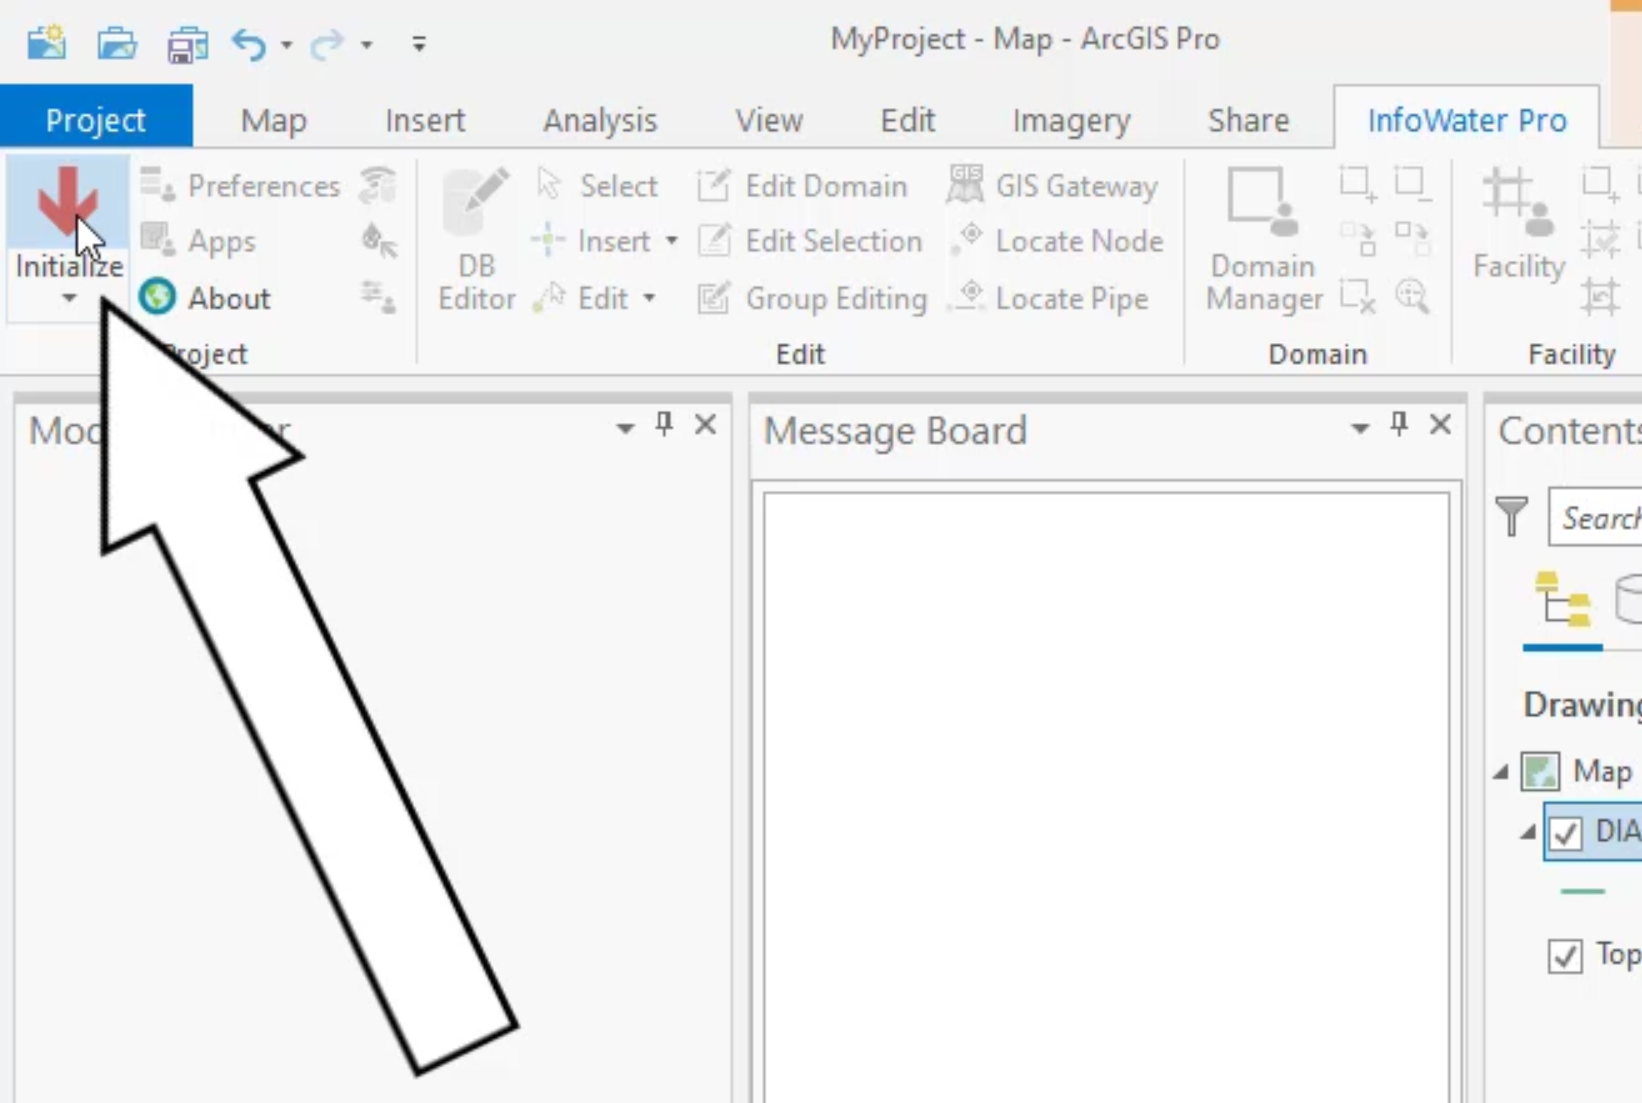
click the info water pro tab to open the info water pro ribbon
00:30
in the project panel, click initialize
00:35
on the info water pro ribbon
00:37
in the edit panel. Click DB editor
00:42
the element hydraulic data dialog box opens
00:46
under the data table in the element hydraulic data folder,
00:49
select pipe hydraulic modeling data
00:53
and then click OK.
00:55
The DB editor appears
00:57
you can maximize the DB editor dialog box if needed.
01:02
Click the roughness column heading to select and highlight the whole column.
01:07
Then from the toolbar, click the block editing icon to open the block,
01:11
edit dialogue,
01:13
expand the operation dropdown,
01:15
select set equal
01:17
and enter a value of 110
01:21
click. OK.
01:25
Notice that the roughness is now assigned a value of 110 for all Piros.
01:31
Click a cell to end the selection of the entire column.
01:35
Click, save to save your changes and then exit to close the DB editor.
Video transcript
00:03
When you import features from the GIS gateway,
00:06
some information may not be present and needs to be added manually to the model.
00:10
For example, you can add pipe roughness to all pipes using the DB editor
00:17
to begin double click the desired project dot APR
00:20
file to open
00:22
Agis Pro.
00:24
Once the project starts,
00:25
click the info water pro tab to open the info water pro ribbon
00:30
in the project panel, click initialize
00:35
on the info water pro ribbon
00:37
in the edit panel. Click DB editor
00:42
the element hydraulic data dialog box opens
00:46
under the data table in the element hydraulic data folder,
00:49
select pipe hydraulic modeling data
00:53
and then click OK.
00:55
The DB editor appears
00:57
you can maximize the DB editor dialog box if needed.
01:02
Click the roughness column heading to select and highlight the whole column.
01:07
Then from the toolbar, click the block editing icon to open the block,
01:11
edit dialogue,
01:13
expand the operation dropdown,
01:15
select set equal
01:17
and enter a value of 110
01:21
click. OK.
01:25
Notice that the roughness is now assigned a value of 110 for all Piros.
01:31
Click a cell to end the selection of the entire column.
01:35
Click, save to save your changes and then exit to close the DB editor.
When you import features from the GIS Gateway, some information may not be present and needs to be added manually to the model. For example, you can add pipe roughness to all pipes using the DB Editor.

In the ribbon, Edit panel, click DB Editor.
In the Element Hydraulic Data dialog box, Data Table, expand the Element Hydraulic Data folder.


Notice that the roughness is now assigned a value of 110 for all pipe rows:

Sign in to start learning
Sign in for unlimited free access to all learning content.Save your progress
Take assessments
Receive personalized recommendations
May we collect and use your data?
Learn more about the Third Party Services we use and our Privacy Statement.May we collect and use your data to tailor your experience?
Explore the benefits of a customized experience by managing your privacy settings for this site or visit our Privacy Statement to learn more about your options.