00:04
A scenario may simulate a unique portion of the system or the entire network.
00:10
proposed pipes should not be included in
00:13
a scenario that represents the existing conditions
00:18
You specify scenario facilities for all the scenarios which have
00:22
already been set up with various conditions and query set definitions
00:30
Double click the desired project dot APR X file to open
00:36
Once the project starts,
00:37
click the info water pro tab to open the info water pro ribbon
00:42
in the project panel, click initialize
00:46
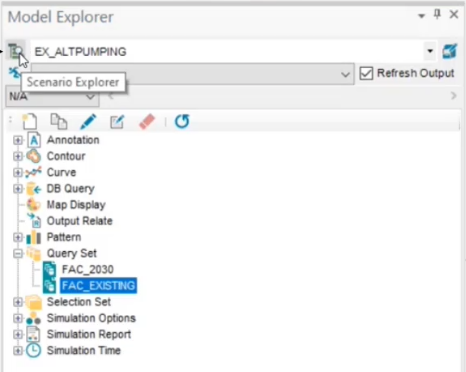
in the model explorer on the attribute tab, click the scenario explorer icon
00:52
in the scenario explorer under network data scenarios,
00:55
select base base network scenario and then in the toolbar click activate
01:02
an active scenario cannot be edited.
01:05
activating the base scenario ensures that all child scenarios can be edited.
01:11
You can now specify the facility for each child scenario,
01:15
select the existing scenario
01:17
and then click the facility tab,
01:20
click query set and then expand the dropdown and choose fac
01:25
repeat this process for the two remaining existing scenarios,
01:31
to specify the same facilities to each
01:37
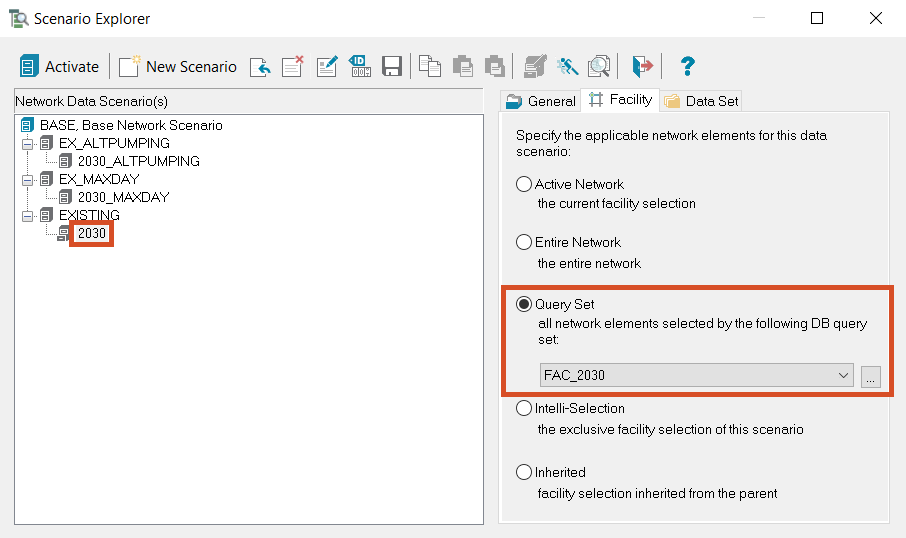
next. You need to assign the 2030 facilities to each of the 2030 sub scenarios,
01:44
select the 2030 scenario and then in the facility tab click query set,
01:50
expand the dropdown and select fac
01:54
repeat this for the two remaining 2030 scenarios, 2030 alt pumping and 2030 max day
02:02
when you are finished, click exit to close the scenario manager
02:07
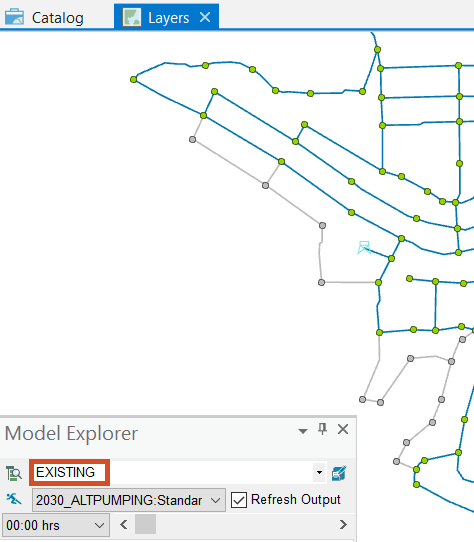
in the model explorer,
02:08
use the scenario dropdown list to cycle through
02:11
and activate the various existing and 2030 scenarios.
02:15
Verify that the correct features are activated for each scenario. In the map,
02:20
all proposed pipes and junctions should be
02:22
displayed as gray for the existing scenarios.
02:25
No pipes or junctions should display as gray for the 2030 scenarios.