00:03
When you import a model and make manual fixes and adjustments,
00:07
junctions may not have elevation data.
00:10
The info water pro elevation extractor can be used
00:13
to populate junction elevations using the raster elevation data set
00:19
double click the desired project dot APR file to open
00:25
Once the project starts,
00:26
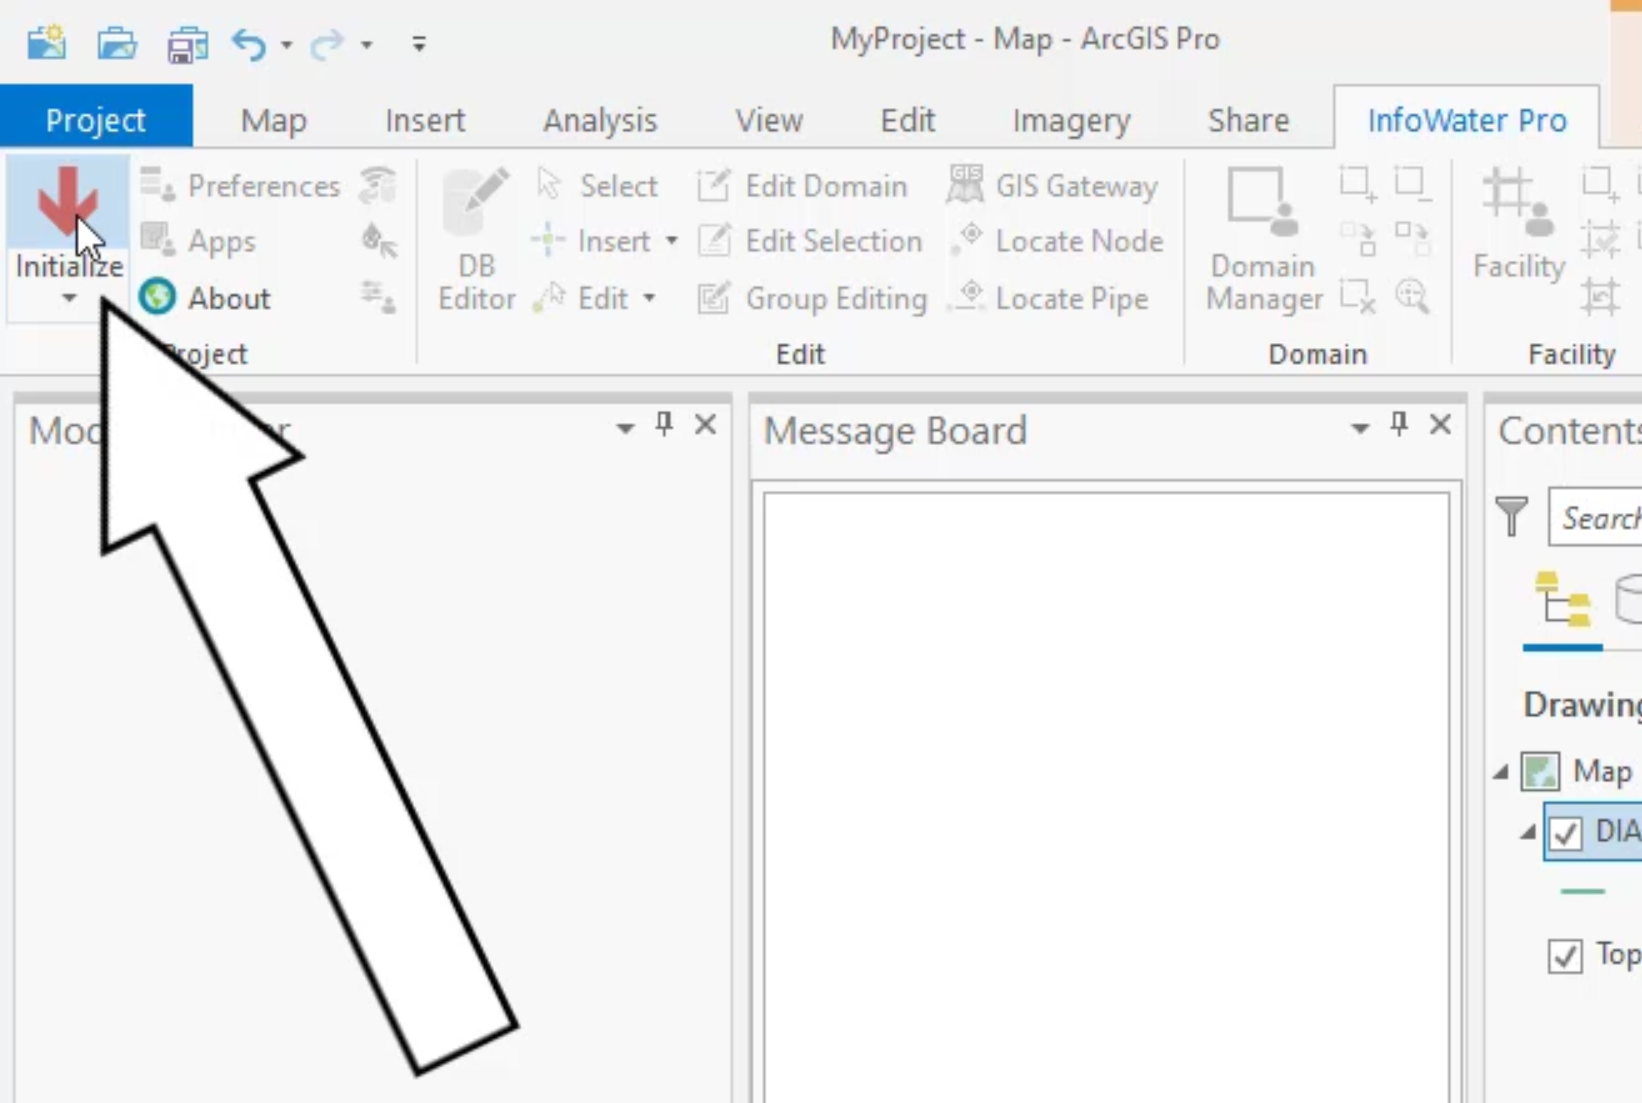
click the info water pro tab to open the info water pro ribbon
00:31
in the project panel, click initialize
00:36
GS pro toolbar in the layer panel. Click add data
00:43
dialogue browse two and double click the desired dot GDB file to
00:47
expand it such as city data dot GDB for this exercise.
00:52
Then select the raster dataset you need in this case elevation
00:59
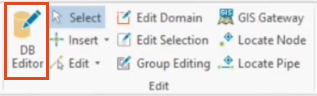
on the info water pro ribbon in the edit panel, click DB editor,
01:04
the DB editor opens showing the opentable junction demand modeling data dialogue
01:11
in the data table. Tab expand the element information data folder,
01:16
double click junction information.
01:18
Now the junction information table populates the DB editor
01:22
notice that the elevation column is empty.
01:25
Close the DB editor,
01:28
you can use the elevation extractor to populate the elevation information
01:32
but be aware that this tool only accepts raster files
01:35
from the command center tab in the model explorer, expand the tools folder,
01:40
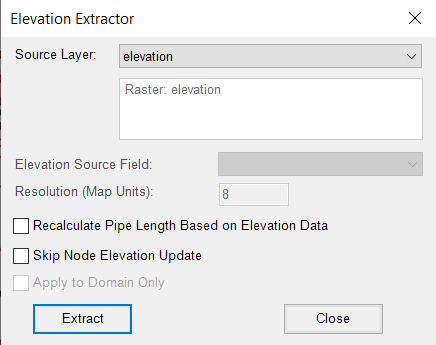
then double click elevation extractor
01:44
in the elevation extractor dialogue, set the source layer to elevation
01:48
and then click extract.
01:51
If you do not see elevation listed here as a layer,
01:54
then the elevation data is likely in another file type.
01:58
The elevation extractor takes the value
01:60
of the pixel corresponding to each junction
02:02
and assigns it in the elevation field of
02:05
the info water pro information database table.
02:08
When you see a confirmation in the message
02:10
board that the elevation data extraction is finished,
02:13
you can close the extractor
02:16
reopen the database editor by selecting DB editor element information, data
02:21
junction information.
02:23
And you can see that elevation data is now contained in the database table.