00:04
Background layers applied to the GEO plan in info works.
00:07
WS pro provide a sense of scale to a water supply model
00:10
to make it easier to understand all that the model encompasses.
00:14
They are also very useful because they provide the ability to
00:17
query objects or even find customers based on GIS information.
00:23
One way to access background layers is
00:25
by importing them into your network's GEO plan
00:28
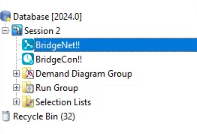
to begin open the network and view the GEO plan
00:32
for this exercise from the model group window
00:34
expand session two and select bridge net.
00:38
The GEO plan displays
00:41
to maximize the usability of background layers.
00:44
It is good practice to toggle off the GEO plan's default hatched polygon display,
00:50
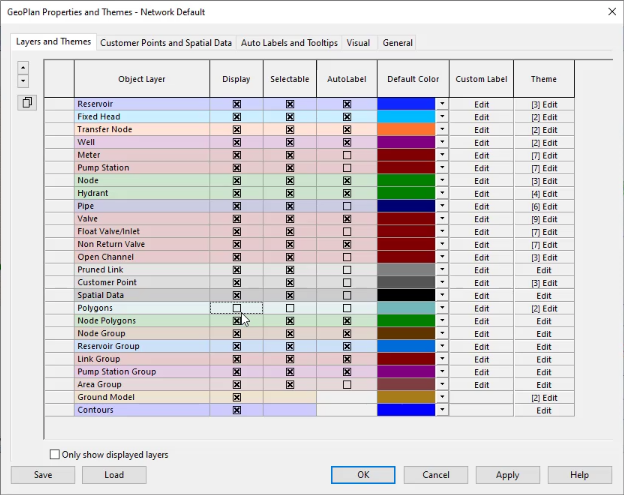
right, click the GEO plan and from the shortcut menu, select properties and themes.
00:56
This displays the GEO plan properties and themes dialogue
01:01
in the polygon row deselect. The display option
01:06
on the GEO plan, the polygons are now hidden
01:10
now you can import a background layer
01:13
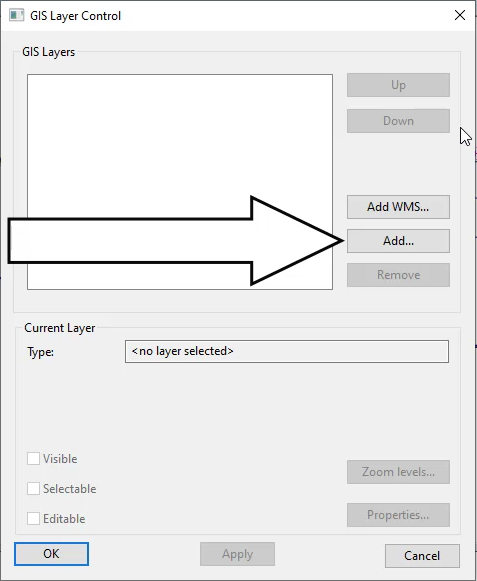
right, click the GEO plan and from the shortcut menu select layer control,
01:18
this displays the GIS
01:19
layer control dialogue which is used to control
01:22
how layers are displayed in the GEO plan window
01:26
from here, you can add a web map service layer by inserting the relevant
01:31
or you can add a layer extracted from your GIS
01:36
Often for ease of usability and speed.
01:38
You will be adding layers from your GIS software
01:42
to do this from the layer control dialogue. Click add to open your file explorer.
01:47
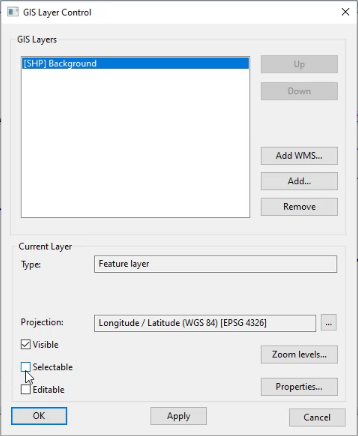
Next, navigate to background dot SHH
01:55
in the list of GIS layers. the background shape file displays
01:60
from the current layer group.
02:01
You can also configure the layers type and projection if you wish.
02:07
Because this layer is a background,
02:09
it is important that you do not accidentally select it while working with the model
02:21
The background layer displays on the GEO plan
02:25
importing background layers into info works.
02:27
WS pro allows you to easily review and
02:30
query important elements of your network model.