00:04
When you decide the changes you have made to a
00:06
certain object or a group of objects meet your needs.
00:09
Within a scenario, you can make it your baseline scenario moving forward
00:14
with the bridge net and bridge con control open
00:17
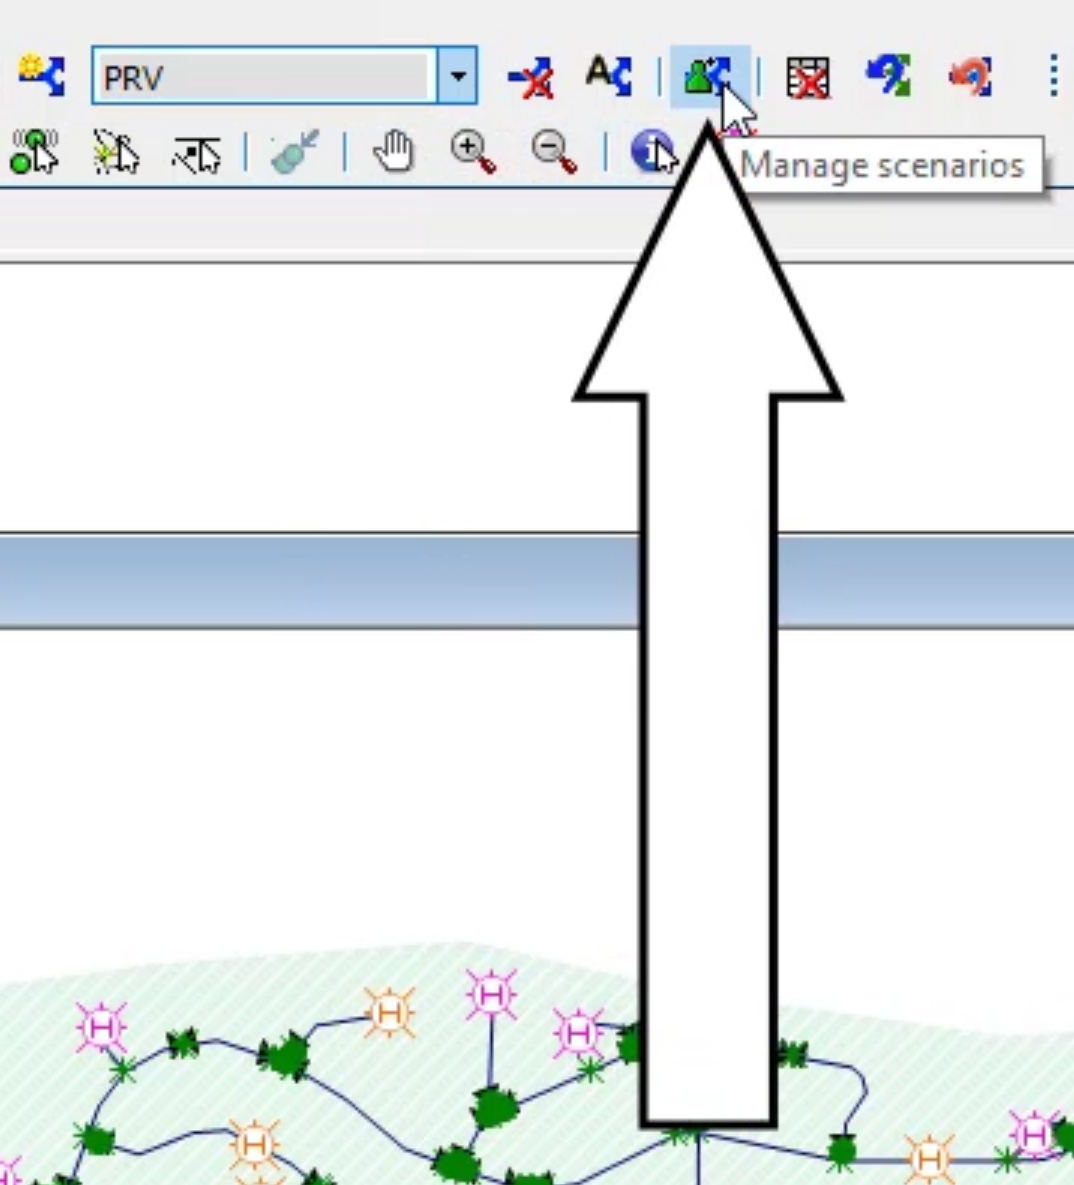
in the workspace and set to the PRV scenario.
00:20
In the toolbar, click manage scenarios.
00:23
A notification appears asking what type of scenario you want to manage,
00:28
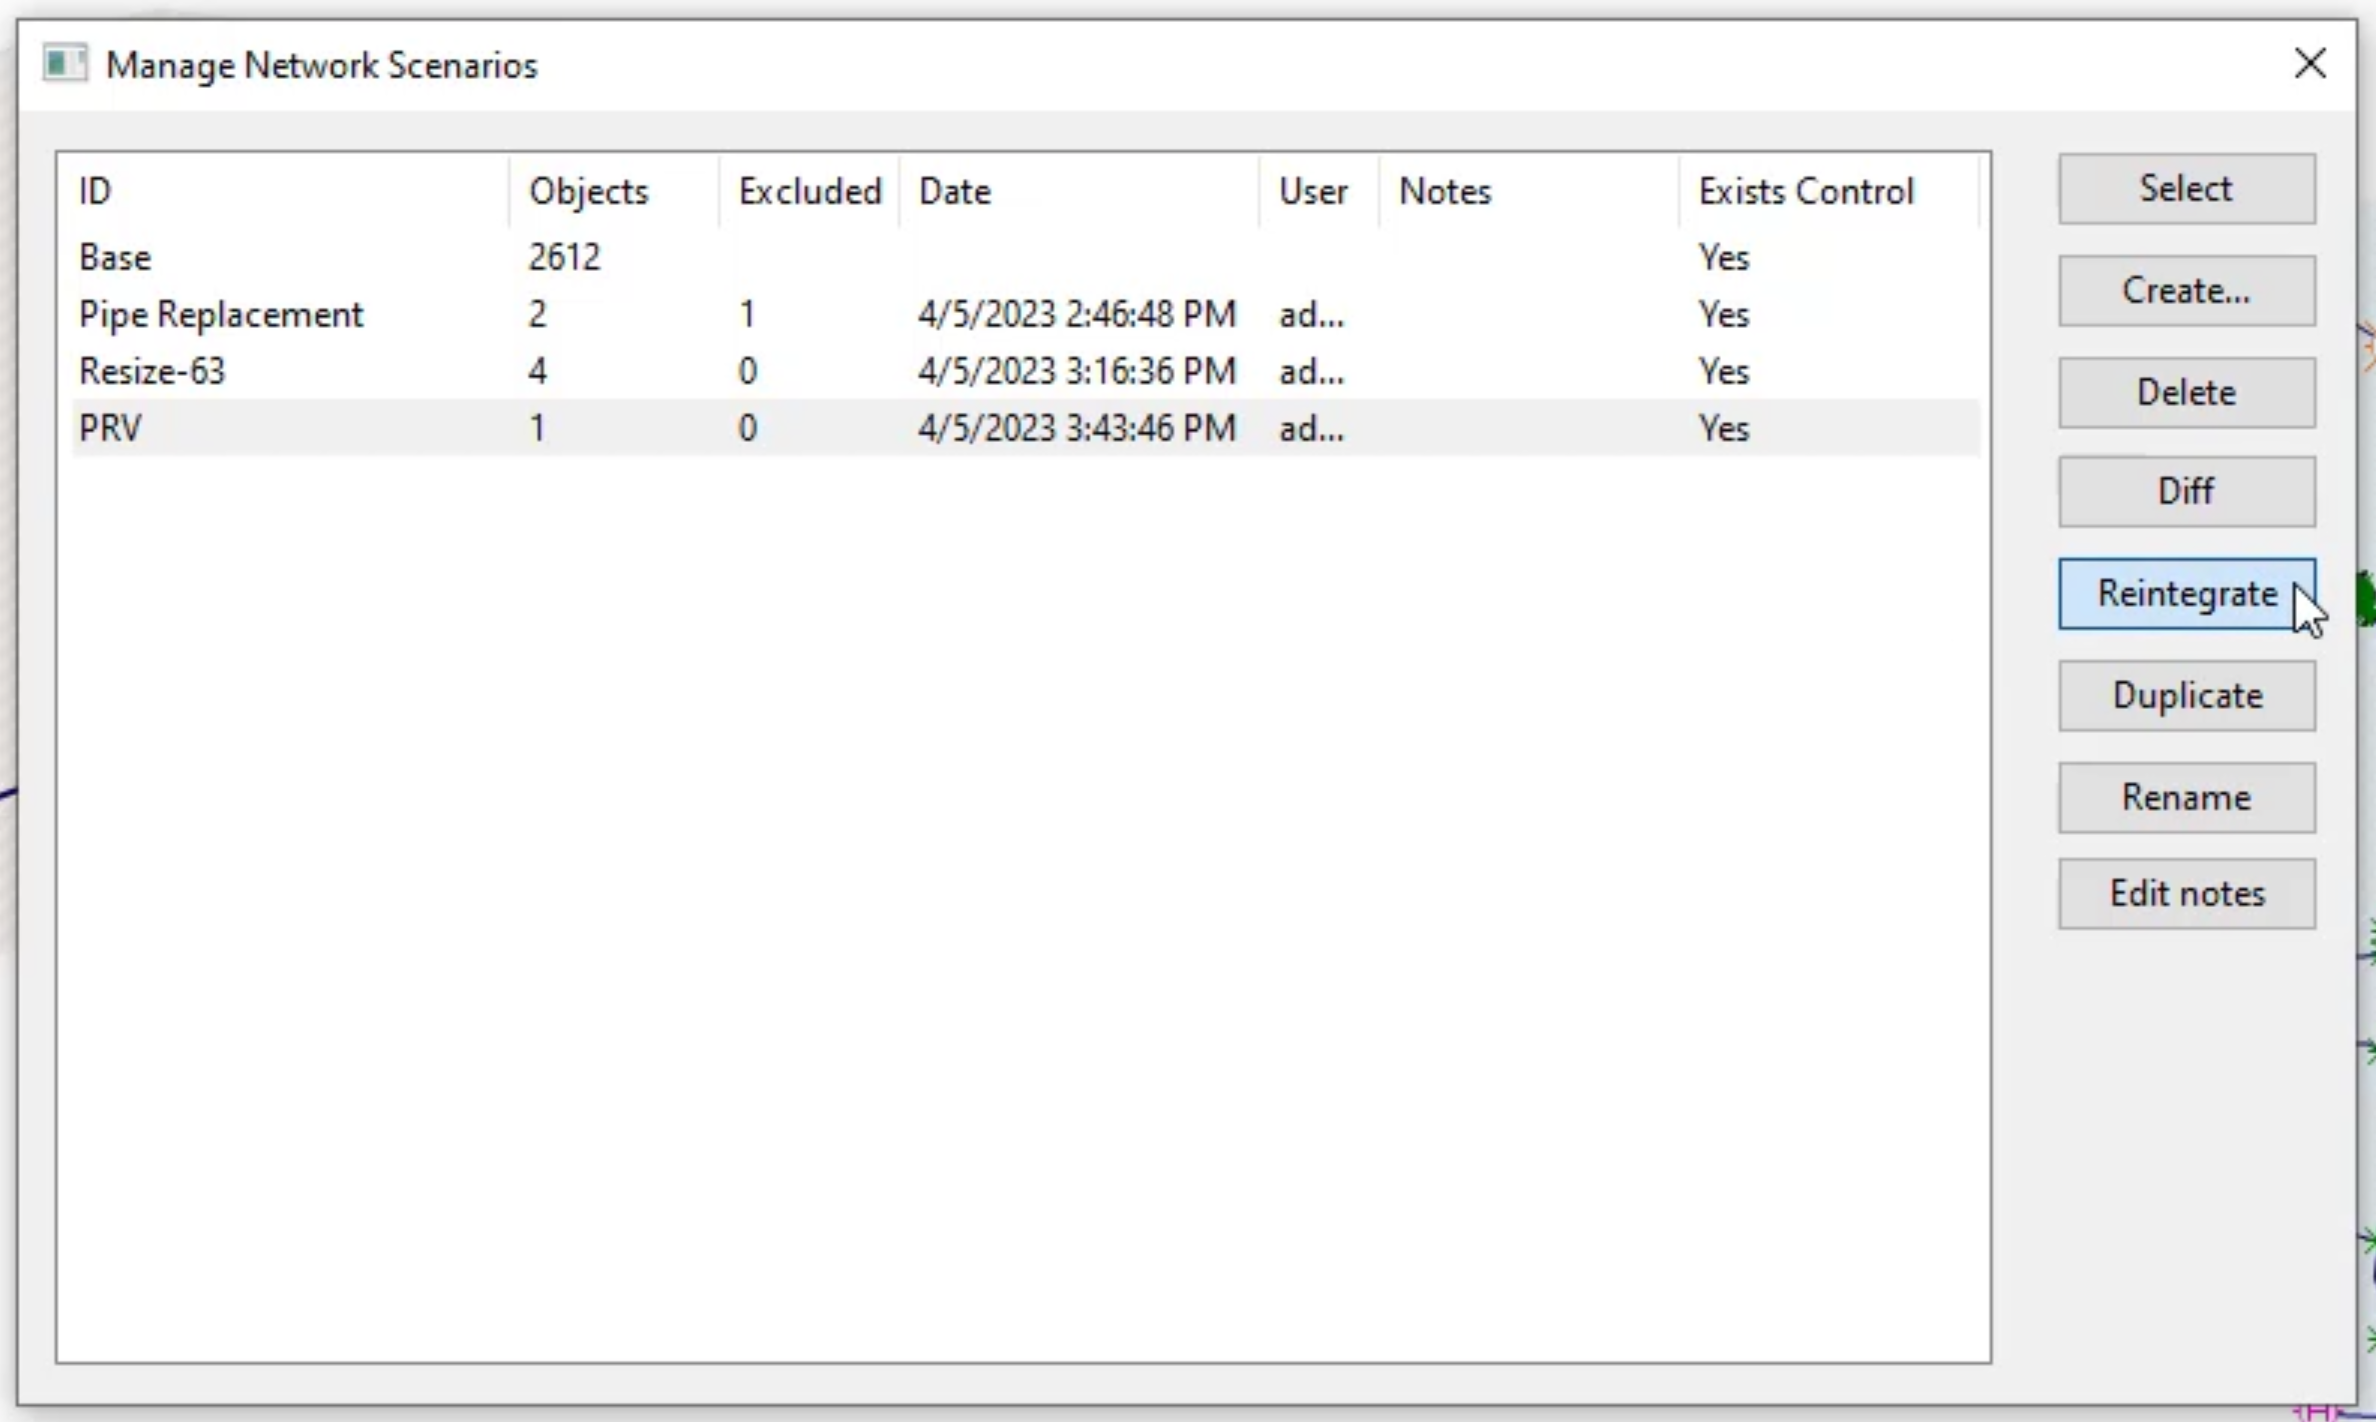
click network to open the managed network scenario's dialogue.
00:33
Notice that the PRV scenario is highlighted at the bottom of the list
00:37
to make this scenario, the new baseline scenario, click reintegrate
00:43
In the notification that appears asking if you want to reintegrate this scenario.
00:49
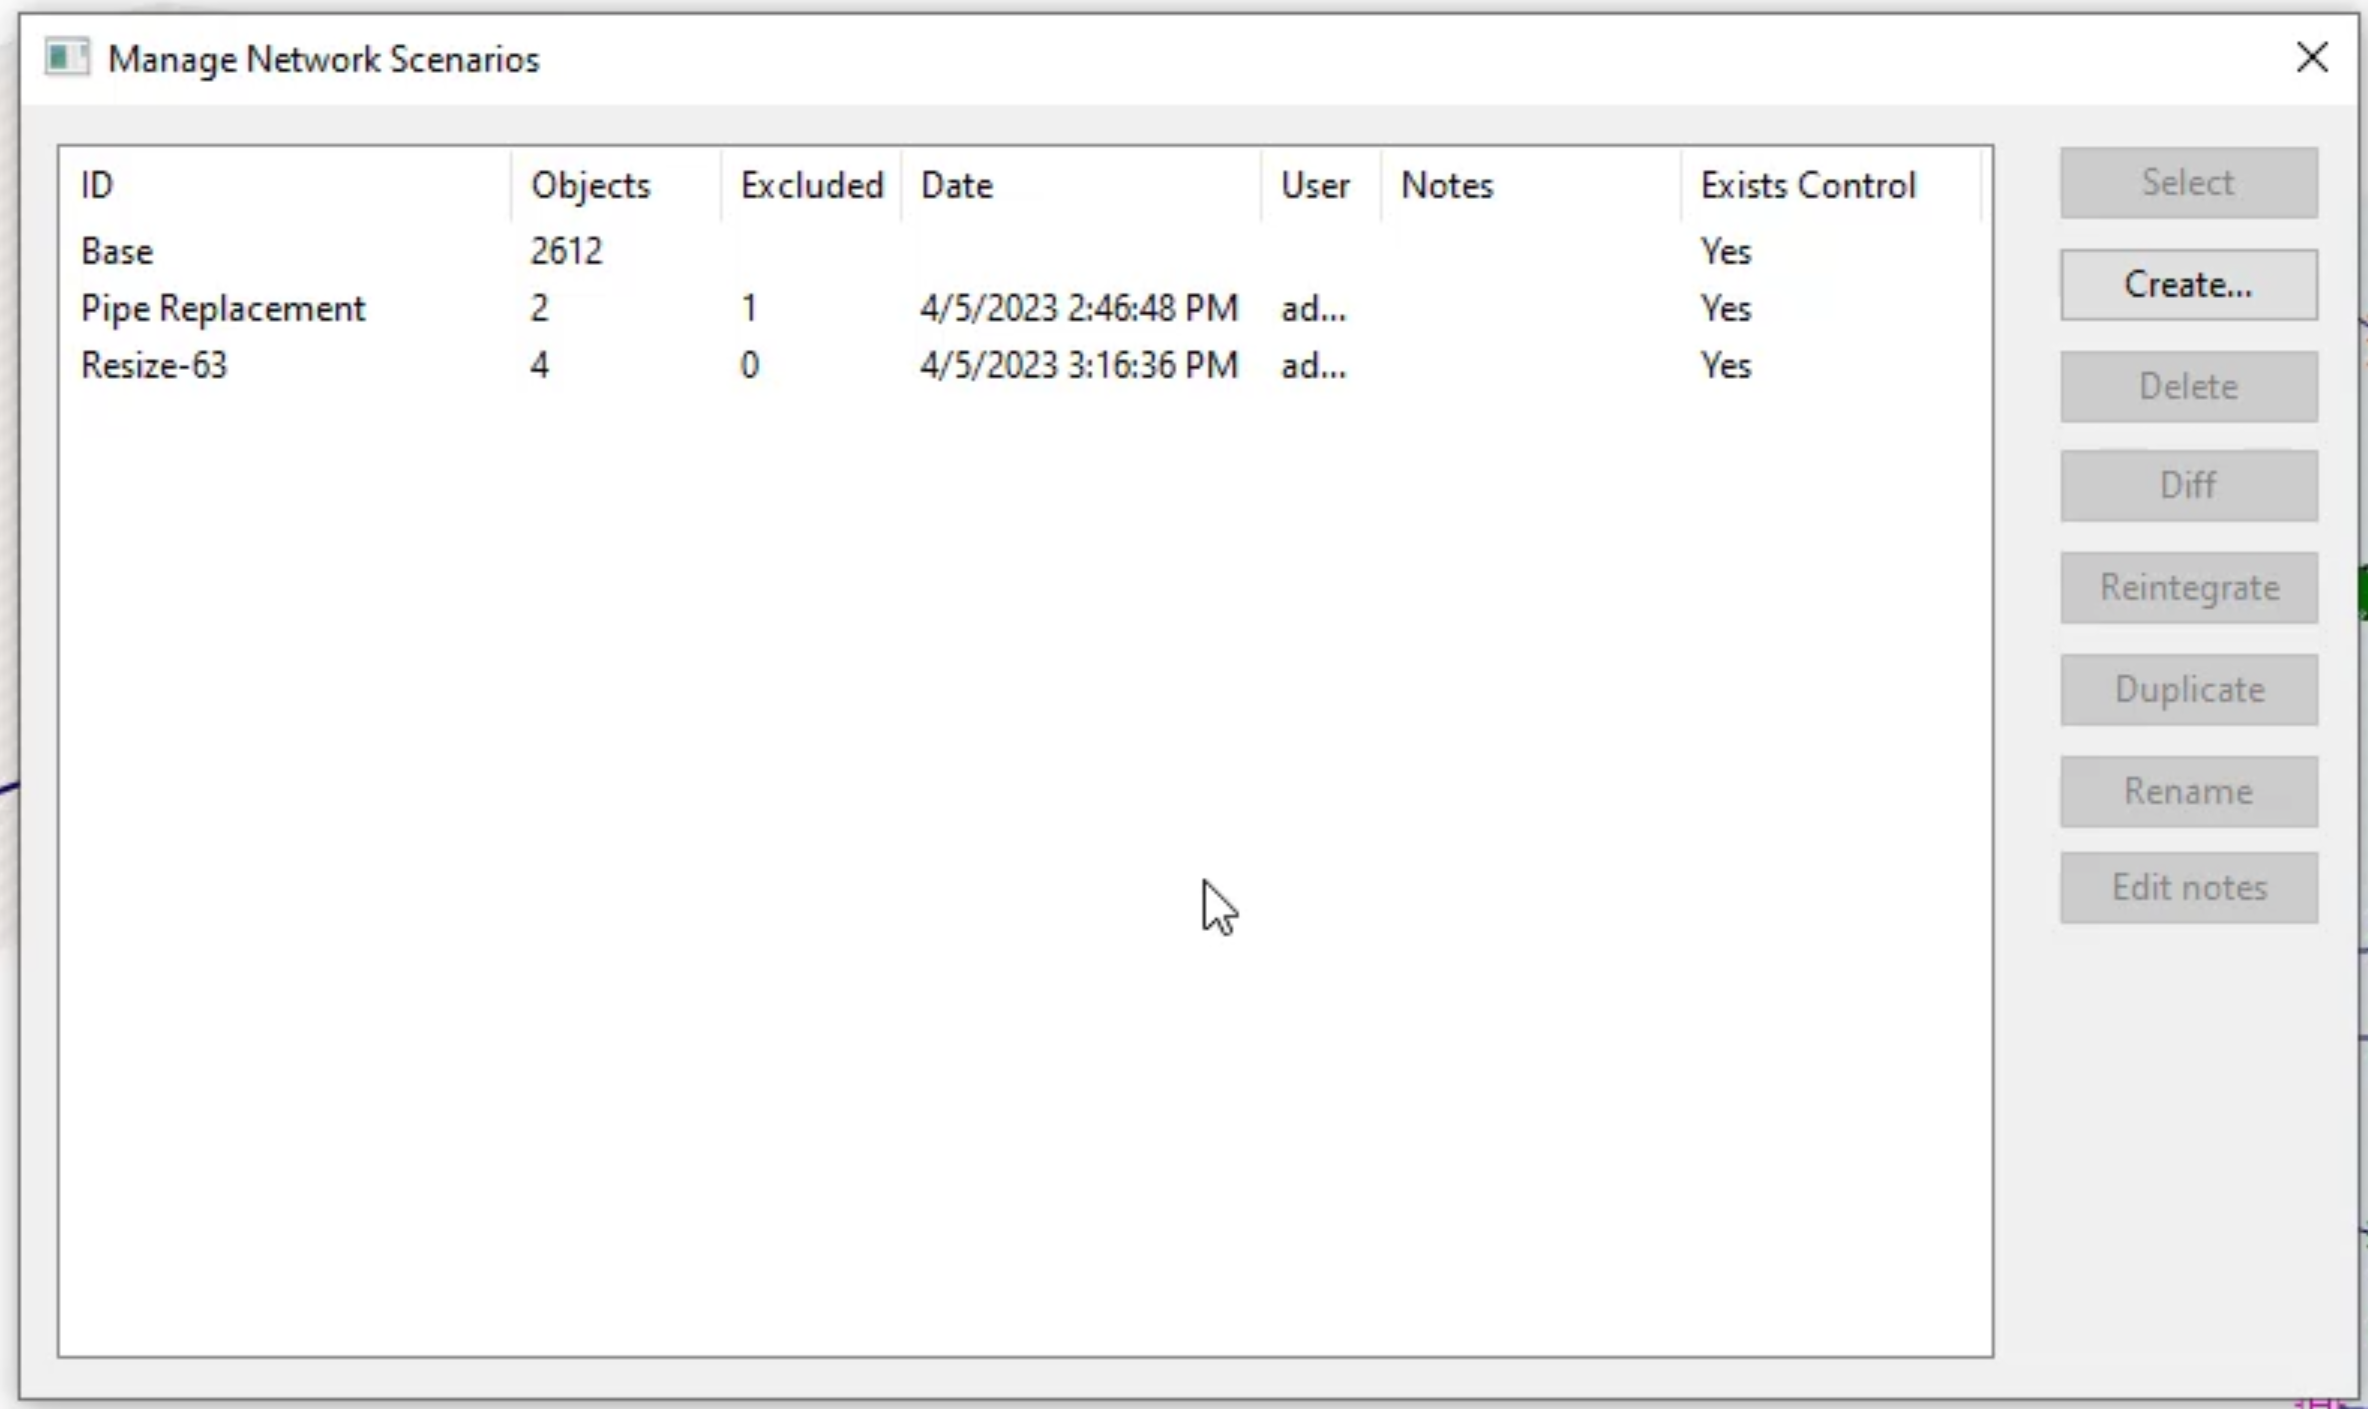
The PRV scenario is promoted to base and the
00:52
name PRV disappears from the list of scenarios,
01:01
with the new base scenario set.
01:02
You can see that the new profile you set
01:04
earlier is in place by viewing the PRVS properties.
01:09
You can also rerun the baseline simulation and graph
01:12
the results which also reflect the prvs new profile.
01:16
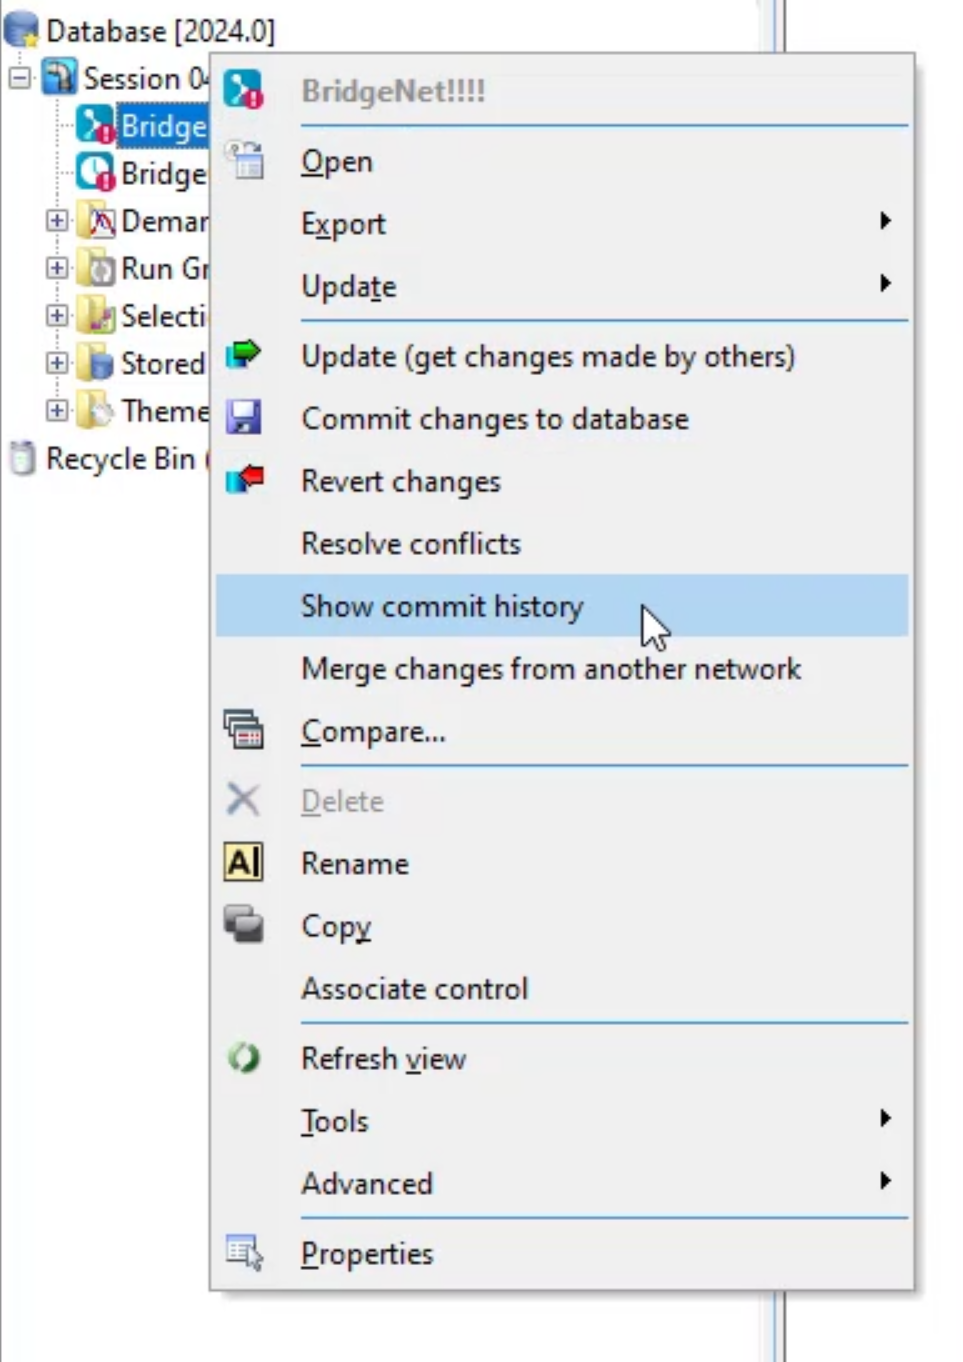
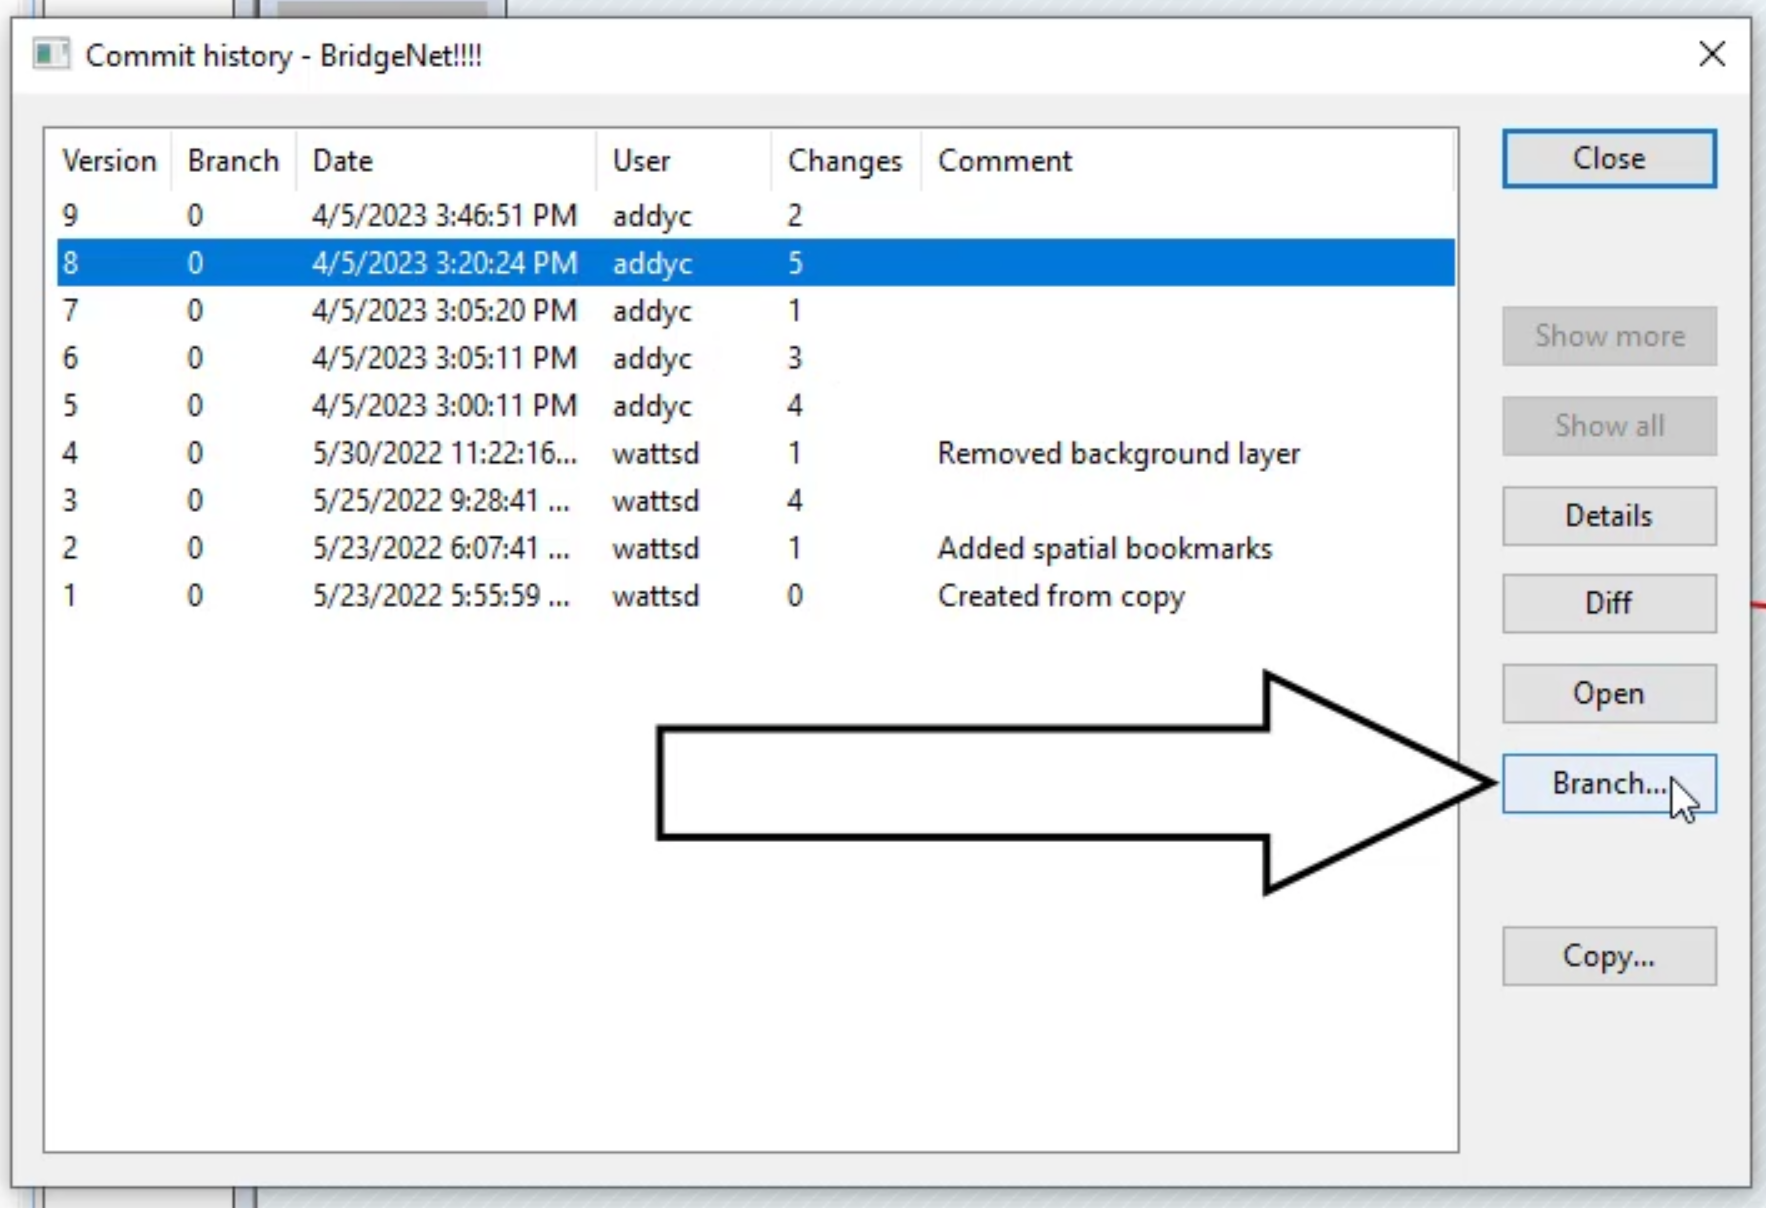
If you decide you do not want a scenario you have set as the new baseline,
01:20
you can open the base scenario and view its commit history.
01:24
In this example, version nine is the unwanted scenario.
01:29
Highlight version eight and click the branch button,
01:35
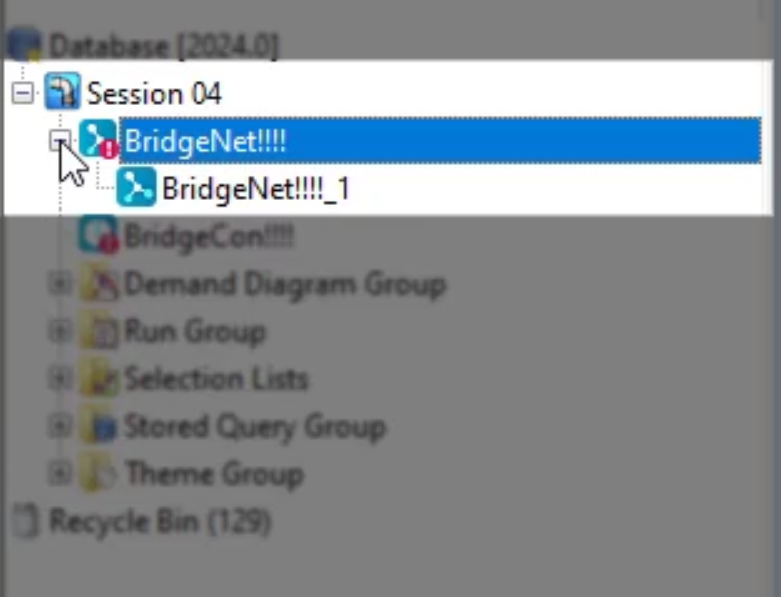
In the model group window,
01:37
the newly branched scenario now appears under the base scenario.