00:04
WS pro features several tools that make it easy to select and locate
00:08
specific objects in a model as well as view their properties and attributes
00:13
in the model group window.
00:14
Click and drag your network,
00:16
which in this example is bridge net into the
00:18
workspace to open the GEO plan and view it.
00:22
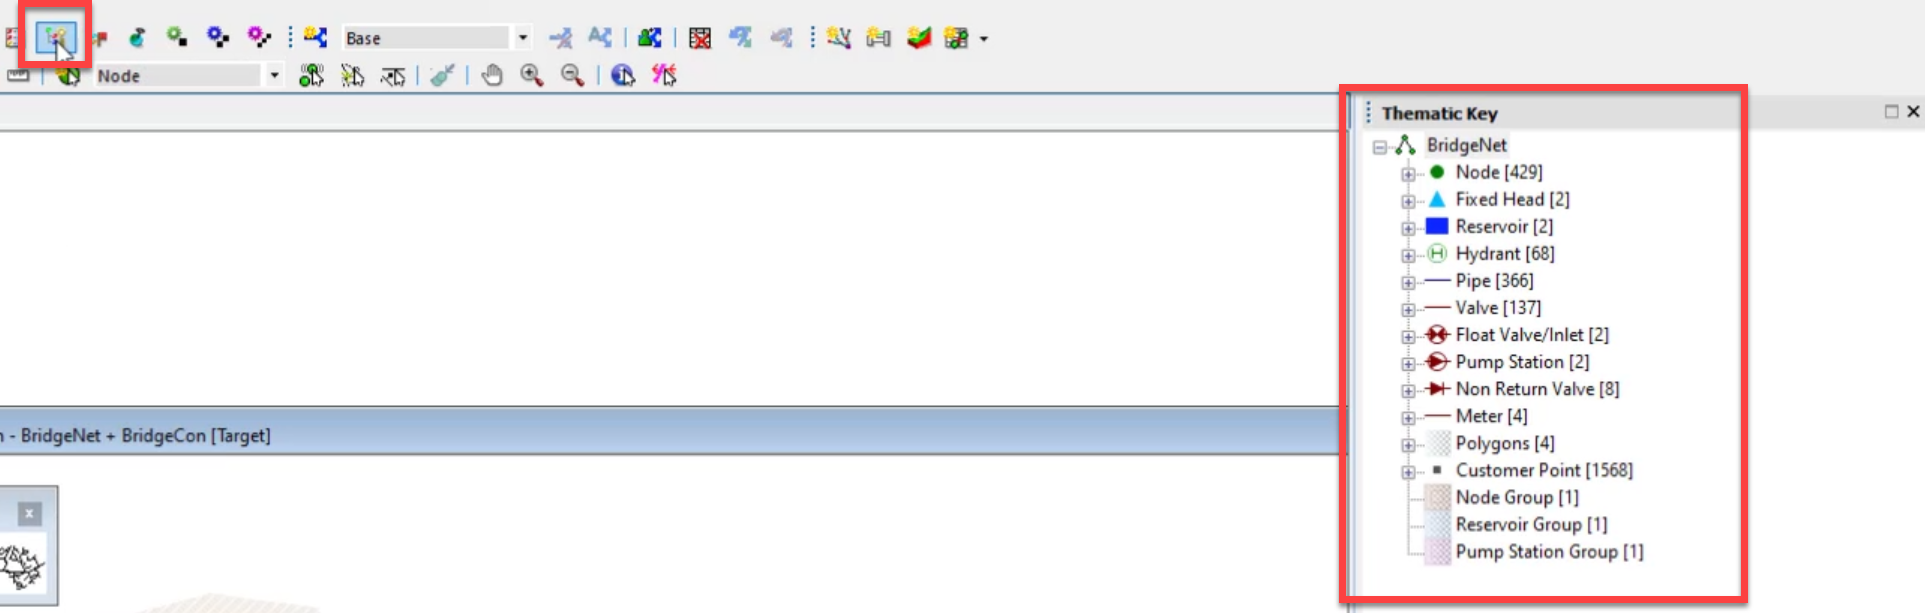
The network is populated with several different symbols or themes
00:26
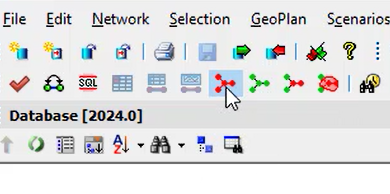
to understand what those themes represent on the toolbar.
00:30
Click the thematic key window button.
00:34
This opens the thematic key window which displays what each symbol represents.
00:39
You can zoom in and out by using the scroll wheel on your mouse.
00:43
If you need a larger view of the network,
00:45
you can expand it by double clicking the top of the GEO plan window,
00:50
you can return to the smaller windowed view
00:52
by double clicking the top of the workspace.
00:55
There are several selection tools available in the toolbar.
00:60
the select tool allows you to click on single
01:02
objects in the network which highlights them in red.
01:07
you can change that highlight color. If you prefer something different.
01:11
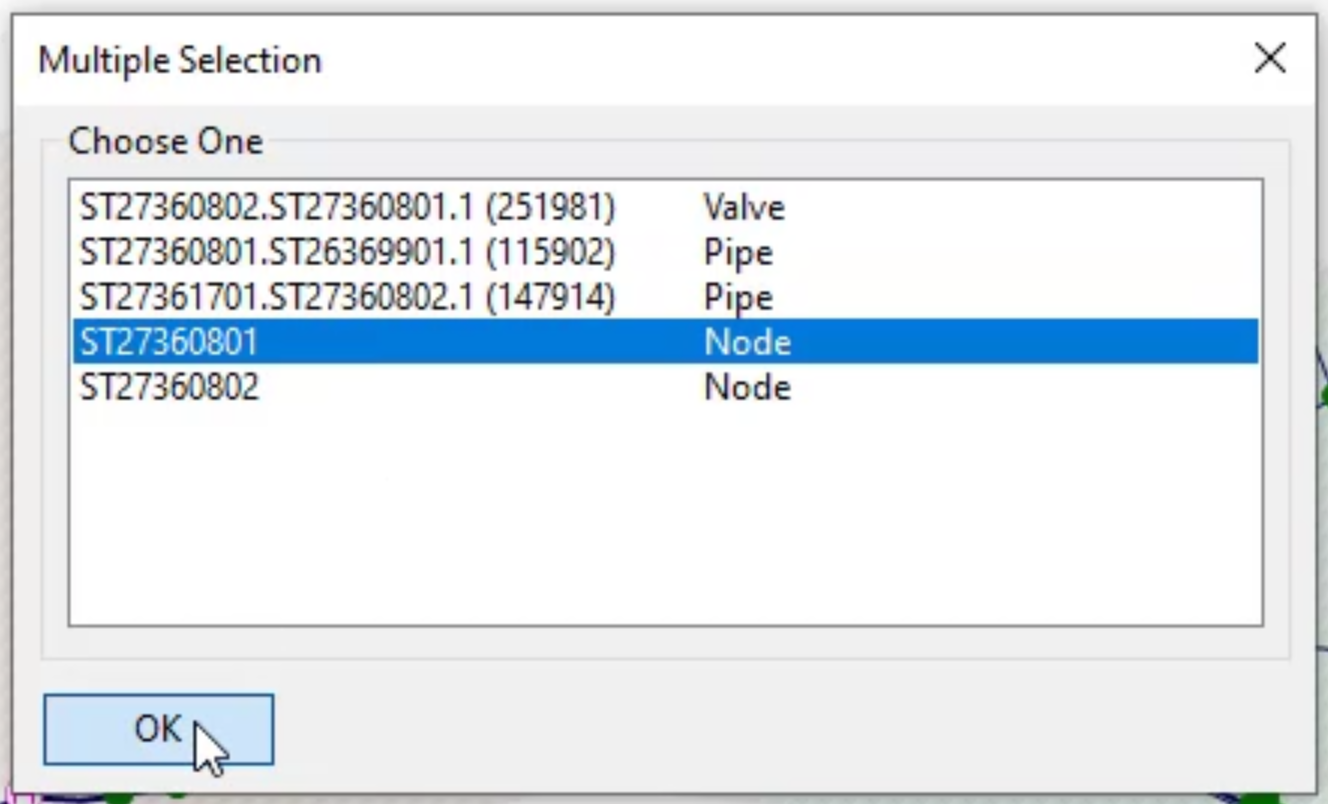
If you click an object that has several
01:13
other objects nearby or overlapping with each other.
01:16
A multiple selection dialogue will appear to ensure
01:19
that you are selecting the object you want.
01:23
In this example, the first node in the list is selected,
01:28
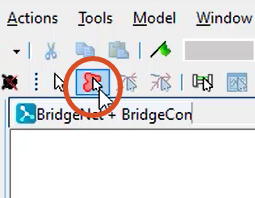
The polygon select tool allows you to
01:31
select an area that may include multiple objects
01:35
to start a polygon. Selection. Click once to create a start point
01:39
and then repeat this process to create the shape you want
01:43
double click the start point to close the polygon
01:46
and highlight all the objects within its boundaries.
01:49
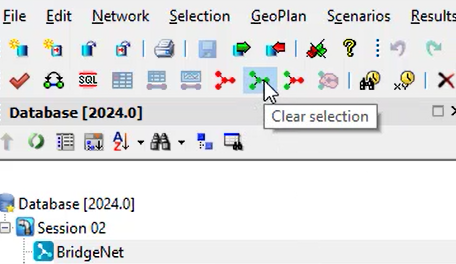
If you want to deselect objects, click the clear selection tool.
01:54
If you want to select all objects in the network, choose, select all objects.
01:59
Click clear selection.
02:03
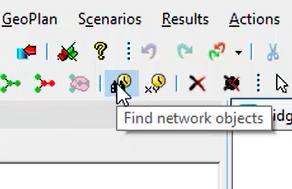
There may be times when you know an object or asset
02:06
ID but you do not know its location in the network
02:10
Click find network objects to open the network,
02:13
find dialogue where you can search for objects or assets by naming convention.
02:19
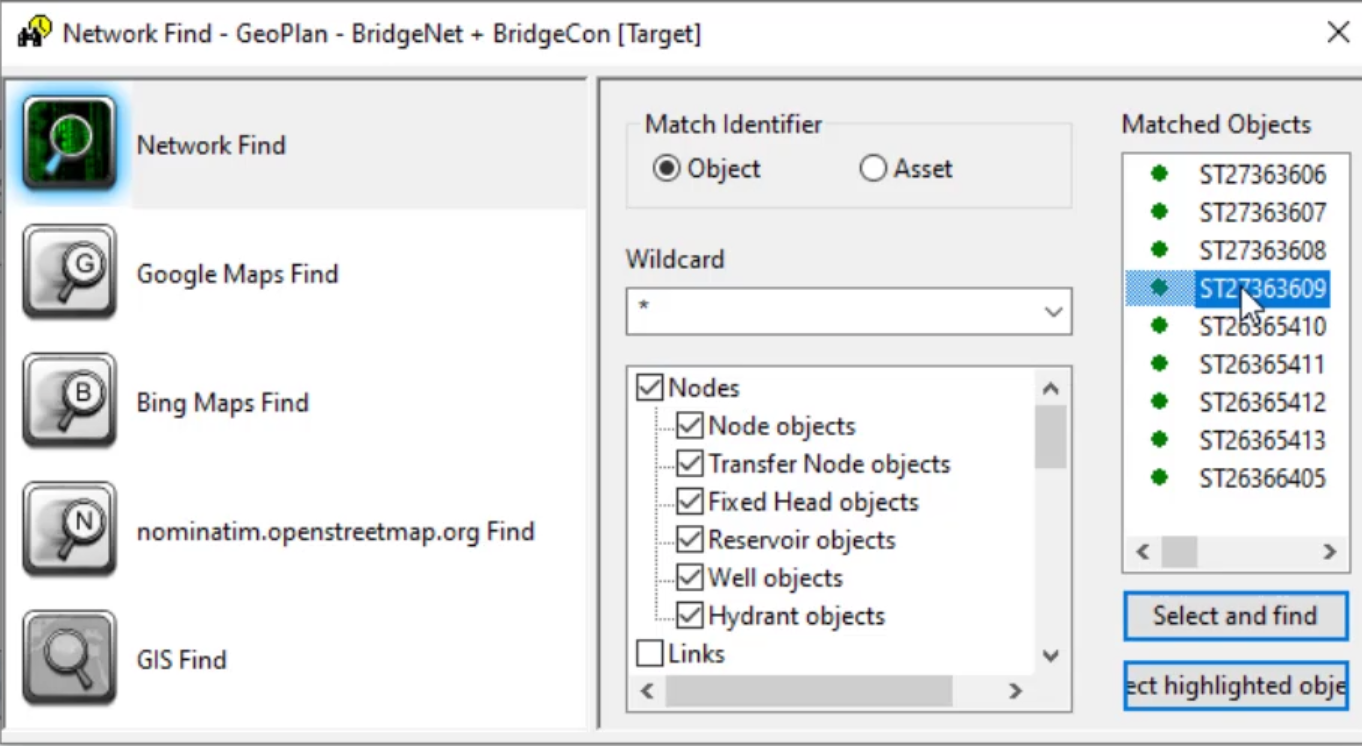
For example, if you were looking for a specific node,
02:22
you would check the box next to node.
02:25
Notice that the matched objects window populates a list of node ID numbers.
02:31
You can narrow down the list by typing or copying
02:34
and pasting the id into the wildcard type Boxx.
02:38
It is important to note that if you know only part of the ID,
02:41
leave the asterisk in the type box.
02:45
Once you find the object or asset you want, click to highlight it
02:49
and then click select and find
02:52
the object you searched for is now centered in the network.
02:56
You may also need to know the properties of certain objects in your network
03:00
in the toolbar, click properties
03:03
notice the cursor changes to reflect that the tool is active.
03:07
You can then click any object in the network to view its properties.
03:11
In this example, a meter is selected.
03:15
The property's window lists several of
03:17
the meters attributes including its definition,
03:19
shape and construction.
03:23
Anything listed in black text pertains to the physical network
03:27
and anything in orange text to the control behavioral properties
03:32
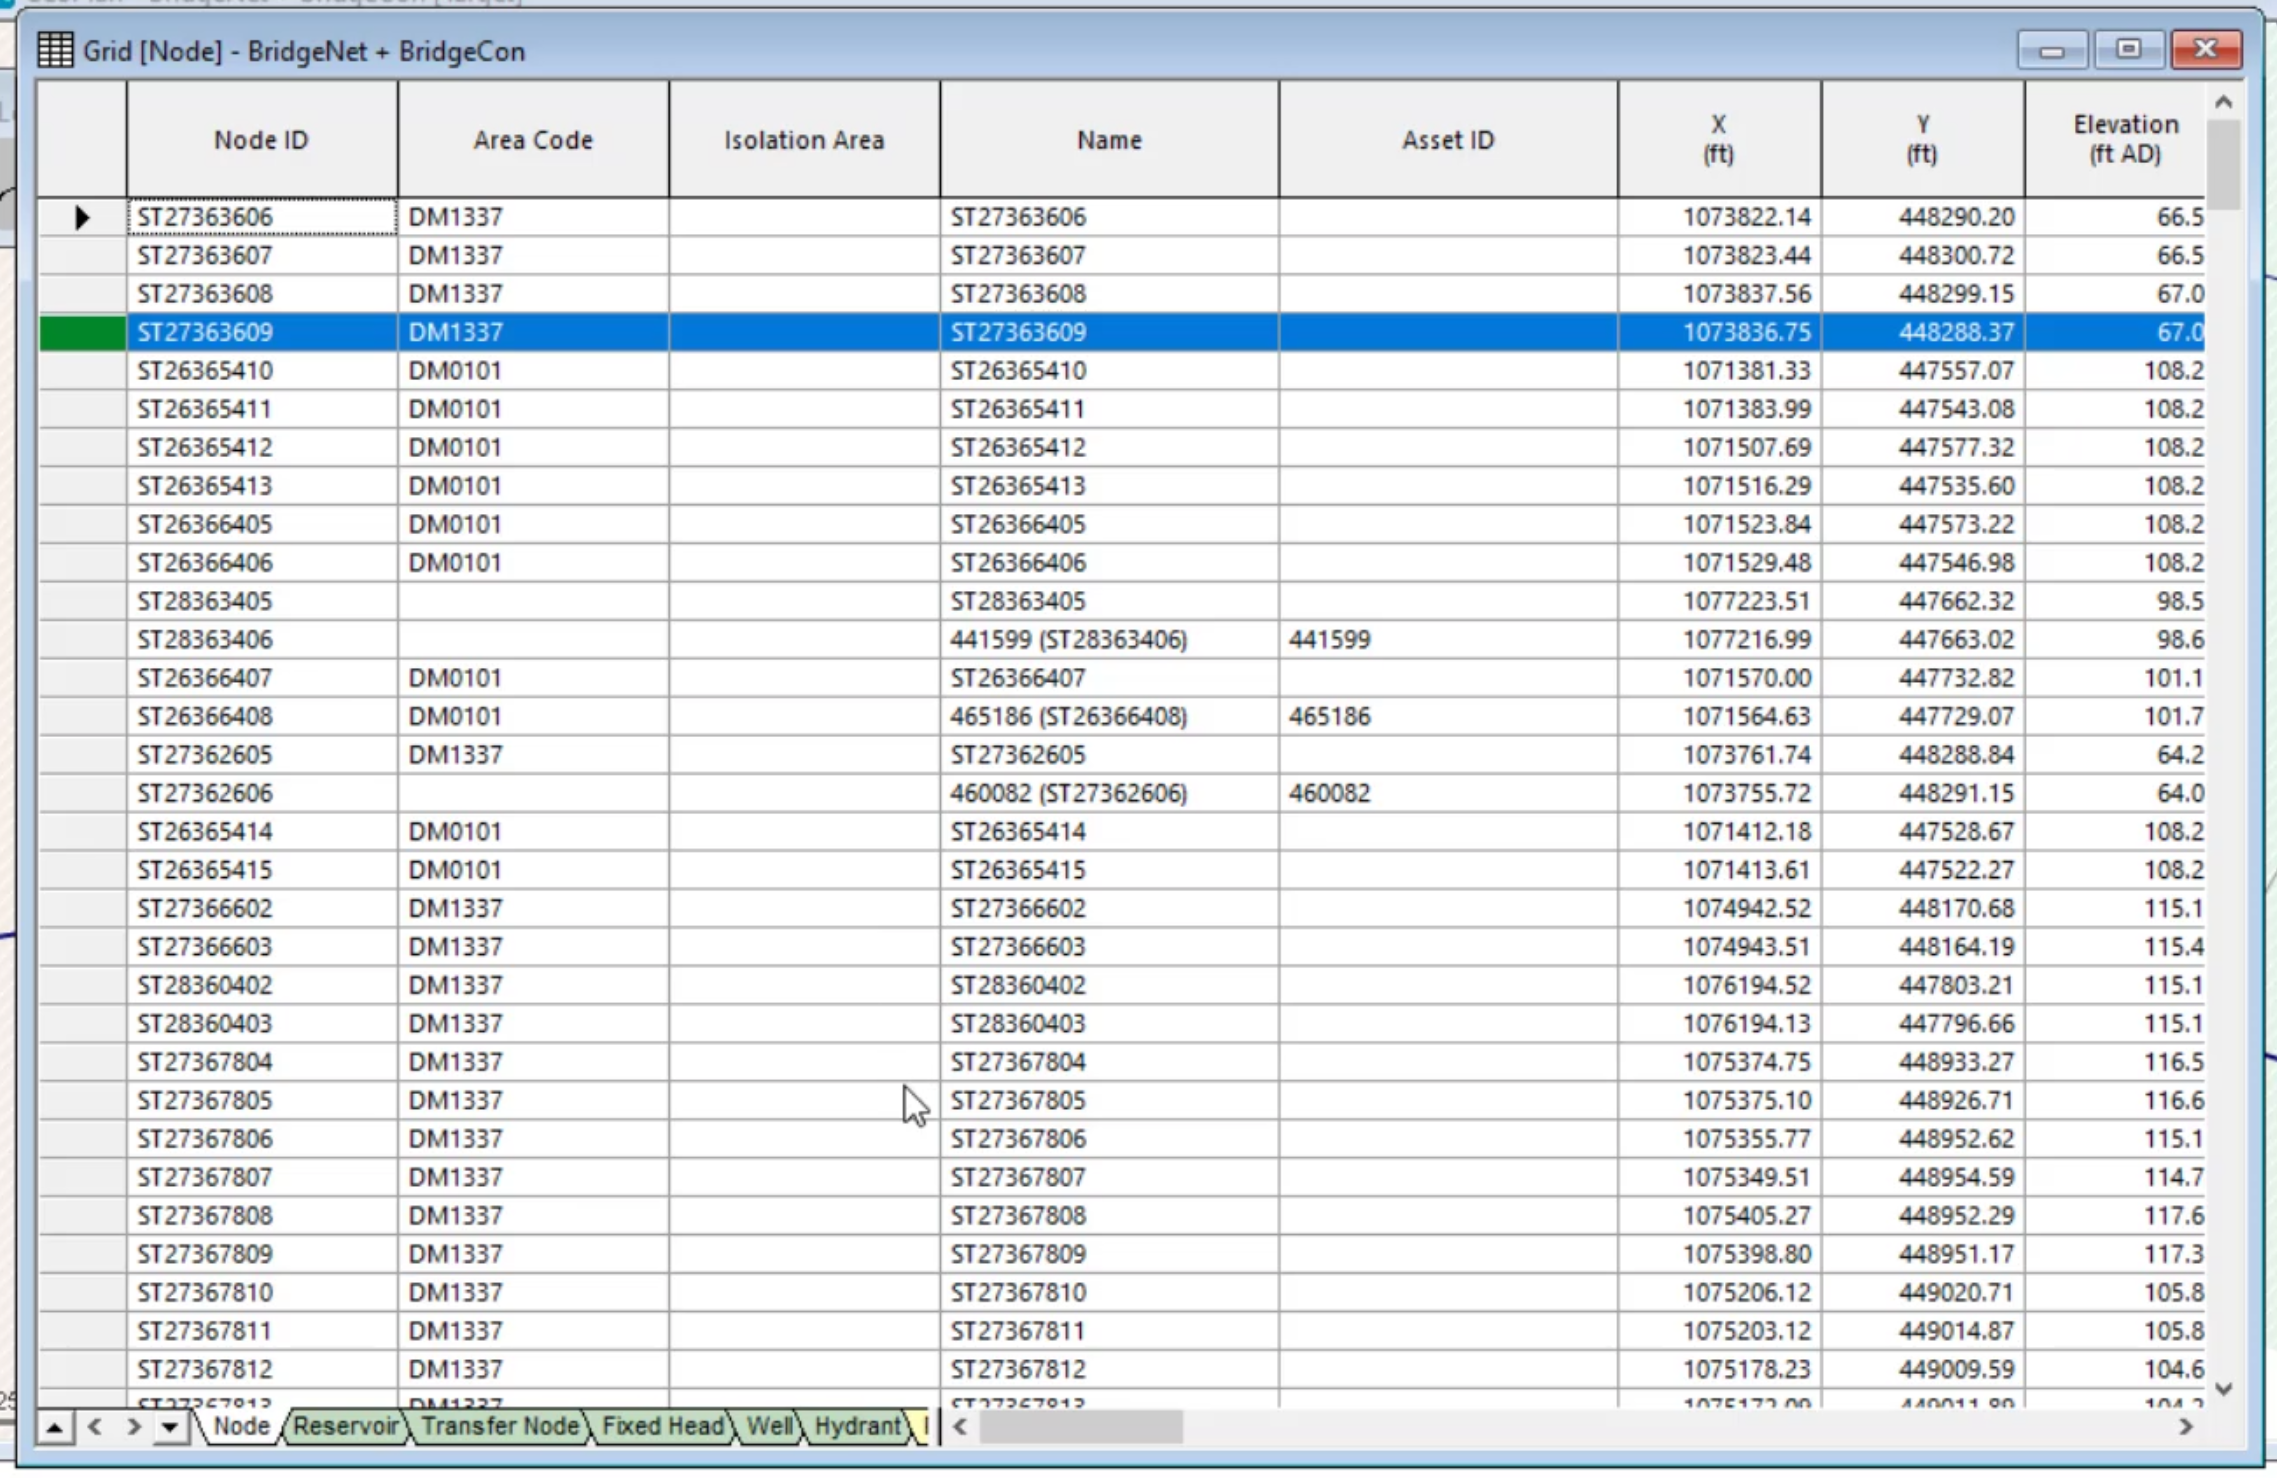
to view the properties of multiple objects at once in the toolbar.
03:36
Click the grid windows drop down.
03:38
In this example, select new nodes window.
03:42
This opens the grid node window where different
03:45
object types are grouped into tabs at the bottom
03:49
properties are listed by column in the grid.
03:53
objects listed in black refer to the physical network
03:56
and anything in orange refers to the control,