00:04
Once you have validated and committed a model in info works W S pro
00:08
A simulation is ready to be run,
00:11
expand the session 03 model group and right click run group,
00:15
then hover your cursor over new and pick run from the fly out
00:20
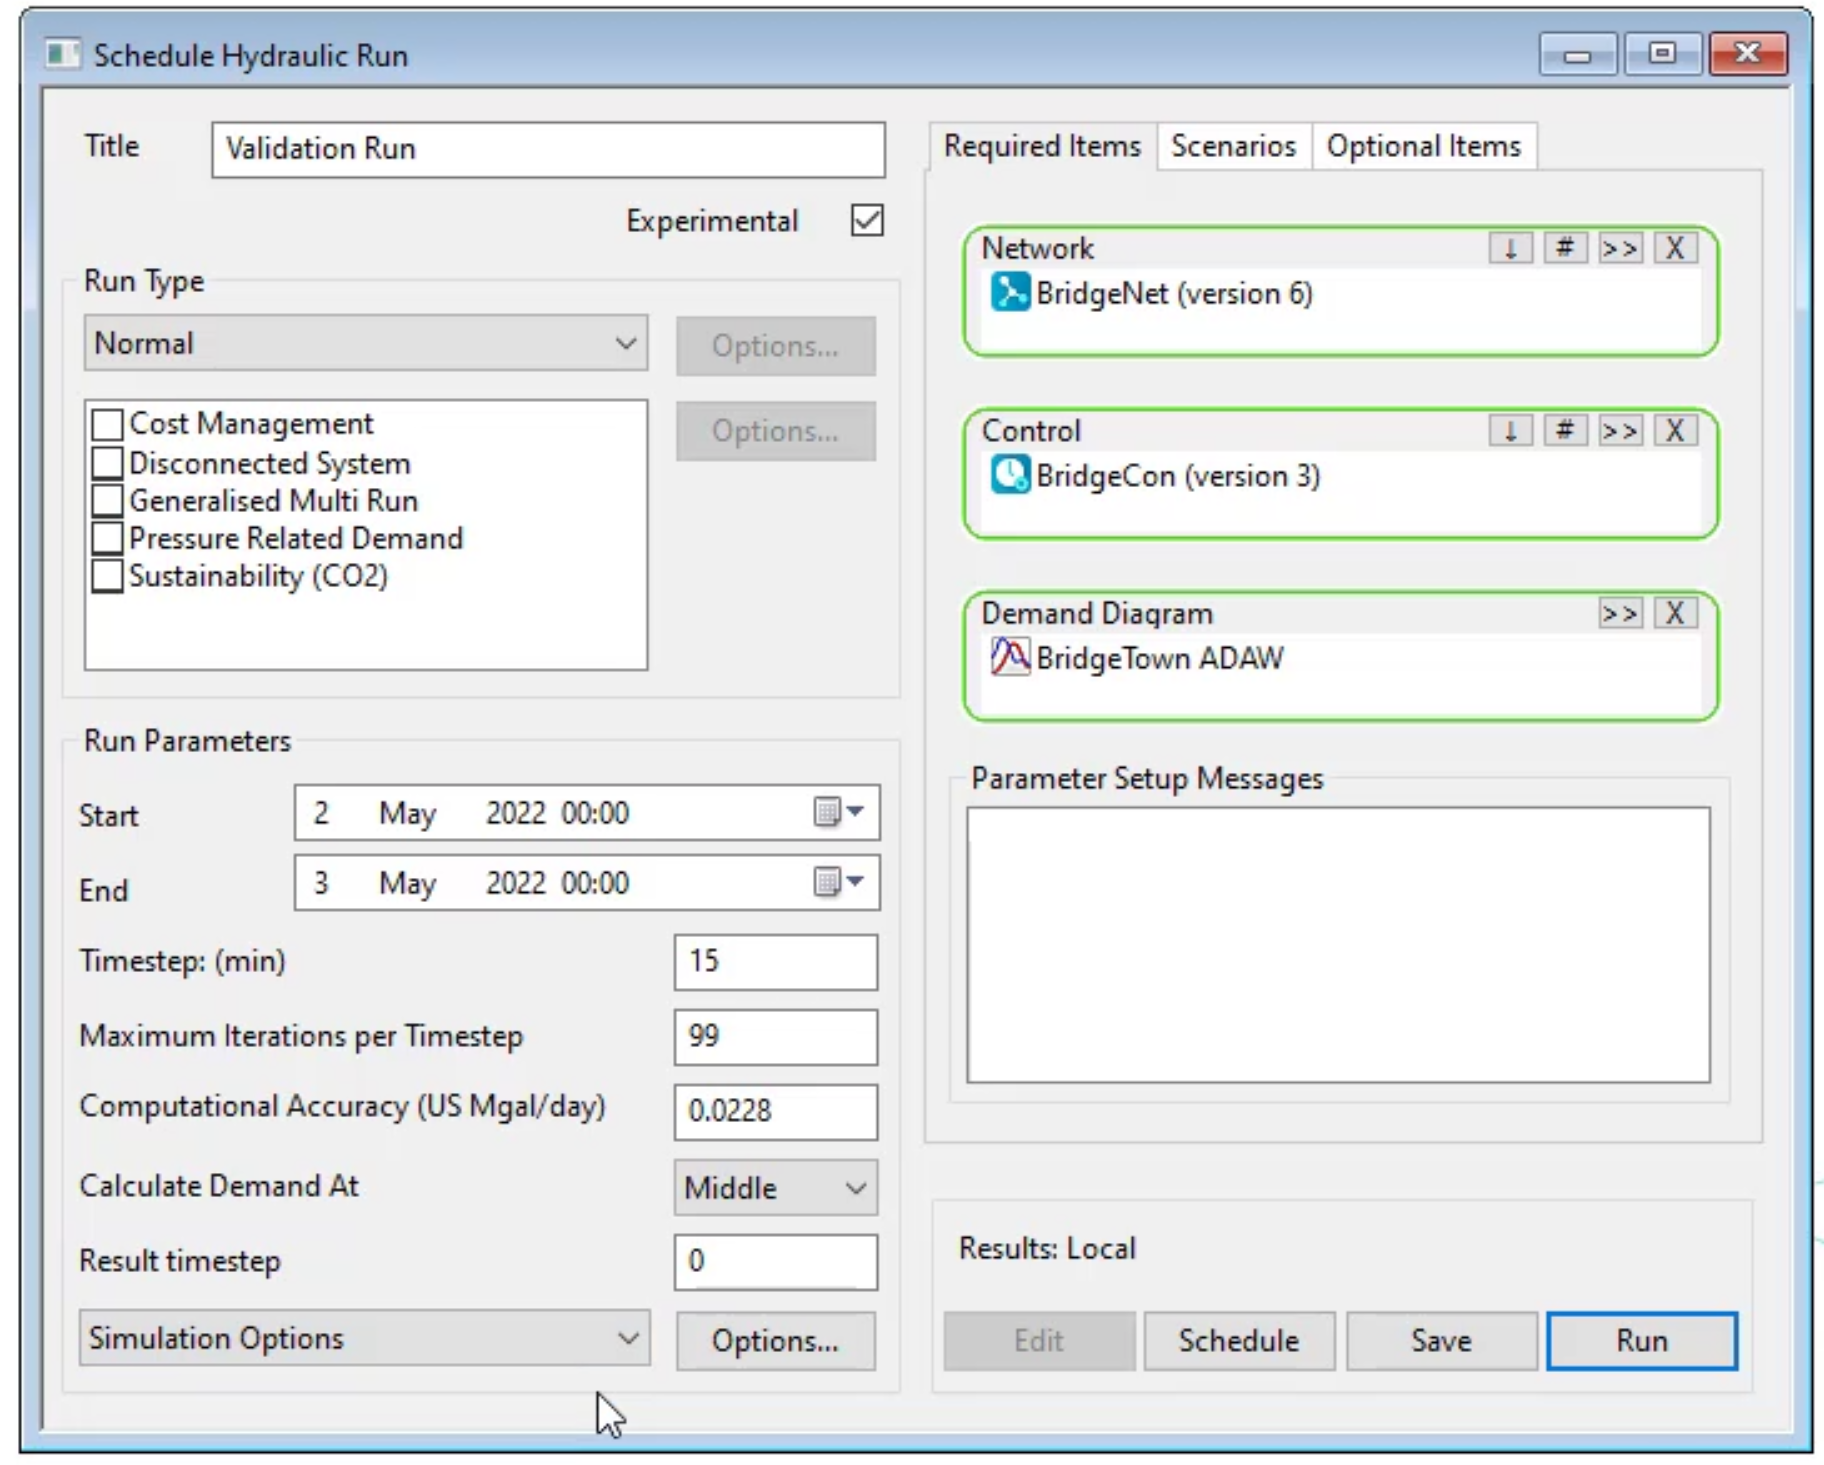
the schedule. Hydraulic run dialogue opens
00:24
type a name for the run in the validation field.
00:27
In this example, validation run is entered
00:31
check the box next to experimental
00:34
if experimental is left off, then once the simulation has run
00:38
the run dialogue and the non version
00:40
controlled model objects will become read only.
00:44
Then in the model group window,
00:46
click and drag the bridge net network into the network group box in the dialog.
00:51
In this example, a control has been associated with the network.
00:54
So the control and demand diagram group boxes populate as well.
00:59
It is best practiced to turn on additional diagnostic error messaging
01:04
to do so. Expand the dropdown menu in the bottom left of the window
01:08
and select simulation options,
01:11
click options to the right of the dropdown menu and then click
01:15
no next to the additional diagnostic messages in the log file option,
01:21
click save and then run,
01:26
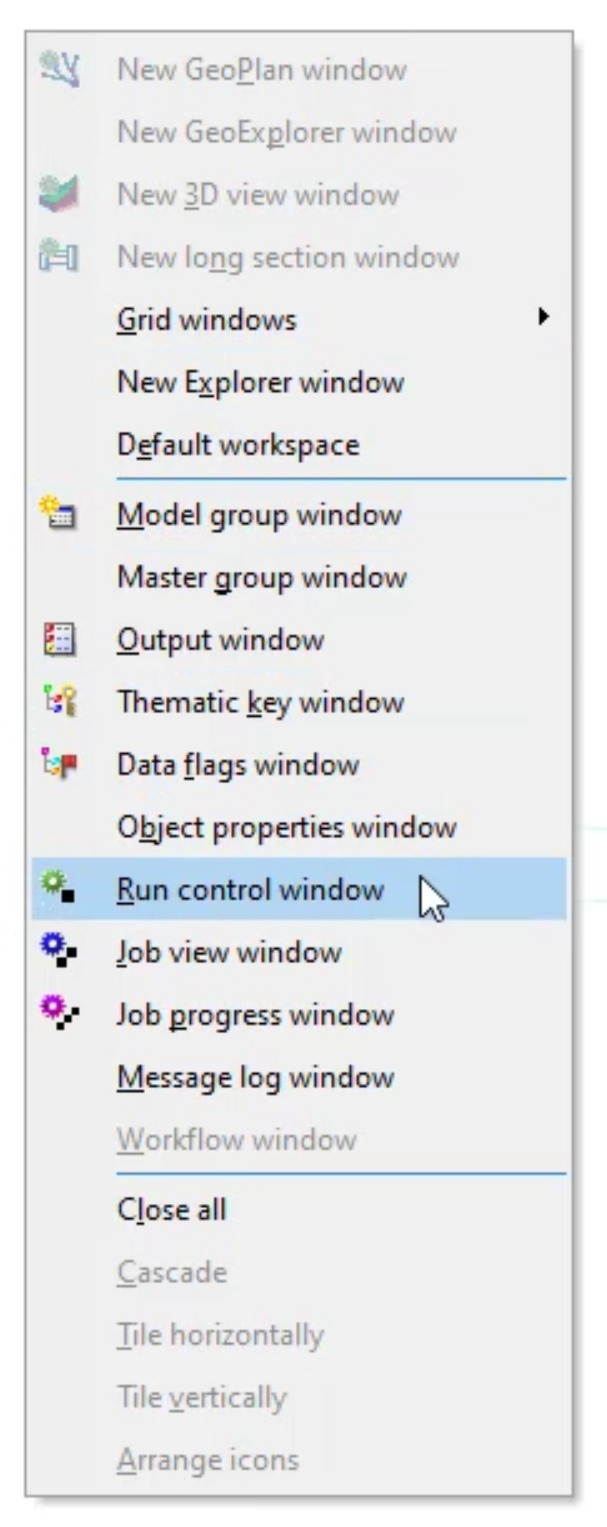
click in an empty area of the workspace and select run control window in the sub menu,
01:32
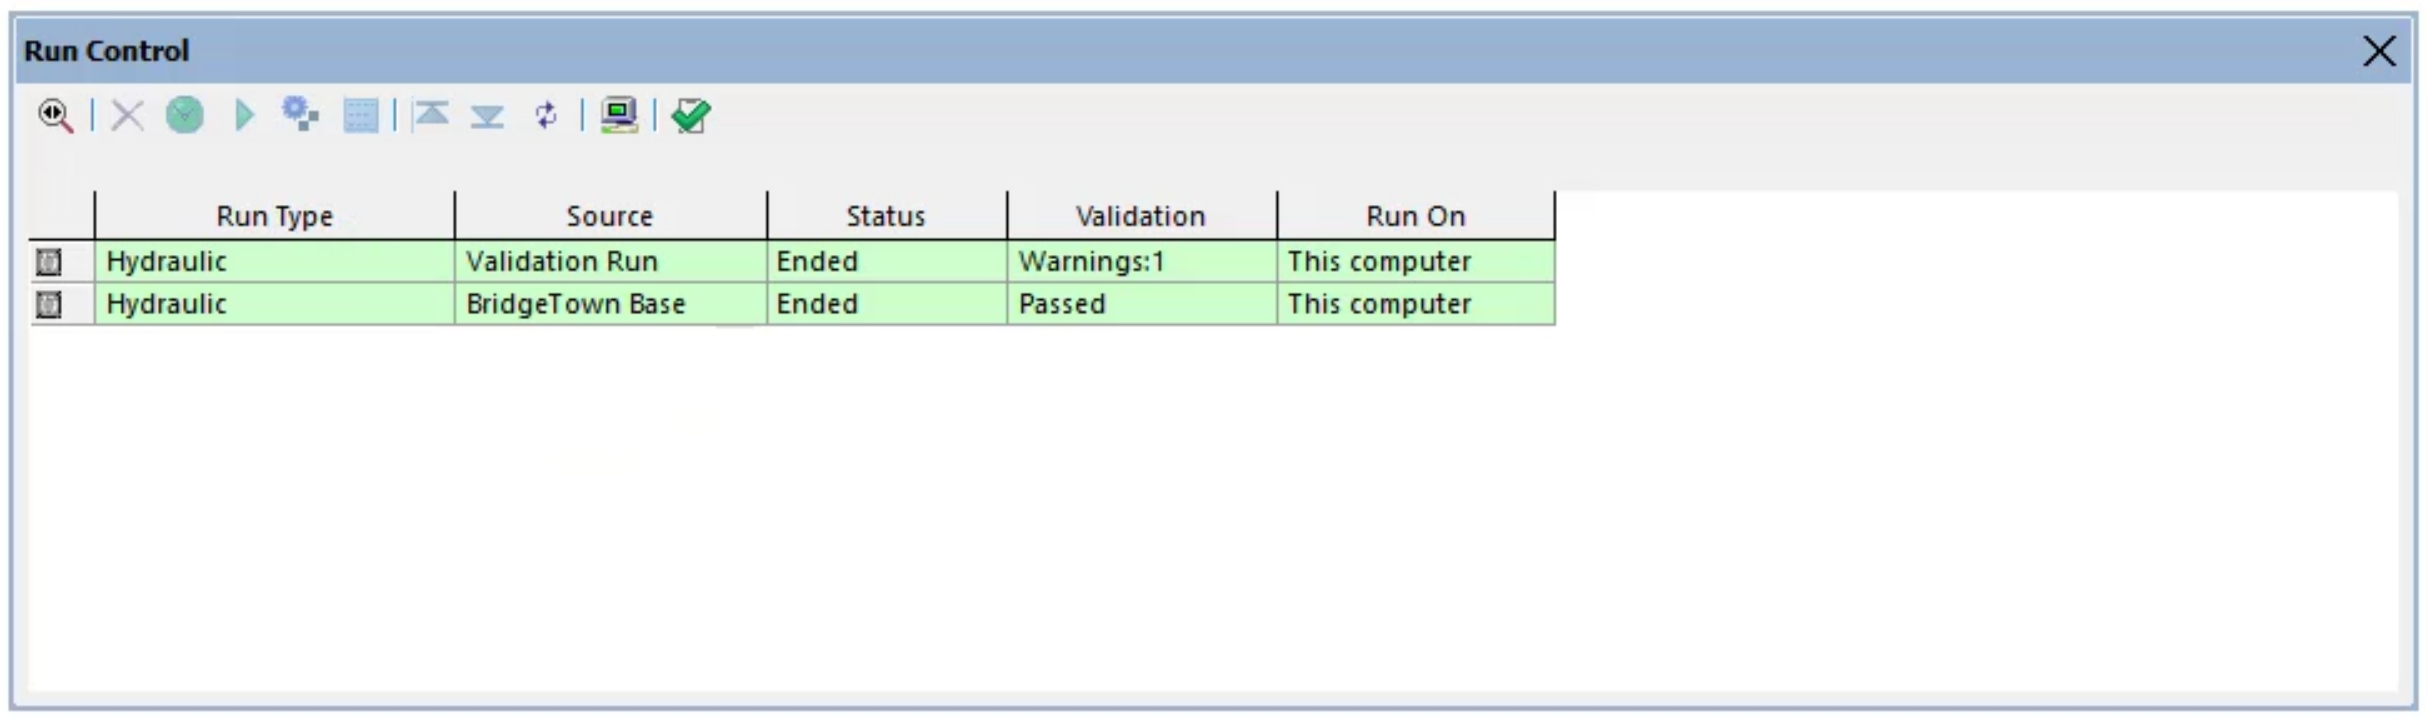
the run control window appears listing all previous runs completed for
01:36
the model including the most recent validation run at the top
01:41
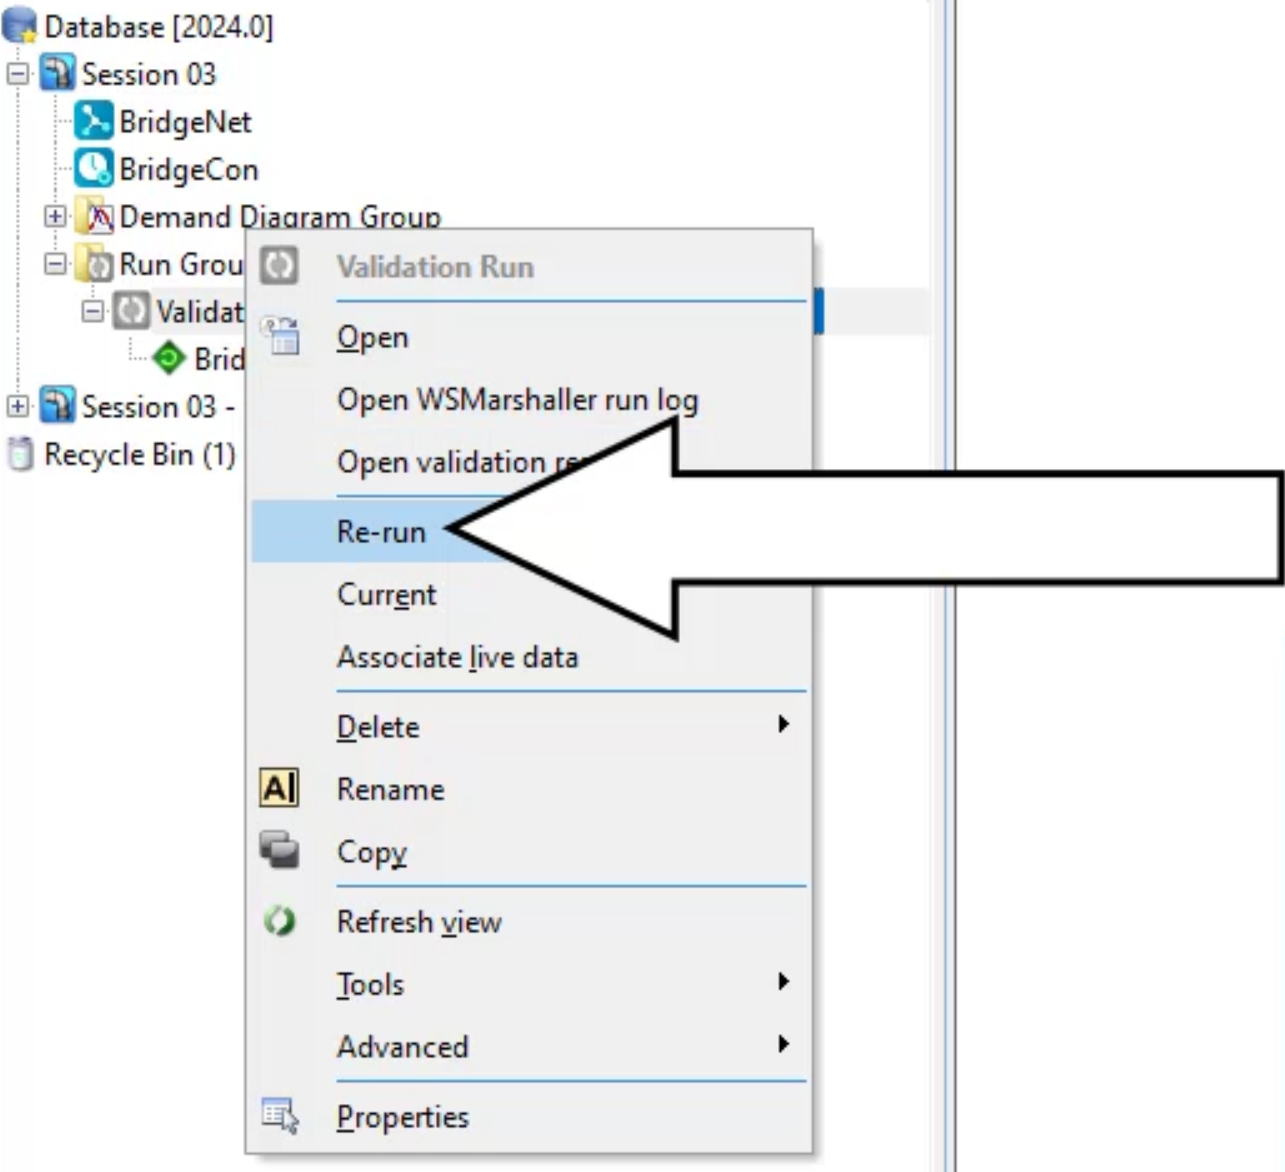
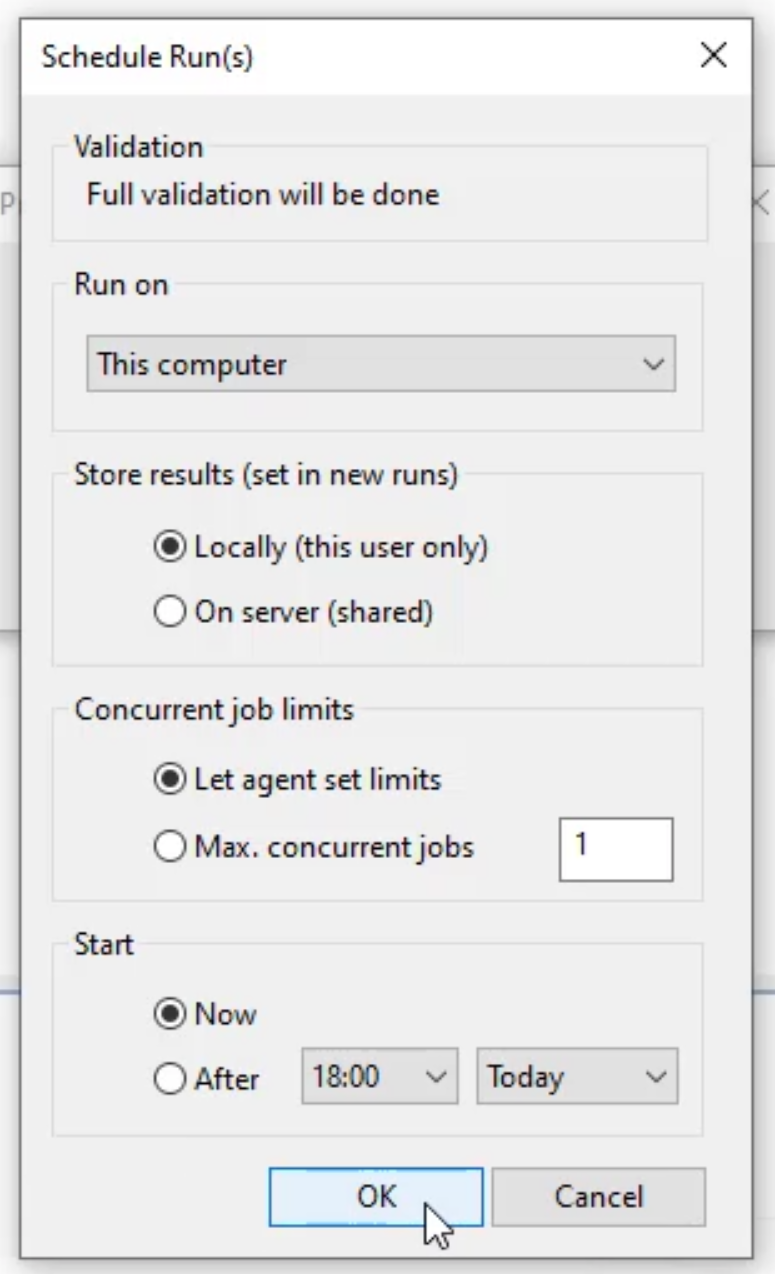
in the model group window. Right? Click the validation run and pick rerun
01:48
in the schedule runs dialogue, click, OK.
01:52
Observe how a progress bar appears in the status column of the validation run.
01:57
in this example, once the status changes to ended,
02:00
the validation column indicates the run past
02:04
in the model group window expand the validation run
02:07
to see the bridge con entry below it.
02:10
If the diamond shaped icon next to it is green,
02:13
that means the model has been run successfully.
02:16
If the icon is an amber color,
02:18
that means there is an un converged snapshot that needs to be addressed.
02:23
If the icon has a red cross through it,
02:25
that means there is an error and the model has not been run
02:29
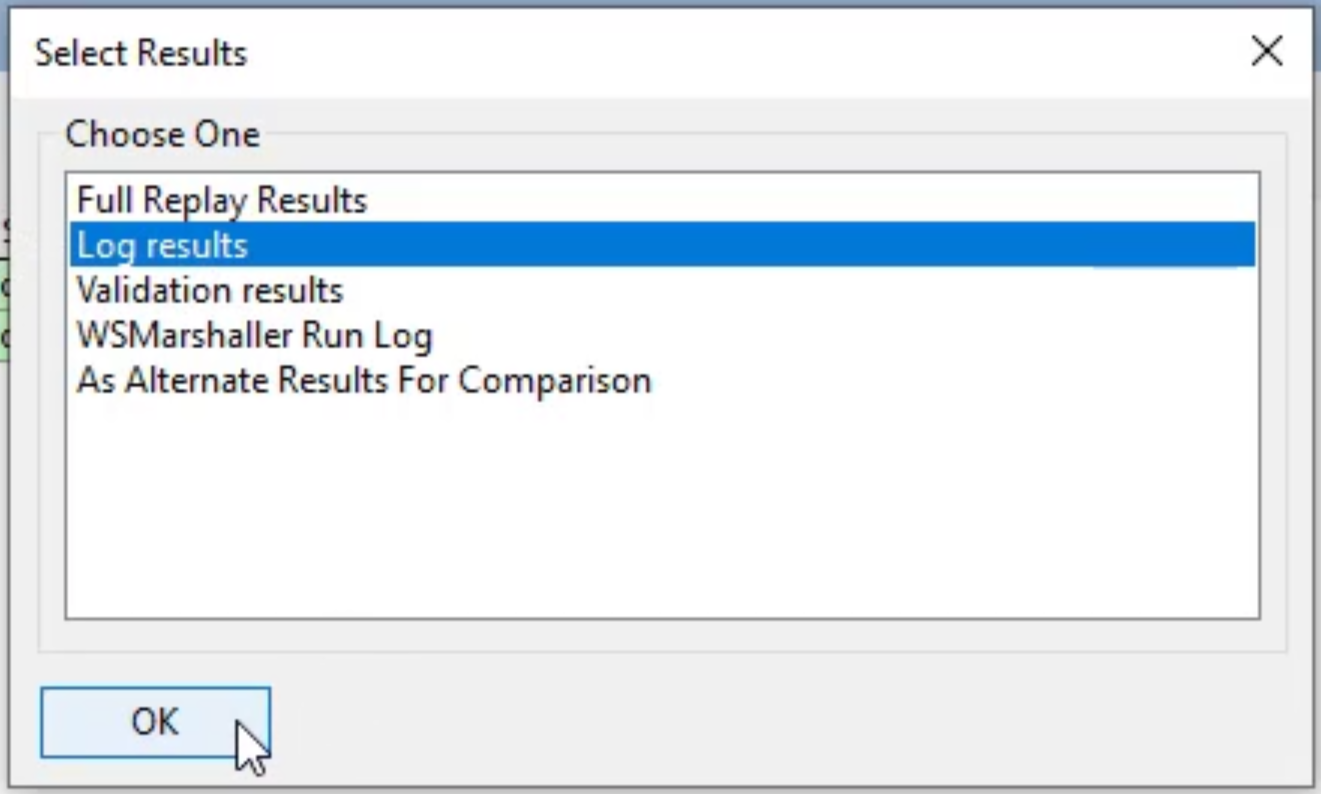
right. Click the run and pick open as from the sub menu
02:34
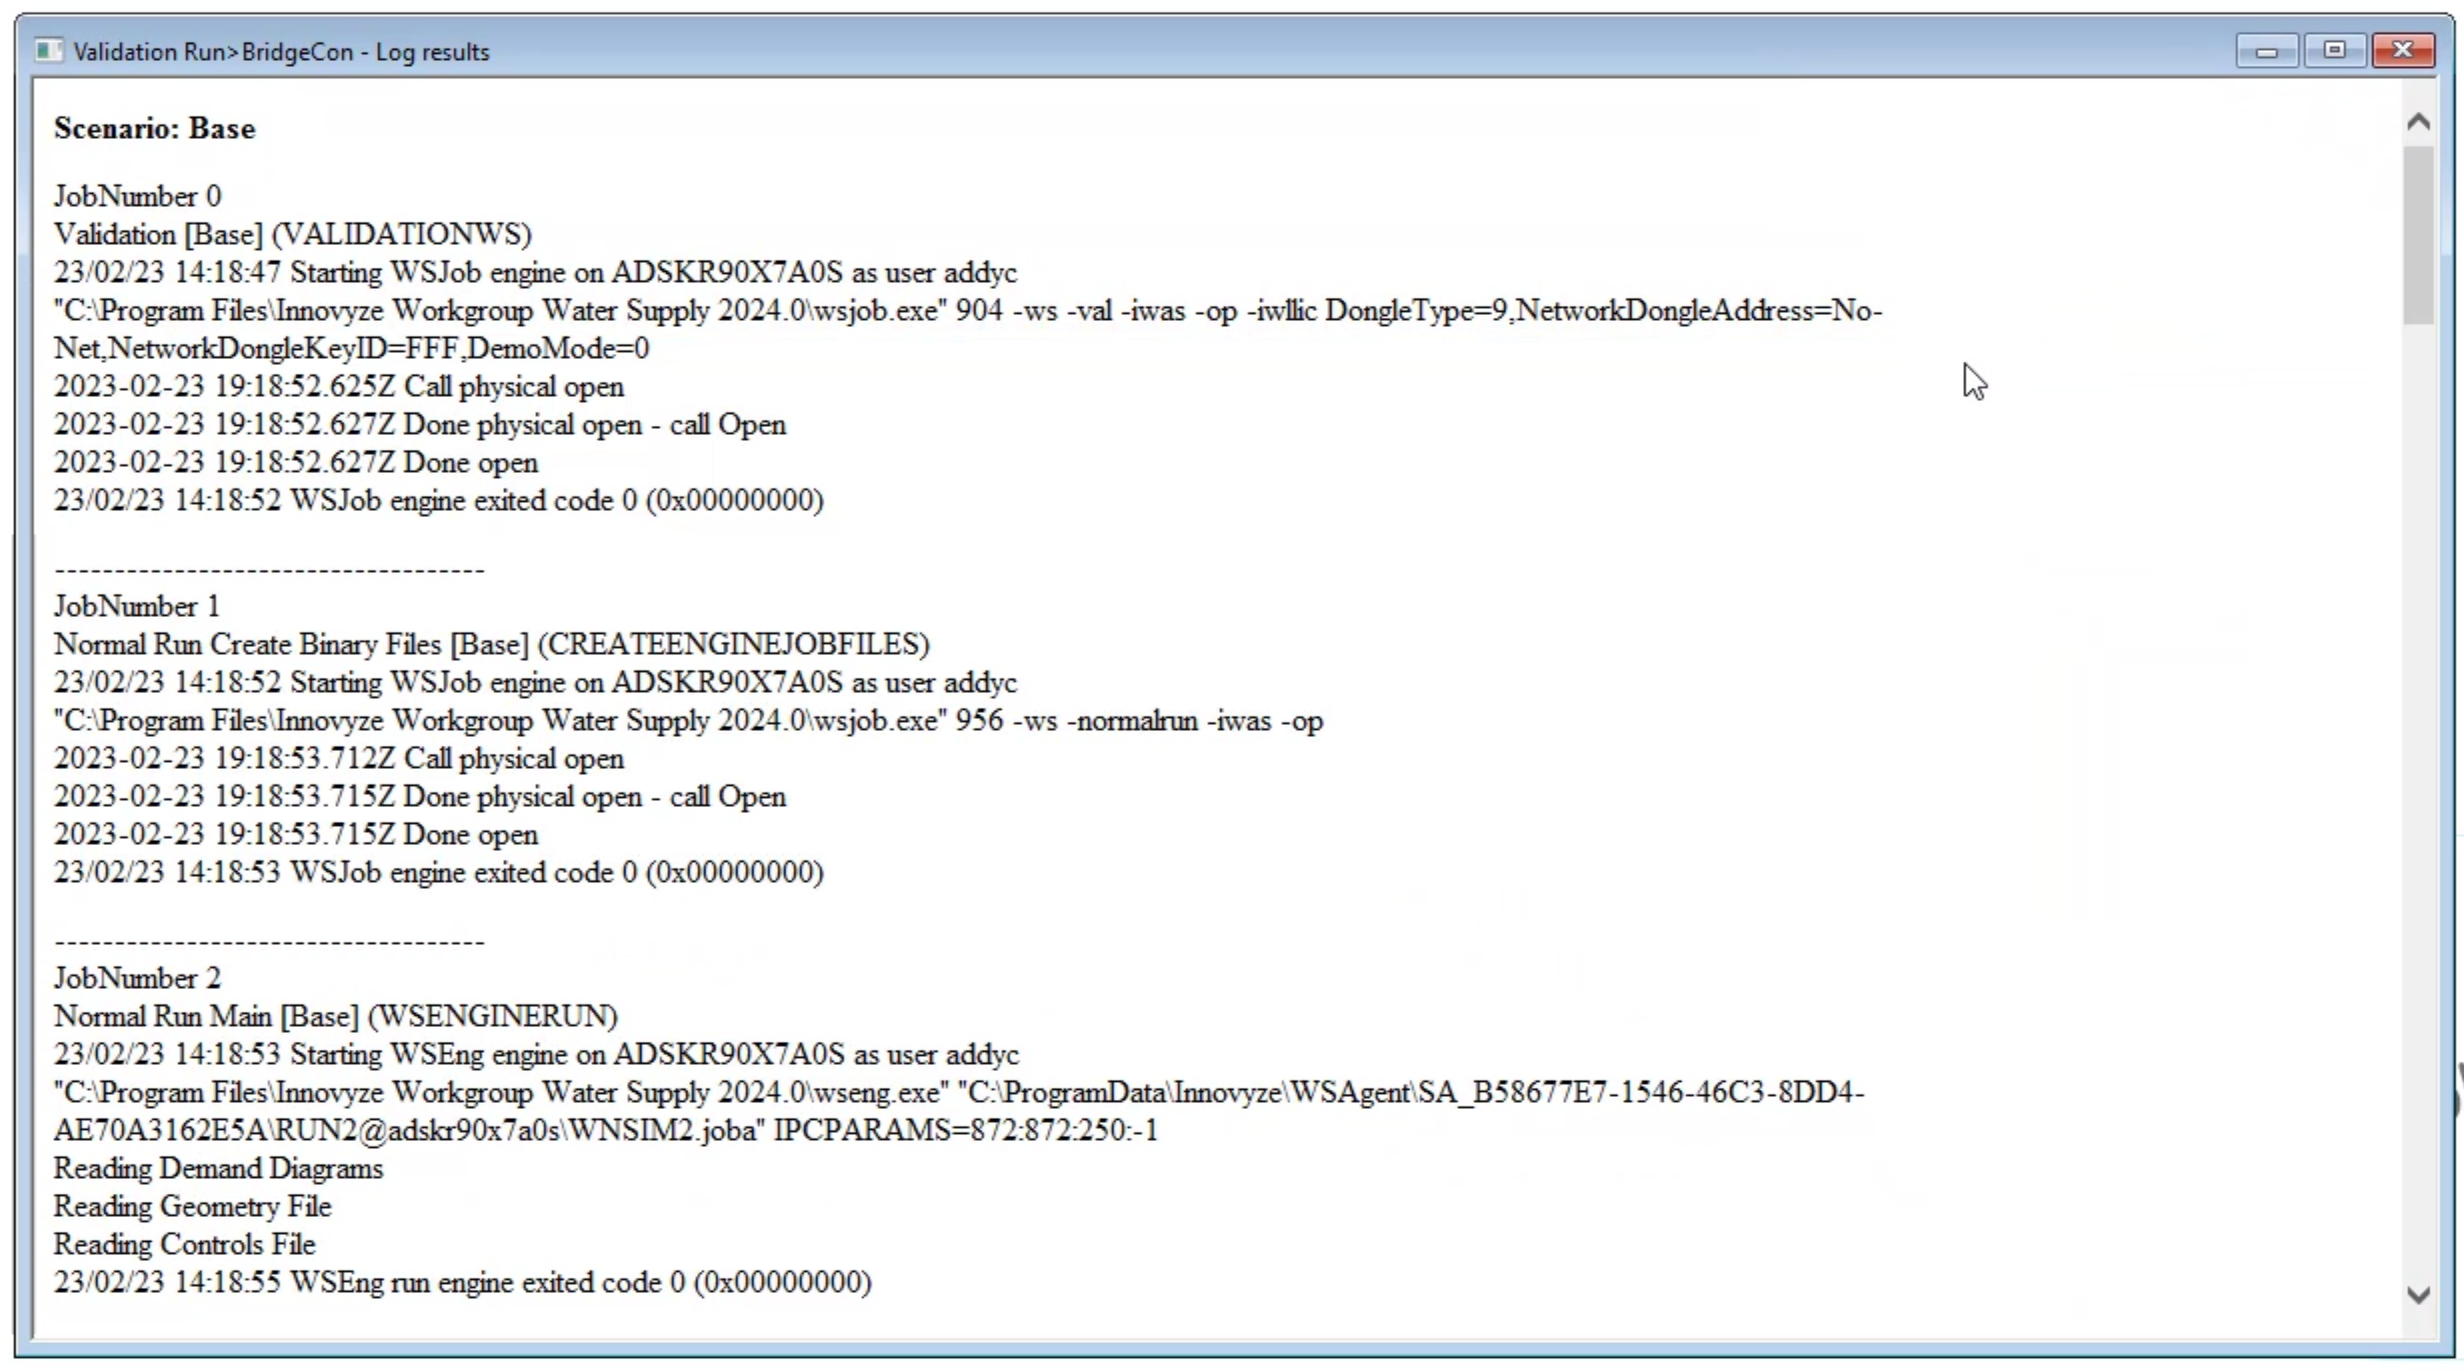
in the select results, dialogue pick log results and click. OK.
02:39
A validation run window opens and shows details about the run.
02:44
If there are any issues that need to be fixed,
02:46
they will be listed here in a bright red color.