Step-by-step Guide
You can associate a control and/or a demand diagram with a network. That way, when the network is opened, the associated control and demand diagram will already be applied to it.
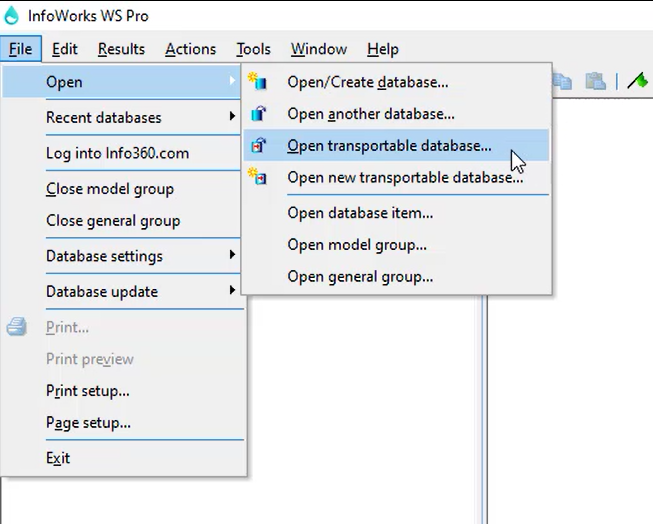
To open a transportable database:
- Click File > Open > Open transportable database.
- In the file browser, open the Session 3 folder.
- In the Session 3 folder, open the Data folder.
- Select “Session3.wspt”.
- Click Open.
- On your keyboard, press and hold SHIFT.
- In the transportable database window, click the Session 03 model group.
- Click the Session 03 – Lock model group.
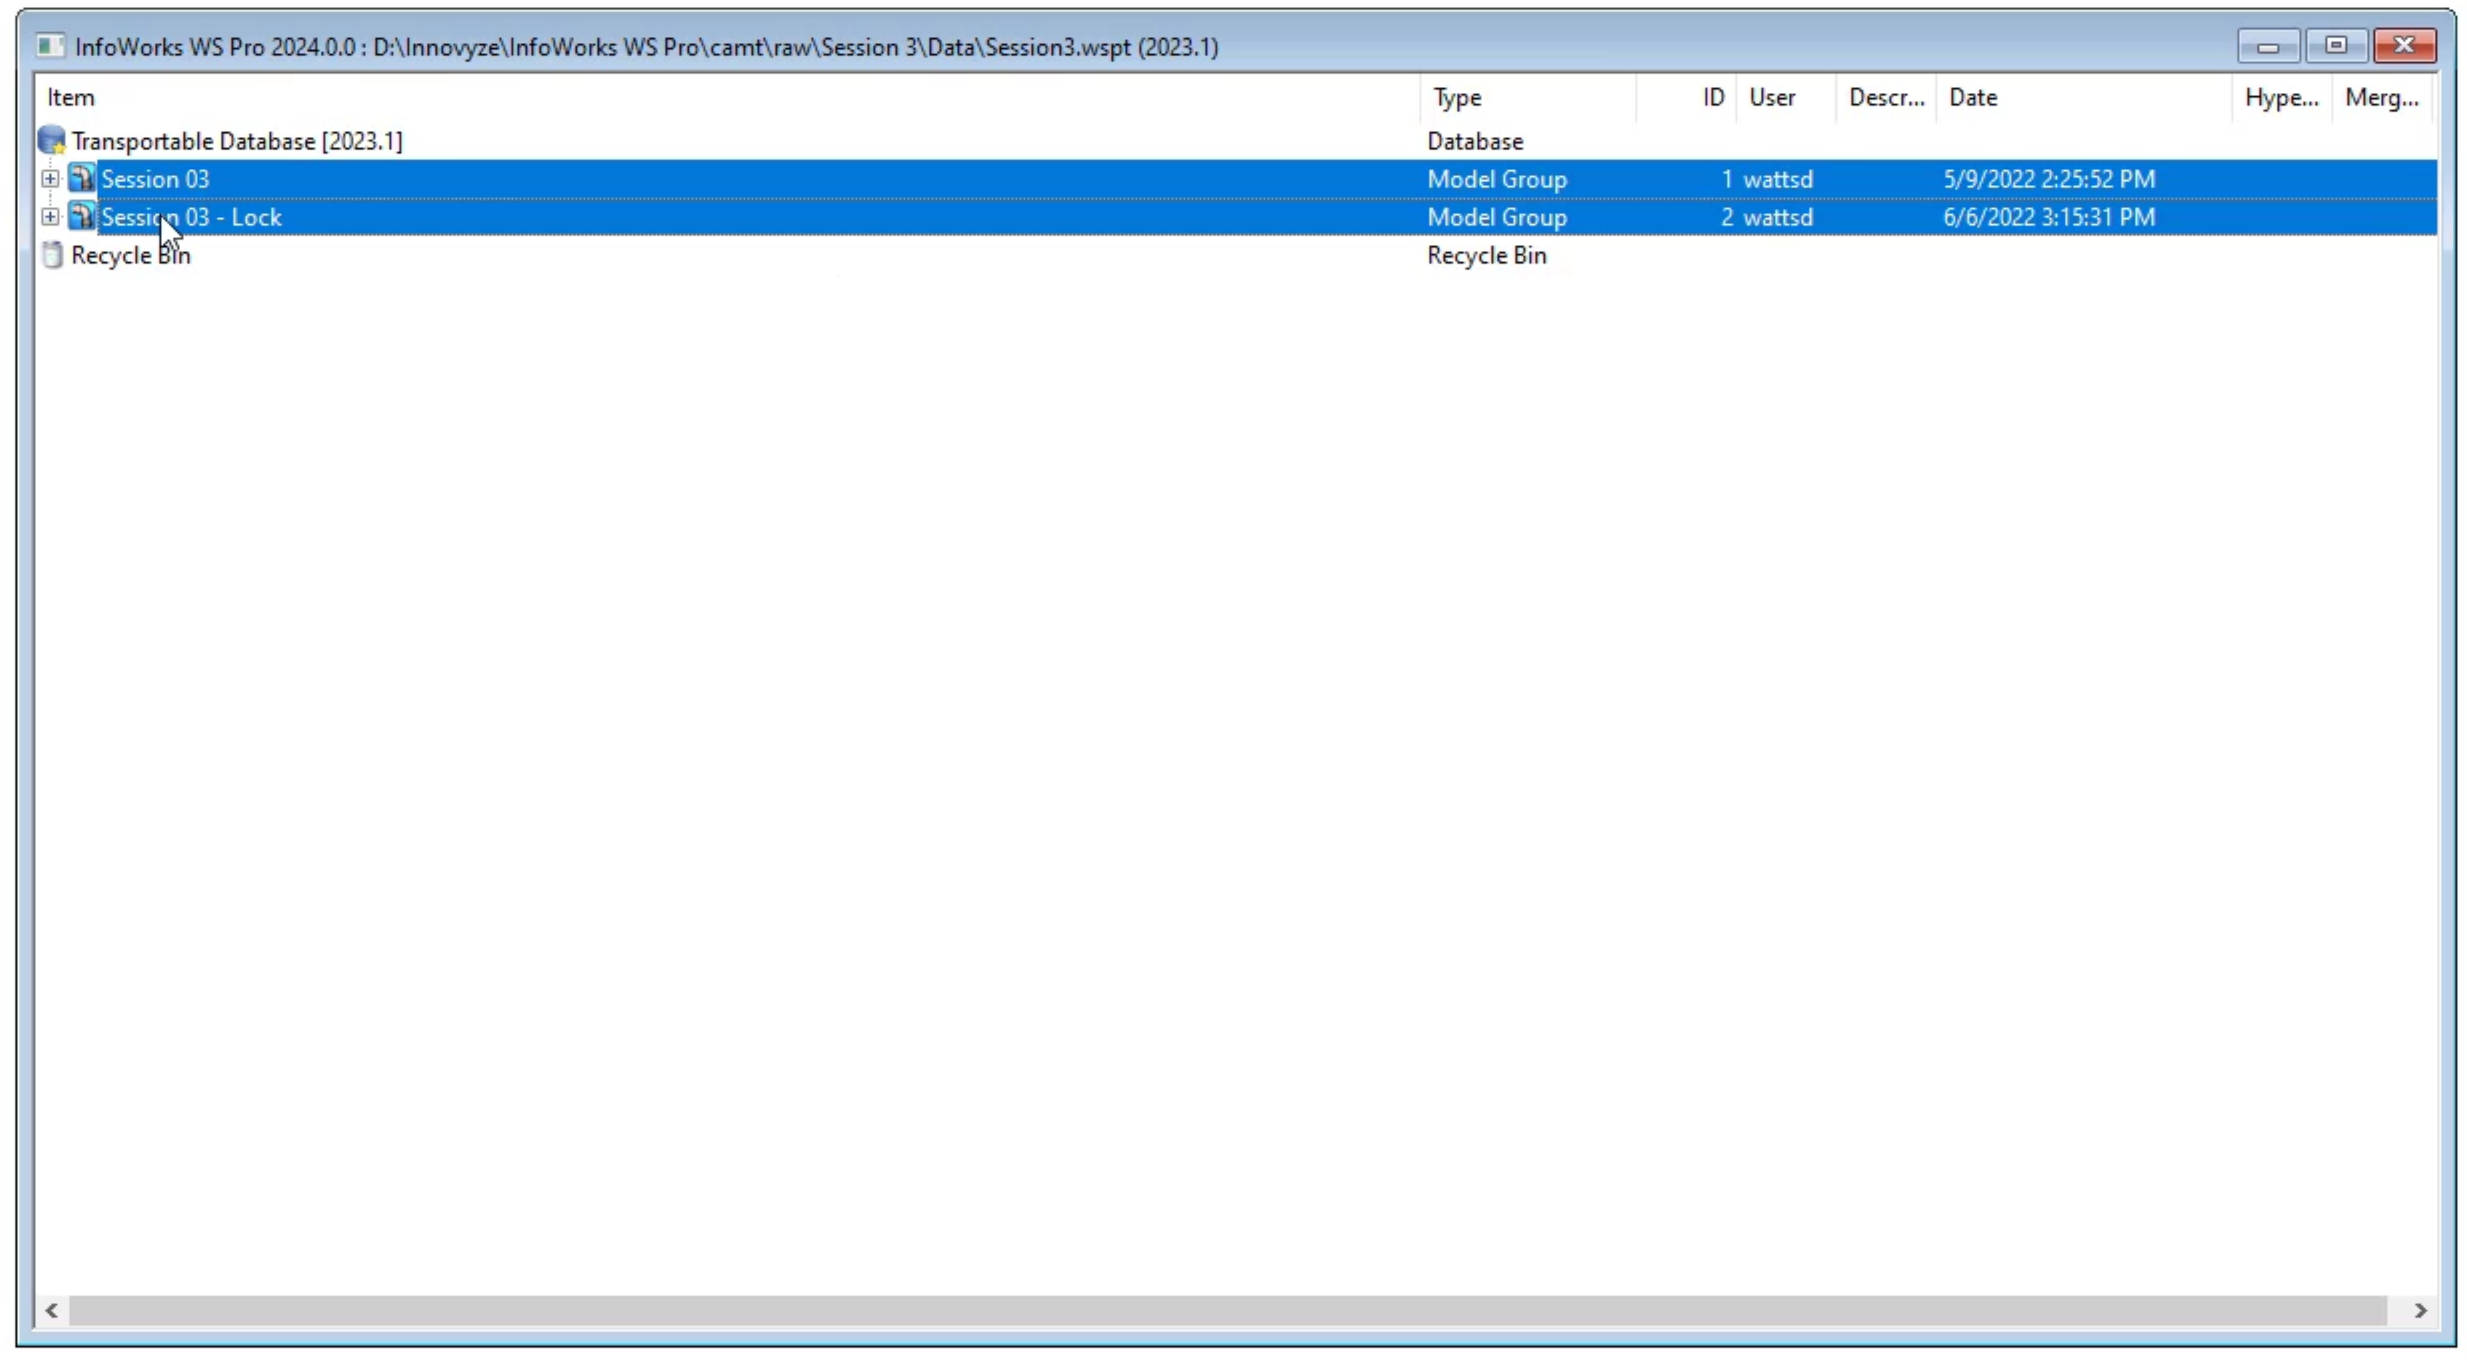
- Right-click the selected model groups and select Copy.
- In the Model Group window, right-click Database and click Paste all.

- Close the transportable database window.
- In the Model Group window, expand the Session 03 model group.
- Drag-and-drop BridgeNet! into the workspace to open it in the GeoPlan.

To associate a control and a demand diagram with the network:
- In the Model Group window, right-click the BridgeNet! Network and select Associate control.

- From the Model Group window, drag the BridgeCon! control into the Associate Control dialog box and drop it into the Control group box.
- In the Model Group window, expand the Demand Diagram Group.
- Drag BridgeTown ADAW into the Associate Control Dialog box and drop it into the Demand Diagram group box.
- Click OK.

- Close the GeoPlan window.
- From the Model Group window, drag-and-drop BridgeNet! into the workspace to open the GeoPlan again.
- Notice at the top of the GeoPlan window that the control is now linked with the network.
![The upper-left corner of the updated GeoPlan, displaying “BridgeNet + BridgeCon [Target]” to indicate that the control is now linked with the network.](https://files.upskill-dev.autodesk.com/public/innovyze/infoworkswspro/2023/images/iwsp2023M03U02_Assctng_a_Cntrl_007.png)
Note: This is an optional process. You do not have to associate a control with a network. Also, this feature is available only for networks using the merge method of version control.


