00:07
Ws Pro's auto labels are simple read only labels that can be
00:11
shown or hidden for all or selected objects in a GEO plan.
00:14
Making it easy to review model data.
00:18
Because auto labels are created with user defined text.
00:21
They can be configured to meet your unique needs
00:26
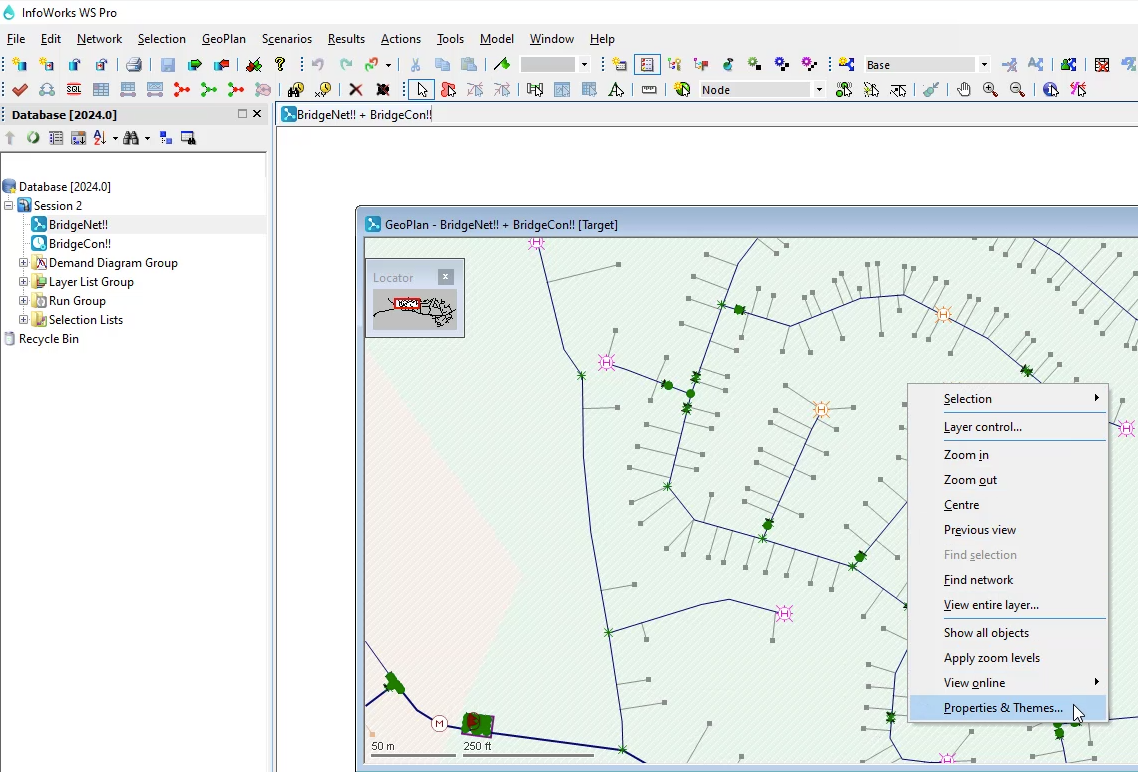
to configure auto labels begin by opening session,
00:29
two's GEO plan and zoom into the network.
00:33
Then right, click on the GEO plan and from the shortcut menu,
00:36
select properties and themes
00:40
from the properties and themes, dialogue, open the auto labels and tool tis tab.
00:46
you can set how the auto labels on the
00:47
GEO plan window are displayed including configuring which font
00:51
is used the size of auto labels and how
00:54
the labels are assigned colors among other options.
00:58
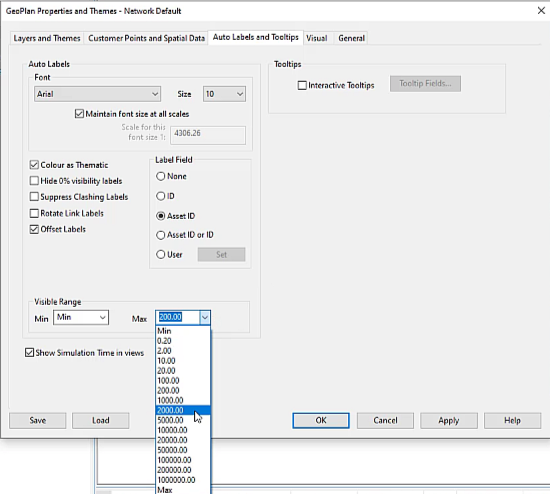
One extremely useful way to configure auto labels is by
01:02
setting the visible range over which auto labels are applied
01:06
from the visible range section.
01:08
Expand the max drop down and select a maximum scale such as 2000,
01:15
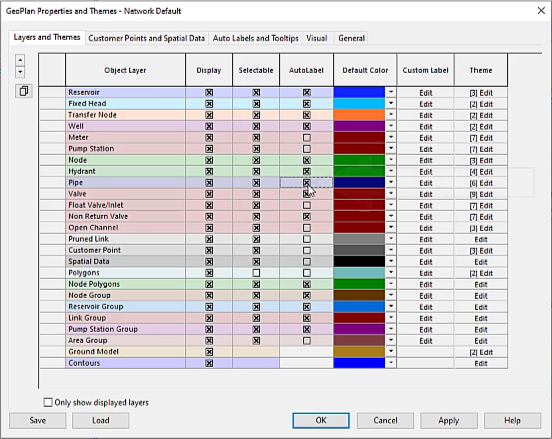
then return to the layers in themes tab and
01:18
enable auto label for the pipe object layer.
01:25
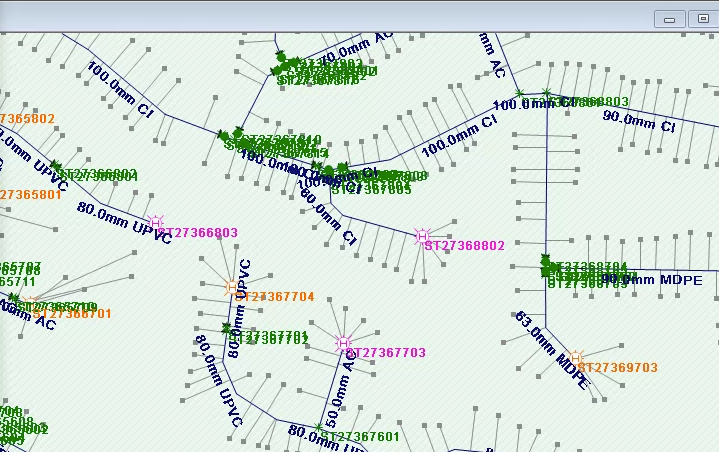
labels now display in the GEO plan
01:27
although notice that the labels are misaligned with the plan
01:32
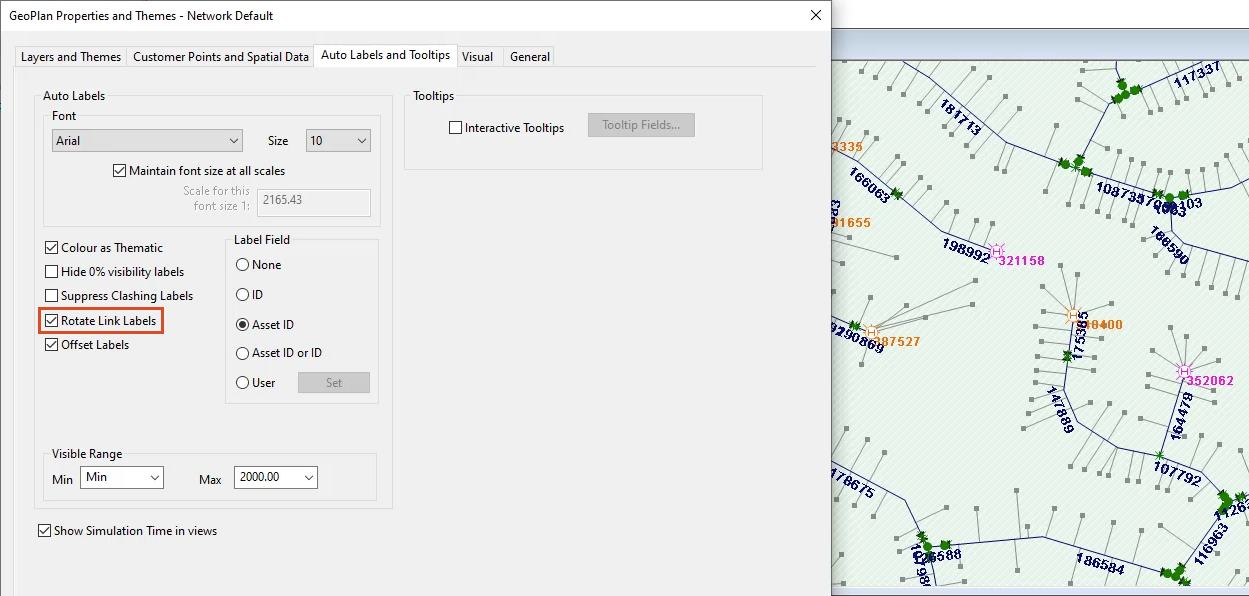
to streamline the way labels display, you can further configure their appearance
01:37
back in the properties and themes, dialogue,
01:39
open the auto labels and tool tips tab again
01:44
from the auto label section, select rotate link labels and then click apply
01:50
in the GEO plan. The label's aligned with the network display.
01:54
You can also set user defined label fields to control
01:57
the type of object information that is displayed on the label
02:00
such as a pipe's diameter and material.
02:04
Back in the dialogue under label field, select user
02:11
Please be aware that when the label field is defined by the user,
02:14
the program will automatically use default info works I DS.
02:18
For all object types
02:21
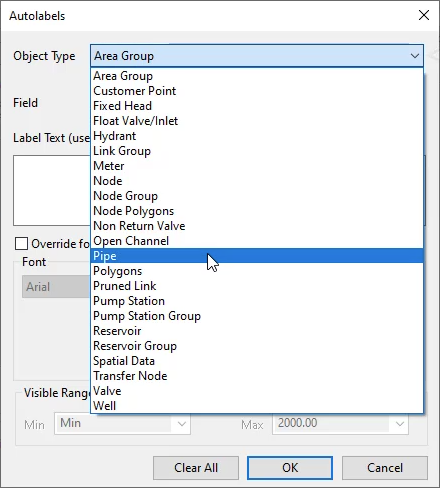
from the auto label dialogue begin by assigning the type
02:24
of object for which you wish labels to be configured
02:28
to do so expand the object type dropdown and select pipe.
02:34
Next expand the field dropdown.
02:37
This list contains all the fields that are relevant to the selected object type,
02:46
and then click insert field
02:49
in the label text box, the field name diameter displays
02:55
next to the field name.
02:56
Enter the measurement unit you wish to display on the label such as millimeters.
03:01
Then from your keyboard press space,
03:05
add a material field to the text
03:07
box by expanding the dropdown and selecting material
03:11
and then click insert field,
03:13
click OK. And then back in the properties and themes, dialogue, click apply
03:19
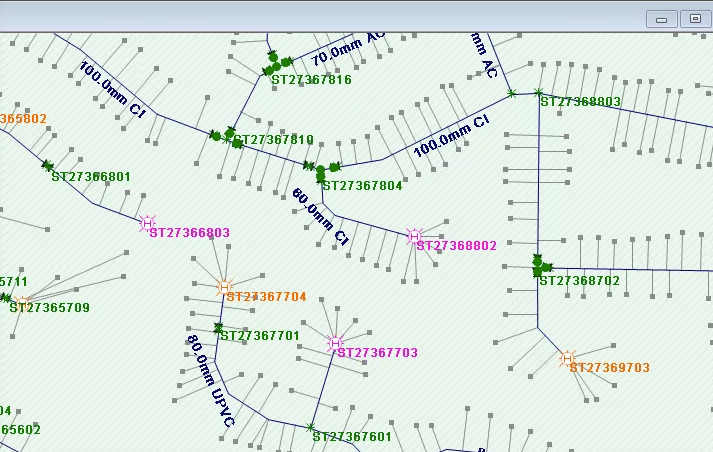
the label's update in the GEO plan.
03:22
With more information displayed on the GEO plan, it can become difficult to read
03:27
back in the auto labels and tool tis dialogue under auto labels,
03:31
select suppress clashing labels and then click apply,
03:39
Settings are used only for the current GEO plan view.
03:43
If the current GEO plan window is closed without saving the labels,
03:46
the settings will be lost.
03:50
Auto labels are a powerful tool you can use to customize
03:53
and optimize the visibility of information right on your GEO plan.