00:05
you can save sets of background layers as objects in the database.
00:09
This makes it easy to reload background layers with different versions of your
00:13
model or even provide a set of stock layers for cross organizational use.
00:18
It is recommended that when working with layer lists,
00:20
map files should be accessed via a network drive which
00:24
the relevant users or service accounts have access to.
00:28
Because the layer list stores only the path and
00:30
file name to the file containing the map layer
00:33
users must ensure that files remain in the specified location or info works.
00:37
WS pro will be unable to reload them
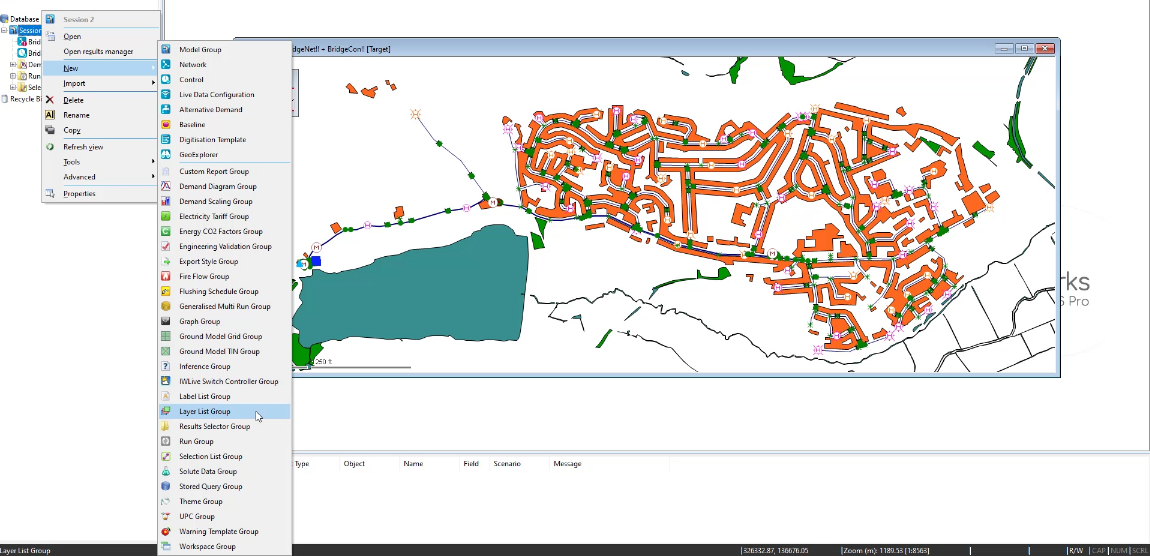
00:41
to create a new layer list. You must first create a layer list group
00:47
with the session two bridge net geo plan open
00:50
and the shape file background dot shh
00:54
apply to the GEO plan
00:56
and styled appropriately from the model group window, right, click session two
01:01
and from the shortcut menu select new layer list group
01:06
in the layer list group dialogue, click OK.
01:10
The group displays in the model group window.
01:14
Now you can create the layer list,
01:17
click the new layer list group and from the shortcut menu select new layer list.
01:23
This opens the layer list dialogue
01:26
in the list whatever is open in the GEO plan displays.
01:30
In this case, the background shape file is listed
01:34
in the layer list field. Enter a name for the list such as background
01:42
Back in the model group window under layer list group,
01:45
the new background layer list displays
01:49
now that the background layer is saved as a layer list.
01:52
You can remove it from the model and easily reload it
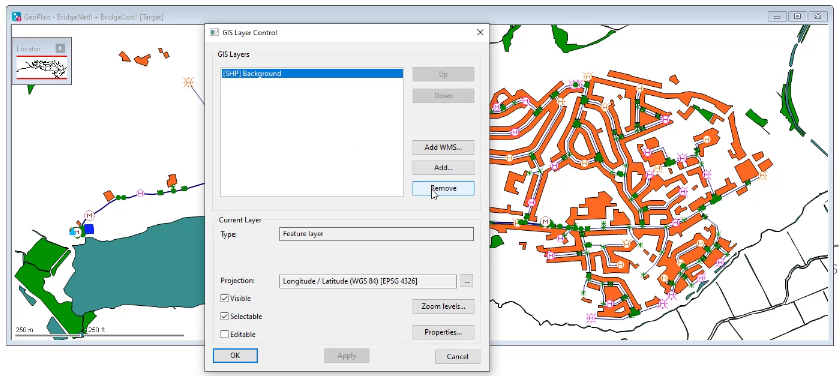
01:57
You can either close the GEO plan or right click in the GEO plan
02:00
and from the shortcut menu select layer
02:03
control to open the GIS layer control dialogue
02:06
with the background layer selected, click remove and then click apply,
02:12
click OK. To confirm the changes
02:17
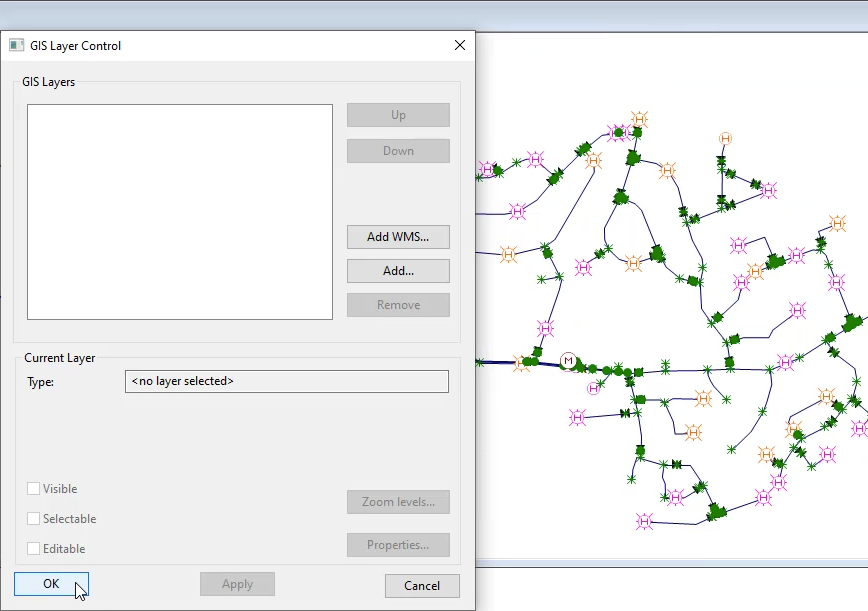
in the GEO plan. The background is no longer applied
02:21
from the model group window. Drag the background layer list onto the GEO plan.
02:26
The background reappears on the model.
02:30
Please be aware that any time you modify the layer
02:33
list including loading a layer list onto the GEO plan.
02:36
This will track as a change to the
02:38
network and committing the change will affect other users
02:43
to commit changes to the network from the model
02:46
group window under session two right click bridge net.
02:49
And from the shortcut menu, select commit changes to database.
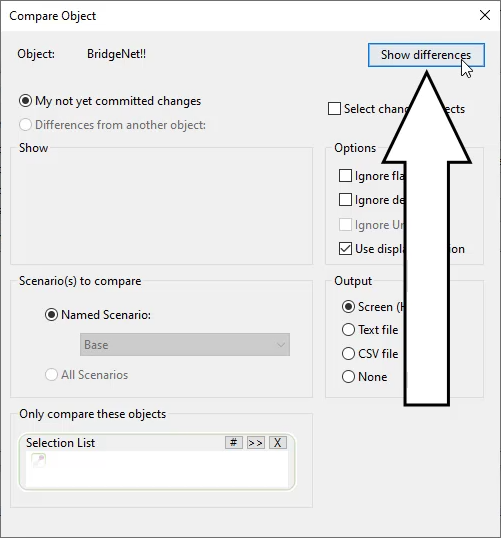
02:55
Now in the commit change to server dialogue,
02:57
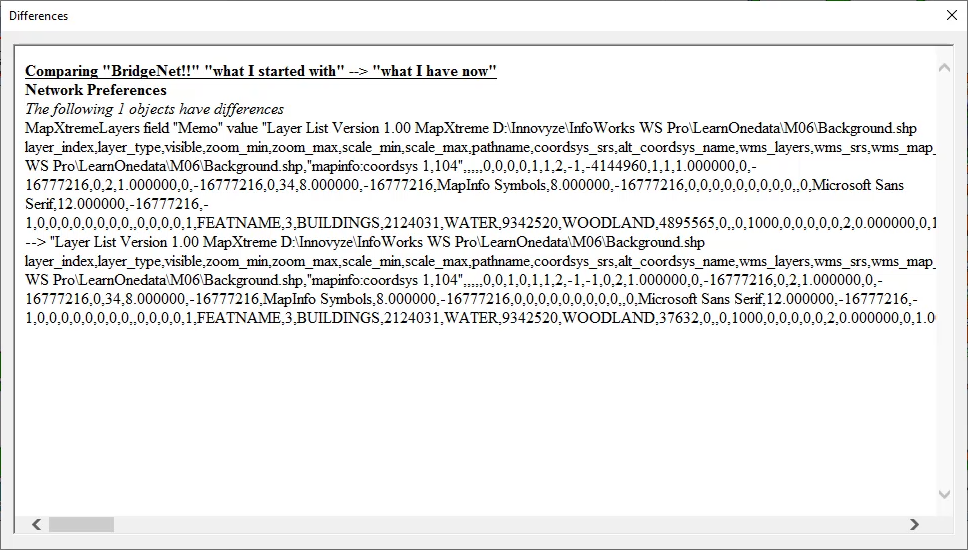
select diff to review changes made to the network.
03:02
From the compare object dialogue select show differences.
03:06
You can now review the change log of the
03:08
updated model including the newly added layer list,
03:15
back in the commit, change to server dialogue, commit the changes by clicking. OK.
03:20
Once the changes are committed to the network,
03:23
the next time a user opens the network,
03:25
they will be able to see the changes made to the layer list
03:30
using layer lists to share background layers is incredibly
03:34
useful when multiple models share a background configuration.