Creating sections and details
Task 1: Create Sections and Callouts
With a couple sheets set up that have floor plans located within them, we can now start creating sections, details and callouts.
To add sections, details and callouts, follow along with the steps listed below:
- Open the practice file called 2023R2_Arch_02.rvt.
- In the Project Browser under Structural Plans, open Level 1.

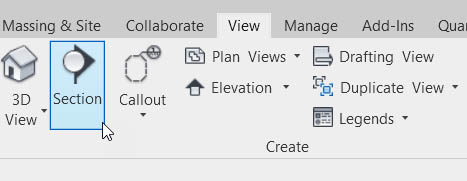
- On the View tab within the Create Panel click the Section button.
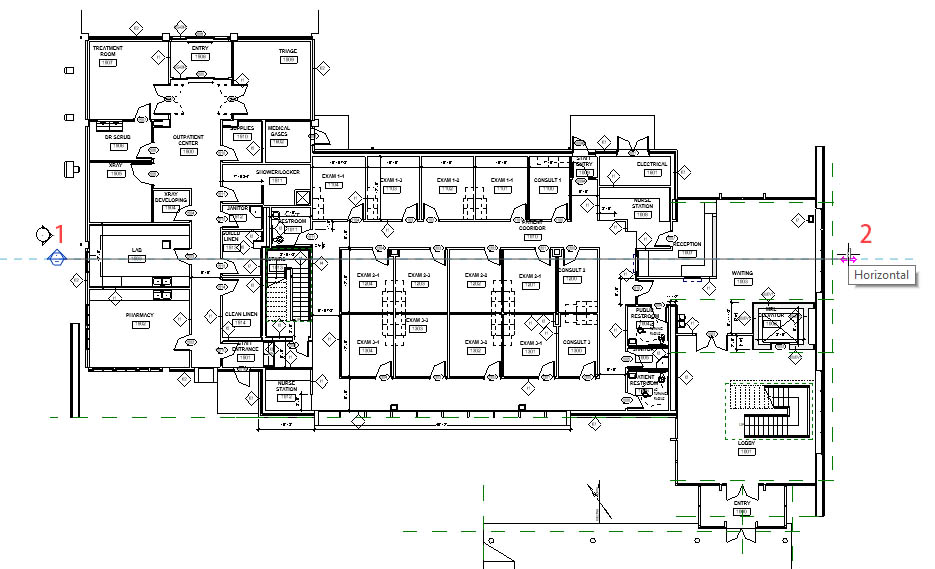
- Pick the first point labeled 1 and the second point labeled 2 in the figure below.
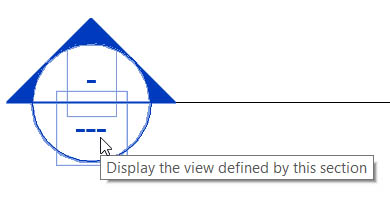
- Hit Escape twice.
- Double click on the head of the section. This will open the view.
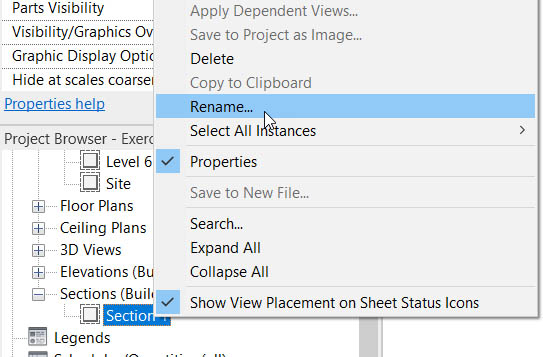
- In the Project Browser, scroll down to Sections (Building Sections), and expand the category. Right click on Section 1 and rename it to Longitudinal Section.
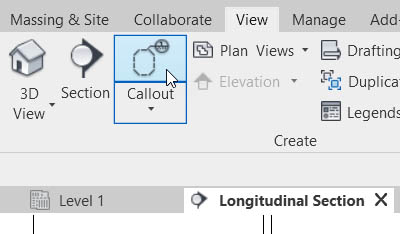
- On the View tab, click the click the Callout button.
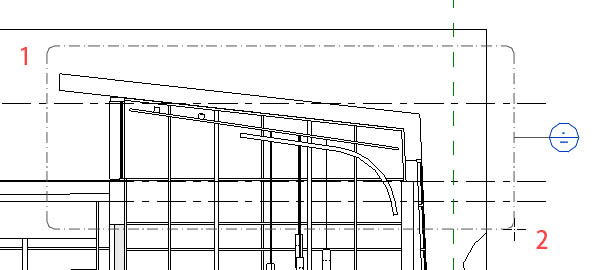
- Pick two (2) points labeled 1 and 2.
- Hit Escape twice
- Double click on the callout head (This will open the view).
- On the View Control bar located below the drawing area, change the scale to ½”=1’-0” and the Detail Level to Fine.

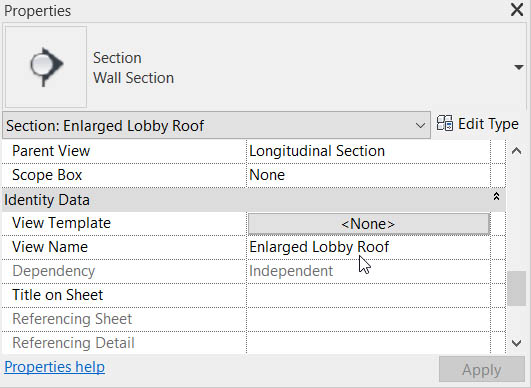
- In the Properties menu, scroll down to the Identity Data category find the View Name and change it to Enlarged Lobby Roof.
Task 2: Add Sectional Views to a Sheet
Now that we have “cut” some sections and created some detail views, we can place them onto our sheets.
To place sectional details on a sheet, follow these steps.
- In the Project Browser, scroll down to Sheets (all).
- Make a new sheet and call it A301 DETAILS.
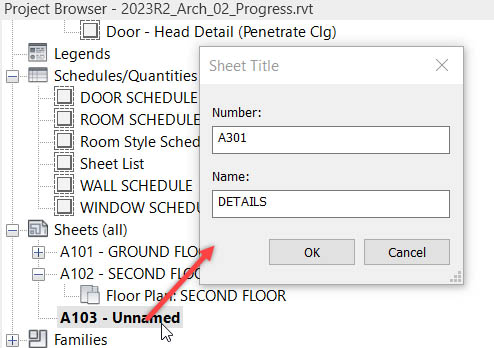
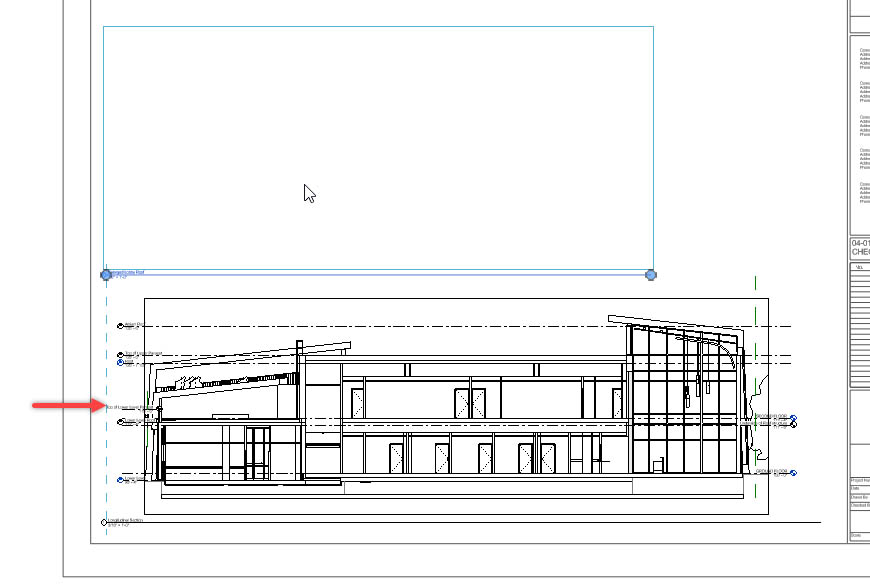
- In the Project Browser, click and drag the Longitudinal Section onto the sheet near the bottom.
- Drag the Enlarged Lobby Roof above the Longitudinal Section as illustrated below.
- Select the Longitudinal Section viewport.
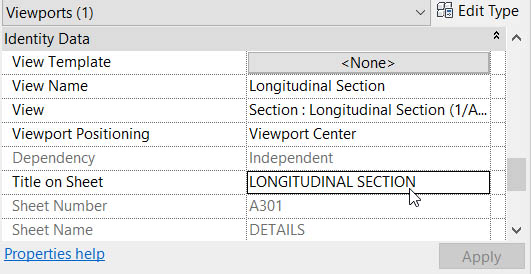
- In the Properties menu, scroll down to the Title on Sheet parameter. Change it to LONGITUDINAL SECTION. This will override the view title, but will maintain the view name.
