00:04
You can associate a control and or a demand diagram with a network.
00:08
That way when the network is opened,
00:10
the associated control and demand diagram will already be applied to it.
00:16
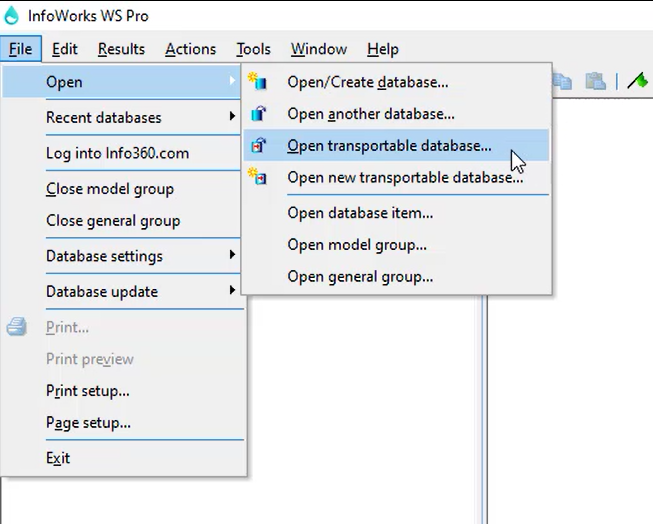
First ensure your database is open
00:19
for this exercise. In the ribbon, click the file tab
00:24
open transportable database,
00:27
then navigate to your desktop,
00:29
select the data folder
00:31
and locate the session three folder.
00:34
Click the file named session three dot WPT and open it.
00:39
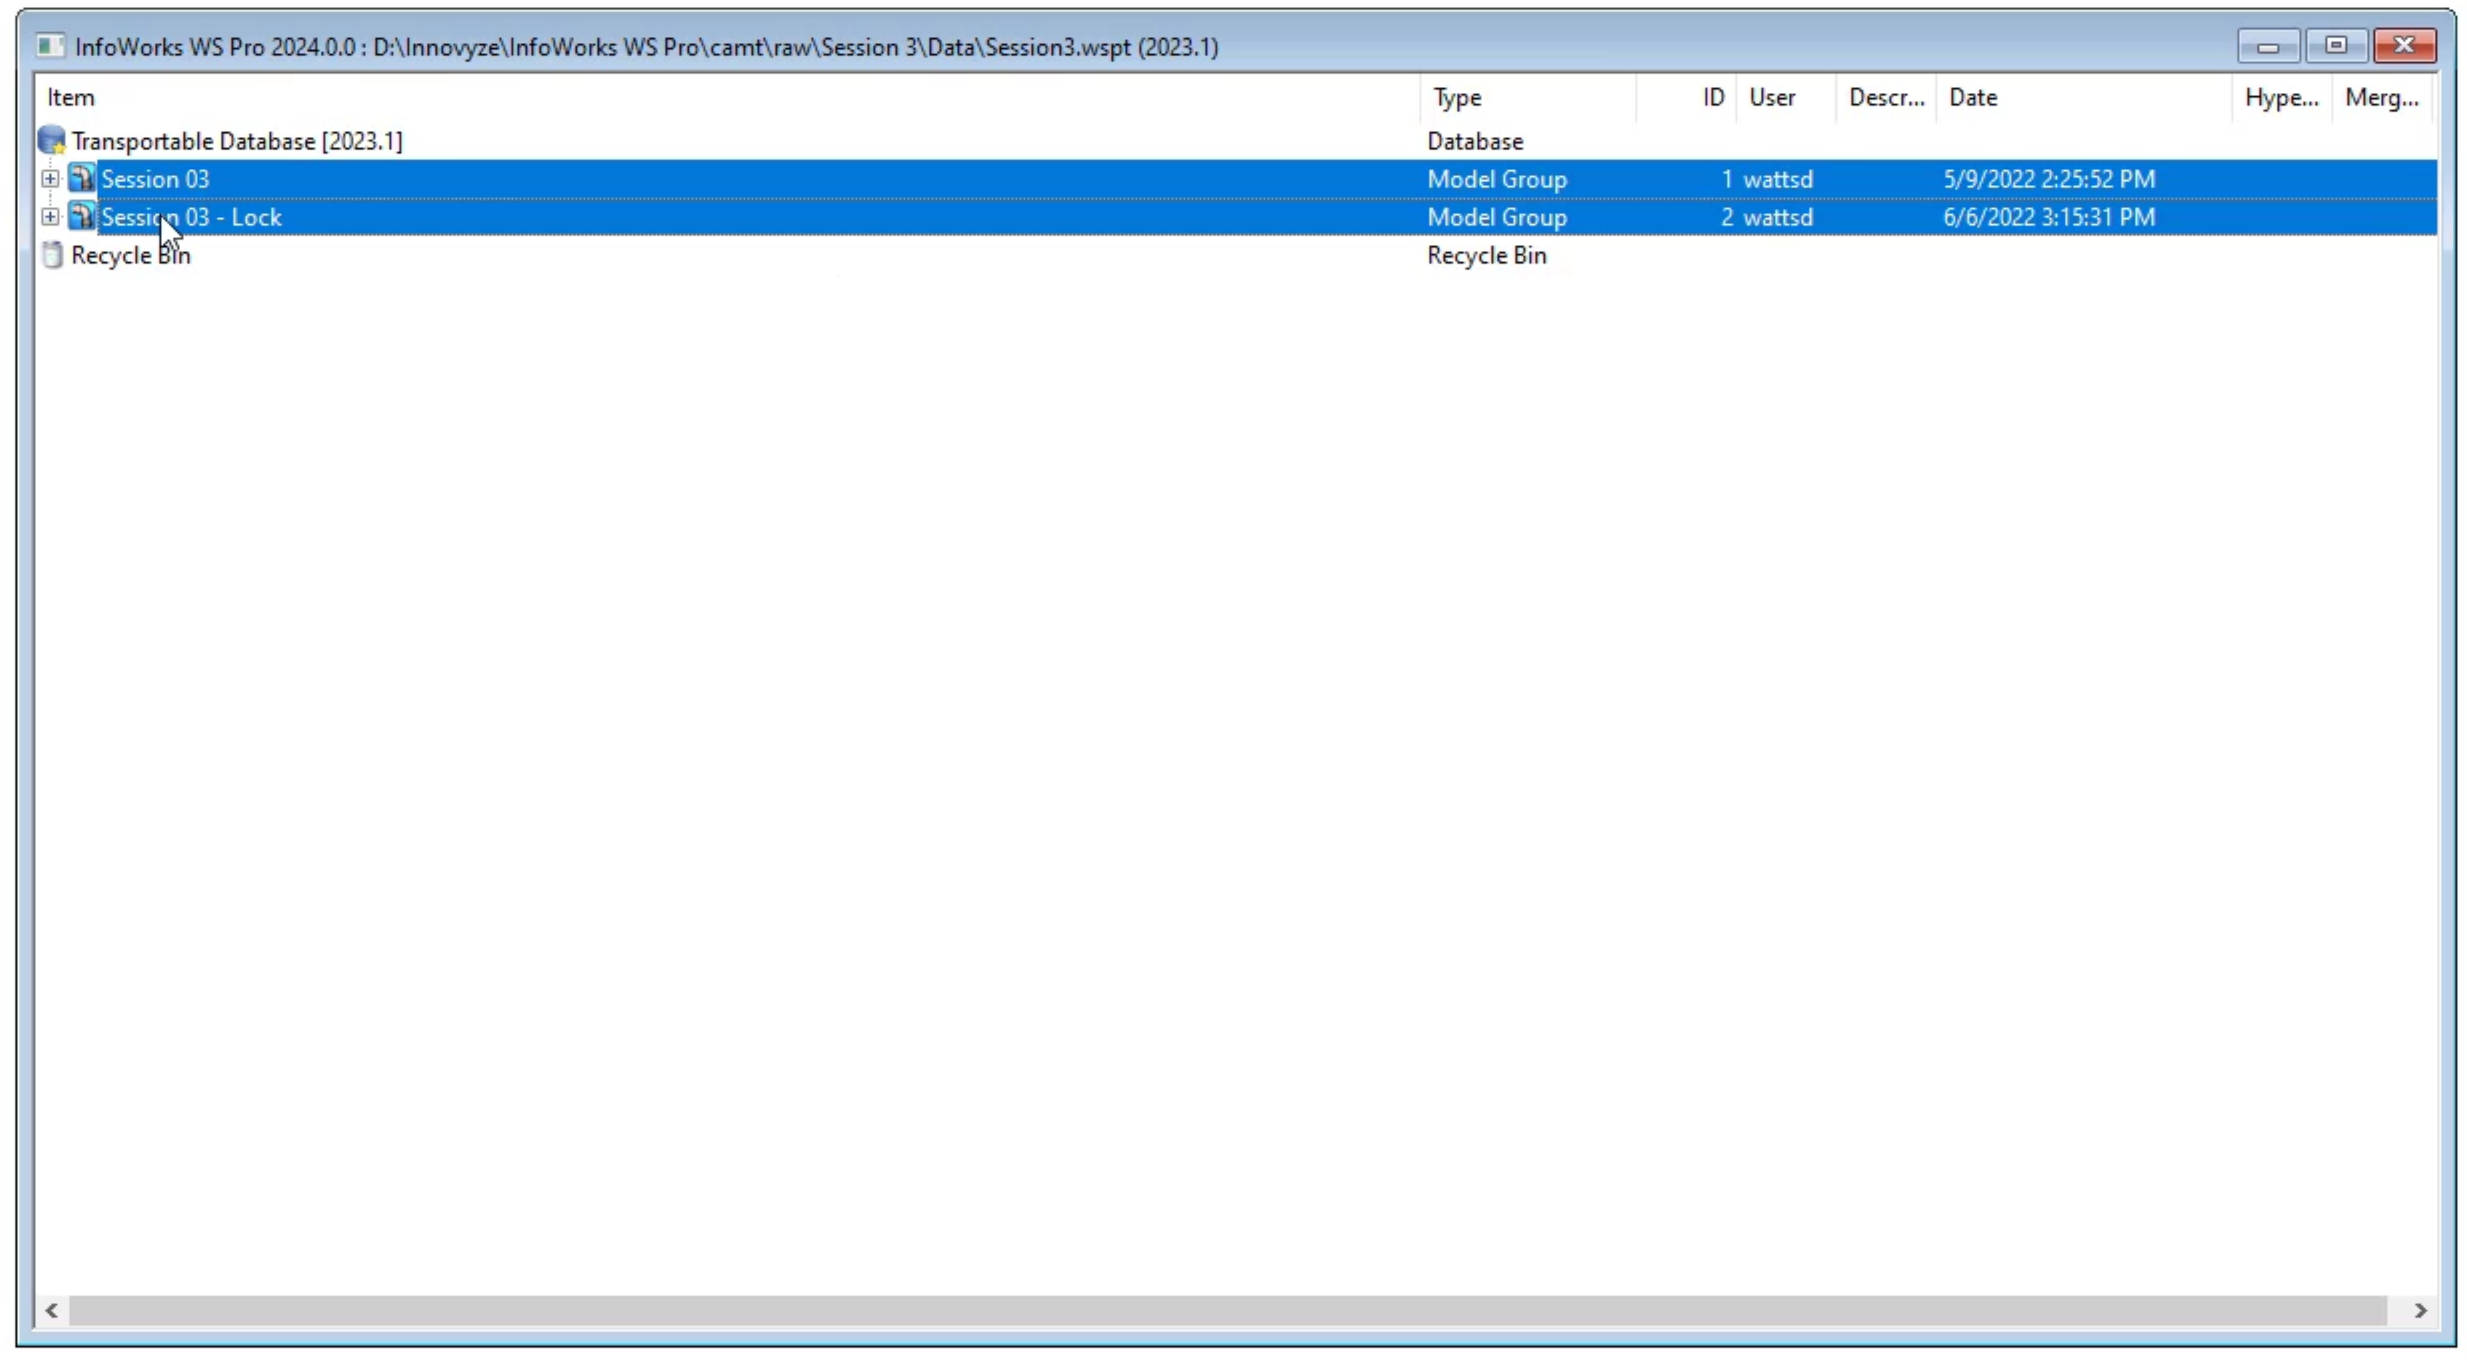
A window opens showing the contents of the transportable database
00:44
press and hold shift as you click both the session 03
00:47
and session 03 lock model groups to select both of them.
00:52
right, click and select copy
00:55
in the model group window, right, click database and click paste all
01:00
close the transportable database window
01:05
in the model group window, expand the session 03 model group,
01:10
open the bridge net GEO plan by clicking and dragging it into the workspace.
01:15
Now that the network is open,
01:17
you can associate a control with it to open both at the same time
01:22
to do so. Right, click the bridge net network and select associate control.
01:29
The associate control dialogue box appears
01:32
to associate the control with the network click and drag the bridge con control from
01:37
the model group window into the control
01:39
group box of the associate control dialogue.
01:42
Next associate the demand diagram as well.
01:46
Expand the demand diagram group and click and drag Bridgetown Adaw
01:51
into the demand diagram group box.
01:54
Click. OK. Then close the GEO plan window
01:58
in the model group window, click and drag the GEO plan into the workspace. Again,
02:03
notice at the top of the window that the control is now linked with the network.
02:08
Realize that this is an optional process and that you
02:11
do not have to associate a control with a network.
02:14
Also be aware that this feature is available only
02:17
for networks using the merge method of version control.


![The upper-left corner of the updated GeoPlan, displaying “BridgeNet + BridgeCon [Target]” to indicate that the control is now linked with the network.](https://files.upskill-dev.autodesk.com/public/innovyze/infoworkswspro/2023/images/iwsp2023M03U02_Assctng_a_Cntrl_007.png)