00:04
After making changes to an object in info works,
00:06
ws pro it will alert you of any uncommitted, unsaved changes.
00:12
You can also see details of different object versions.
00:15
View the differences between two versions and
00:18
branch an earlier version to address mistakes.
00:22
in the model group window expand the session three model group
00:26
open both bridge net and bridge con into the GEO plan.
00:31
Using the properties tool select the NMO B reservoir,
00:38
change the user flag of the top water level and the initial depth to pounds. Sign a
00:46
notice that both bridge net and bridge con
00:48
have a red circle with an exclamation mark.
00:51
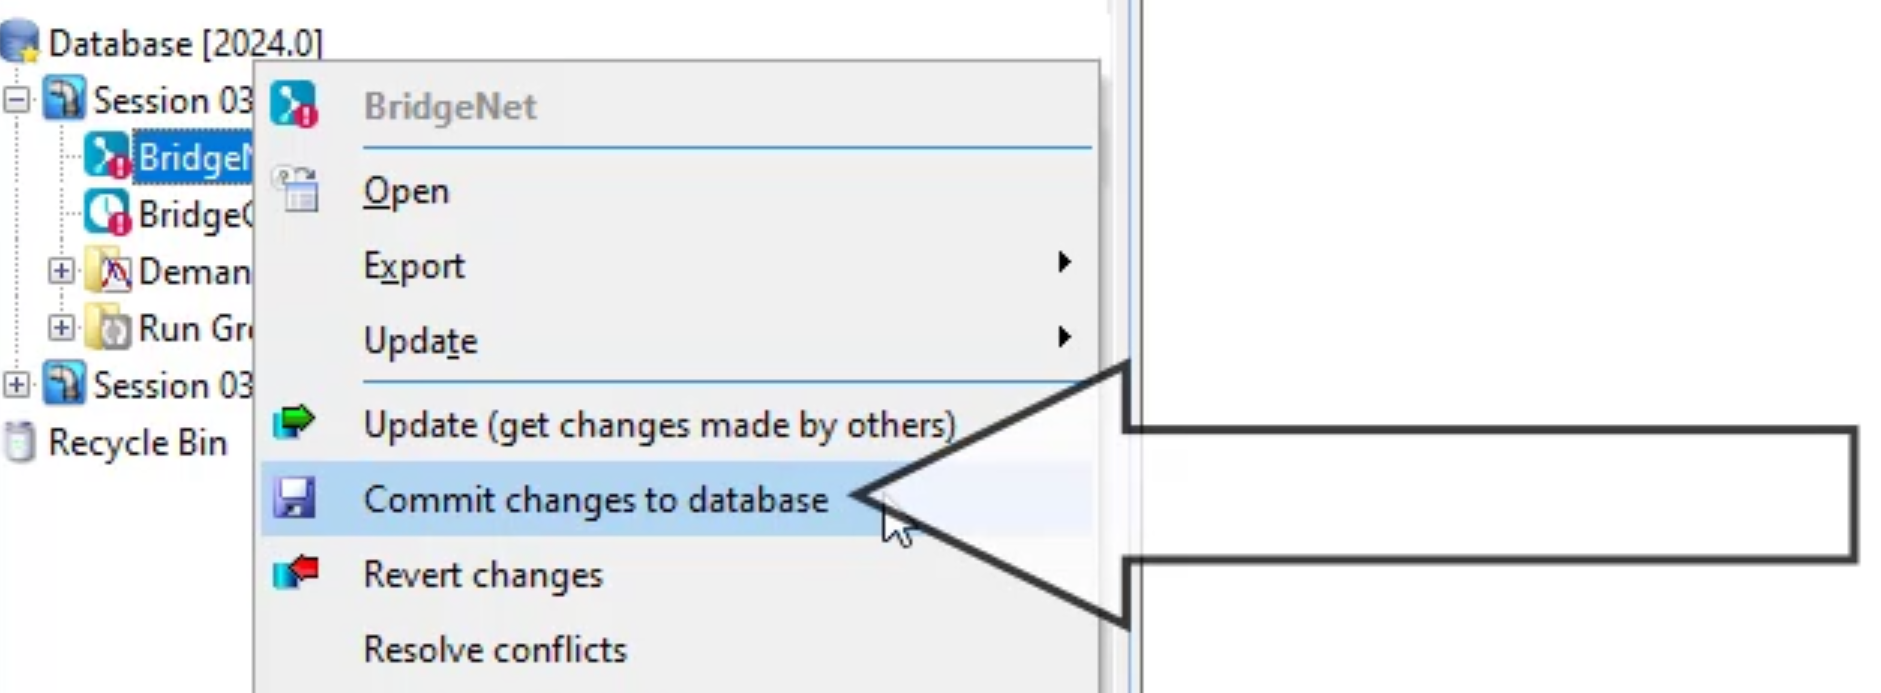
This symbol indicates that both networks have uncommitted changes
00:57
right click the bridge net network and select commit changes to database.
01:01
A dialogue opens, listing any uncommitted changes you have made to the network.
01:07
You can also enter comments about the changes but this is optional.
01:13
Repeat the process for the bridge con control
01:17
to commit changes to all version controlled objects. In one step,
01:20
you can click on the commit changes to database button in the toolbar
01:26
to see a history of all the changes that have been made to the network, right,
01:30
click and select show commit history from the sub menu.
01:34
The commit history bridge net dialogue shows a list of changes that have been made,
01:38
including a version number,
01:40
the date any changes were made and the name of the user who made the changes
01:45
to see a list of differences between two versions of the network.
01:49
Select two by clicking one
01:51
and while holding the control key, click another
01:55
then click the diff button
01:57
in the compare object dialogue, click the show differences button.
02:02
The difference is window opens comparing the two
02:05
different versions of the object you selected,
02:08
close the commit history, dialogue and the differences. Window
02:12
repeat the same process for the bridge con control
02:16
to see the details of your network, right,
02:19
click it and pick show commit history again
02:22
this time, select only one version of the network and then click the details button.
02:28
The commit details, lists the network name the version number
02:33
as well as the number and type of changes made
02:40
There may be times when you discover that the latest version of
02:42
an object contains a design error and you need to fix it
02:47
to do this with the commit history dialogue.
02:50
select the second latest version of your network and click the branch button.
02:55
This will take you back to that version of the network so you can revise it from there.
03:02
to see the version history of a specific object.
03:05
You can use the properties button in the toolbar.
03:09
The cursor will change to demonstrate the tool is active.
03:13
Use this tool to select the object of interest.
03:17
Once the property's window is open in the property's toolbar,
03:20
select the commit history button to see the commit history of the specific object.
03:27
When multiple users are working on and committing changes to the same database
03:31
conflicts may arise if more than one user commits a
03:34
change of the same description to the same object.
03:38
one user may change the depth of a reservoir and
03:40
then another user changes it to a different depth.
03:44
If you attempt to commit a change to the same attribute of an object,
03:47
but a different value,
03:48
the software will prompt you to resolve the conflict by right
03:51
clicking on bridge net network or control and click resolve conflicts.
03:56
This will provide a description of who made the change and when,
03:59
as well as options to keep or overwrite the changes.