Modifying the display settings of Revit links
Modifying the display settings of Revit links - Exercise
- Open the practice file 001-Small Medical Center-Display.rvt.
- Open the 01 Ground Floor HVAC Plan. The structural link is off in this view.
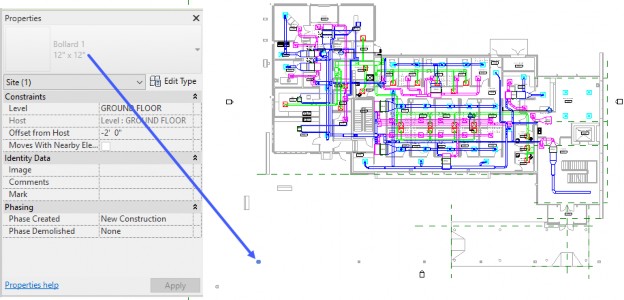
- Hover over one of the small elements outside of the main plan in the architectural linked model and press <Tab> until you can select it. Check the name and category in Properties, as shown below.

- Check out a couple of other elements including the park bench and, along the edge of the building, the wrap around roof.
- Select one of the bollards again and type VH (for View Hide). The entire Site category, including the park benches, are hidden in this view.
- Repeat the process for the roof elements that display outside of the main plan.
- Open the Visibility/Graphic Overrides dialog box and verify that the Roofs and Site categories are not visible.
- Switch to the Revit Links tab and notice that the Display Settings for the architectural link is set
to By Host View, as shown below.

- Click on By Host View.
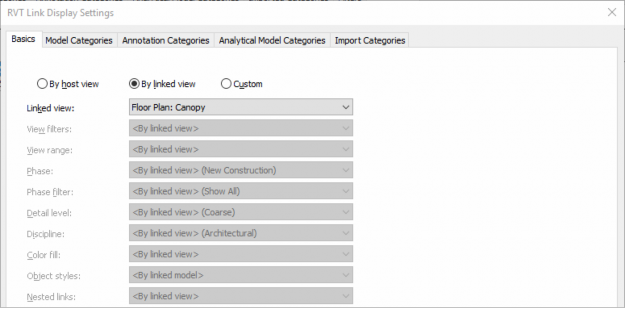
- In the RVT Link Display Settings dialog box, on the Basics tab, select By linked view. The Linked view is set to Floor Plan: Canopy, as shown below.

- Click OK and then Apply.
- Move the Visibility/Graphic Overrides dialog box out of the way so you can see what this linked view looks like in the plan. It still isn’t what you want.
- In the Visibility/Graphic Overrides dialog box, click By Linked View and select a different linked view. You can try Floor Plan: GROUND FLOOR, for example. But this one doesn't show what you want either.
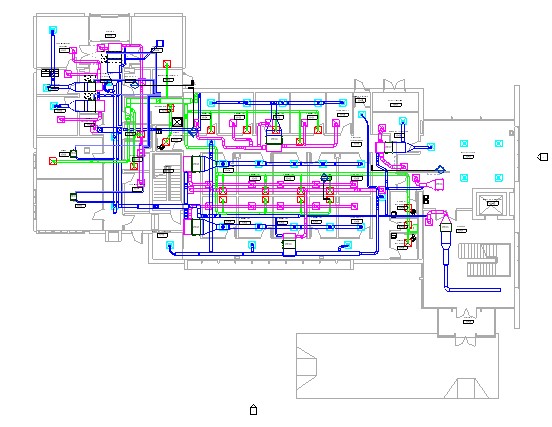
- Repeat the process and select Floor Plan: MEP – Ground Floor. This time the view looks much better, as shown below.

- Open the 02 2nd Floor HVAC Plan.
- In Visibility/Graphic Overrides dialog box, turn off the Visibility of the Structural Link and, for the architectural link, apply the Linked View: MEP – Second Floor. This view should clean up as well.
- Save the project.


