Render to the Cloud - Exercise
Rendering can be quite time-consuming and can take up a lot of resources from your computer. Luckily, Autodesk allows you to render images to their server, allowing you to get on with your day! You will be notified when the rendering in the cloud is complete. Please note that Flex tokens are required for cloud renderings at higher quality/larger image size settings.
To render a scene to the cloud, follow these steps:
- Open Revit.
- Open the Small Medical Center.rvt model from your project files. If you did not complete the previous exercise, open Small Medical Center-Cloud.rvt instead.
- In the Project Browser, select the SECOND FLOOR BREAKROOM 3D view to make it the current view if not already active.
- Double-check the rendering settings. Since the last rendering was satisfactory, you can keep all the settings as they are.
- In the View tab>Presentation panel, expand the Cloud Rendering drop-down list and select Render Gallery.
- If your Render Gallery does not launch, you may have to log in to your Autodesk account.
- Return to Revit.
- In the View tab>Presentation panel, expand the Cloud Rendering drop-down list and select Render in Cloud.
- The Render in Cloud welcome screen displays, explaining the three steps for cloud rendering, as shown below.
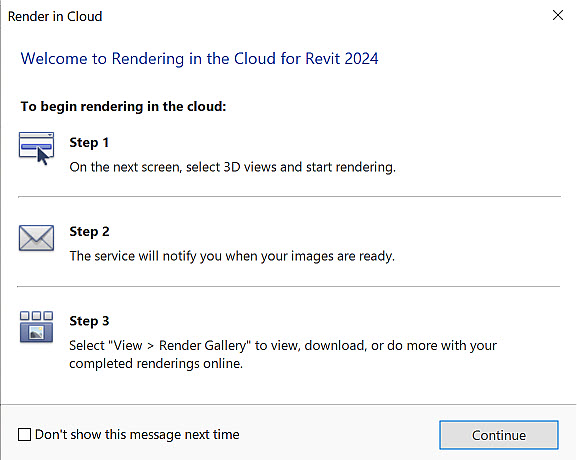
- Click Continue.
- Select the settings as shown below. Note that if you use a larger image size, you will need Flex Tokens to complete the rendering.
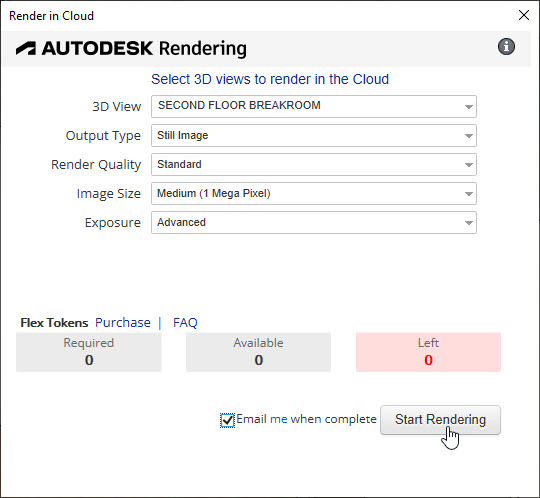
- Click Start Rendering.
- The Render in Cloud dialog box will display, showing the rendering process. If a warning message pops up about missing appearance images, click OK.
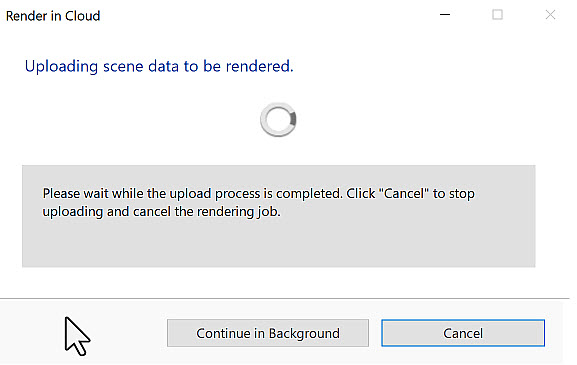
- Click Continue in Background.
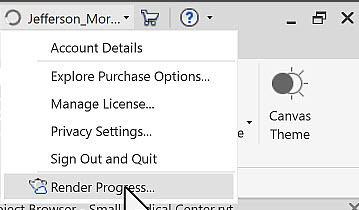
- You can check the rendering progress using the drop-down list by your login name by clicking Render Progress…, as shown below.
- When rendering is finished, you receive an email, as shown below.
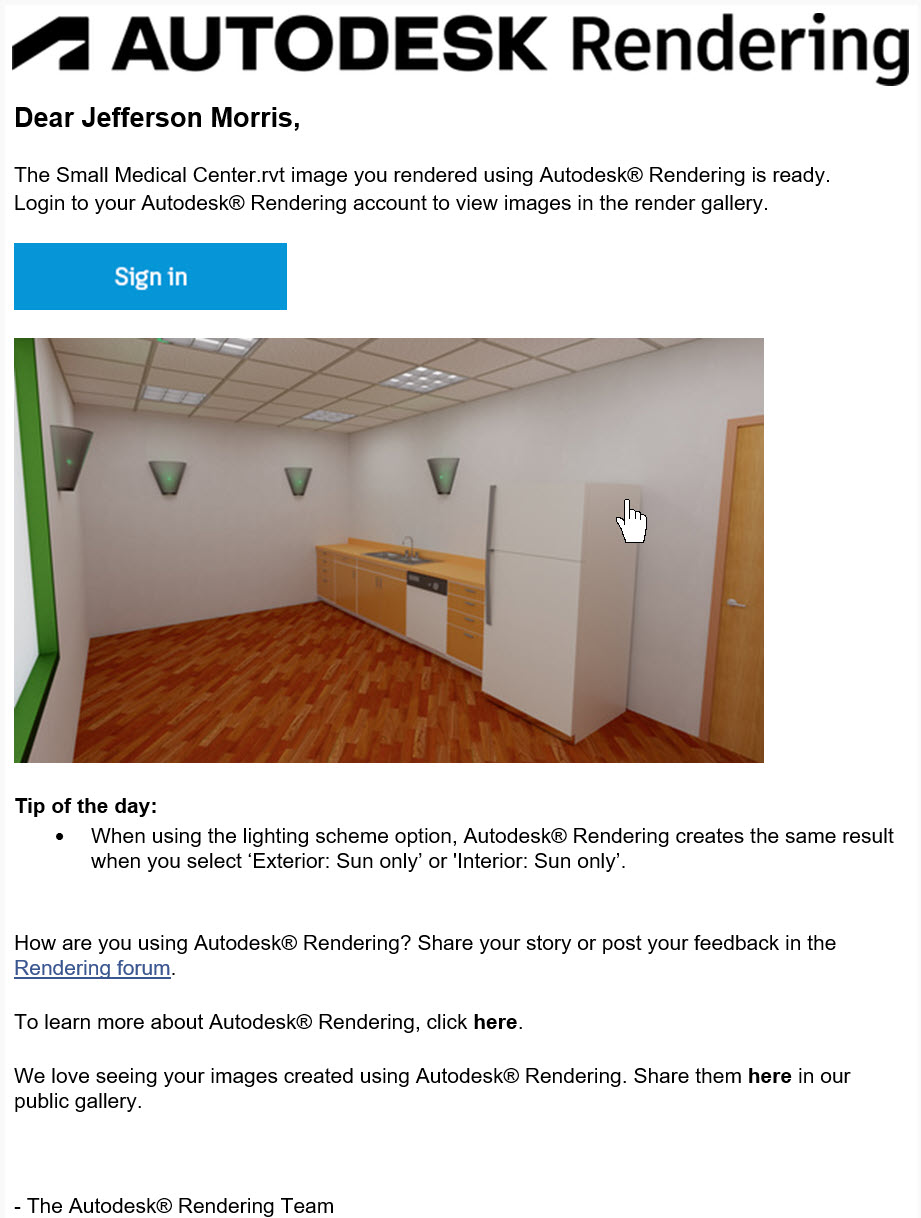
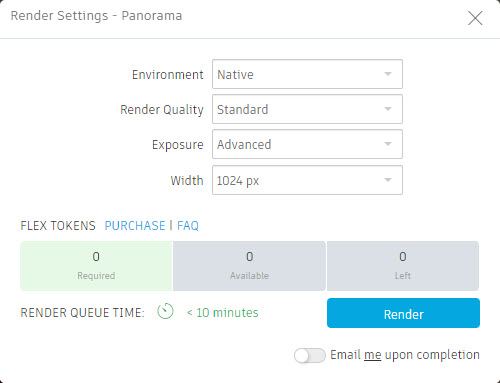
- In the Render Gallery, render the image again as a panorama with the settings shown below. Note that if you set the Render Quality to Final or increase the Width, you will need Flex Tokens to complete the rendering.
- Download the still image as a JPEG file and the panorama as an HTML file.
- Save the Revit model.


