Manage Users and Products for a Team
Once a team is created, the primary admin can add users to the team, either individually or by importing a spreadsheet. The primary admin also has the ability to remove users from a team.
Adding Users
The process for inviting users and granting access to products is the same for team members as it is for individual users, though bulk import options can be easier to manage when working with teams.
How to Add Users to a Team
You can add as many team users as you need. Adding users to a new team doesn’t remove them from existing teams.
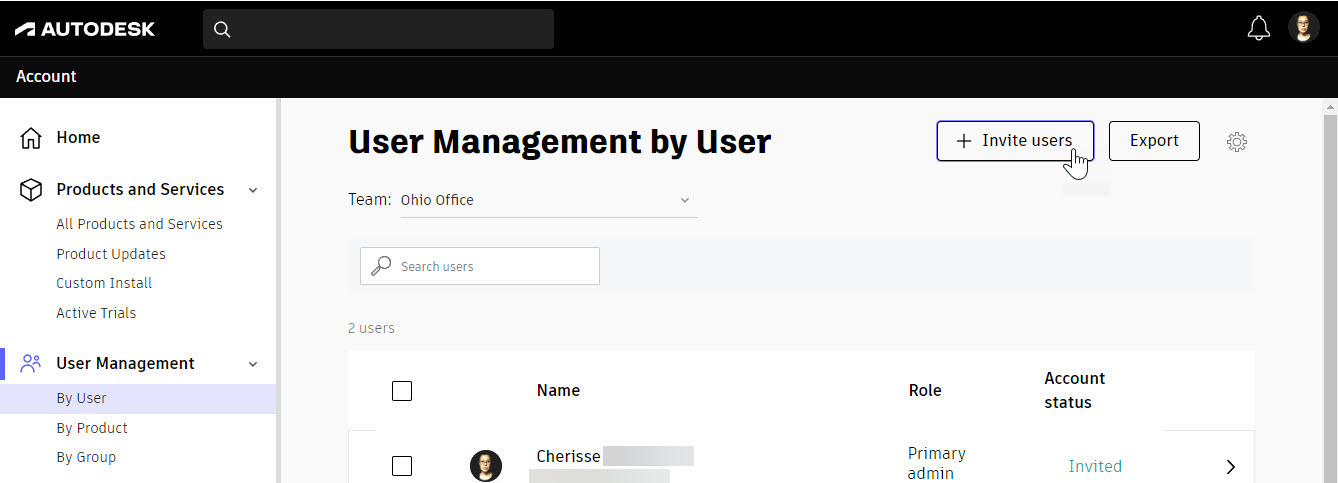
- In the navigation panel>User Management section, select By User.
- Expand the Team drop-down menu and select the team you would like to add users to.
- Click Invite users and add users to the team either individually (as done in a previous module) or by Import.
How to Add Users to a Team by CSV Import
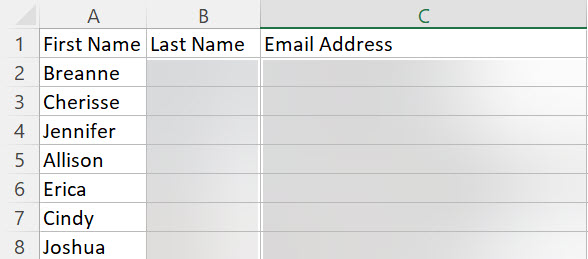
- Prepare a CSV file listing the users you want to import to a team. This file should only include the first name, last name, and email address of each user.
- Add a single row for each user.
- Add three columns: First name, Last name, and Email address.
- On the User Management by User page, verify you have the correct team selected, then click Invite users.
- In the Invite users dialog box, select the Import tab and click Upload CSV file.

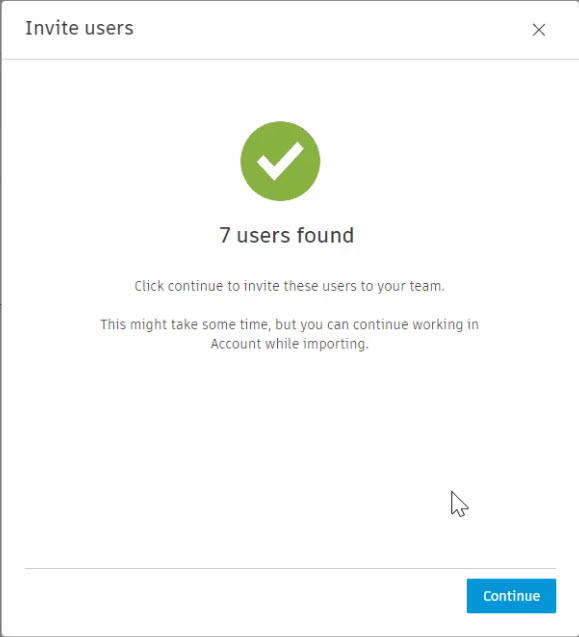
- Navigate to and select the CSV file you created and click Open. The file will be scanned and the dialog will notify you of how many users were found when complete. Click Continue.
- The User Management by User page will update with the new list of users and you can begin to assign products to them.
How to Import and Assign Users to a Product in Bulk
You can also import a CSV file to bulk assign a product to users. If a user added to the spreadsheet is already part of your team, the product will be assigned to their existing account. If a user is not already part of your team, they will be added as part of the import.
- Prepare a CSV file listing the users you want to import and assign.
- Add a single row for each user.
- Add three columns: First name, Last name, and Email address.
- Users that already have access to this product will not be assigned another seat.
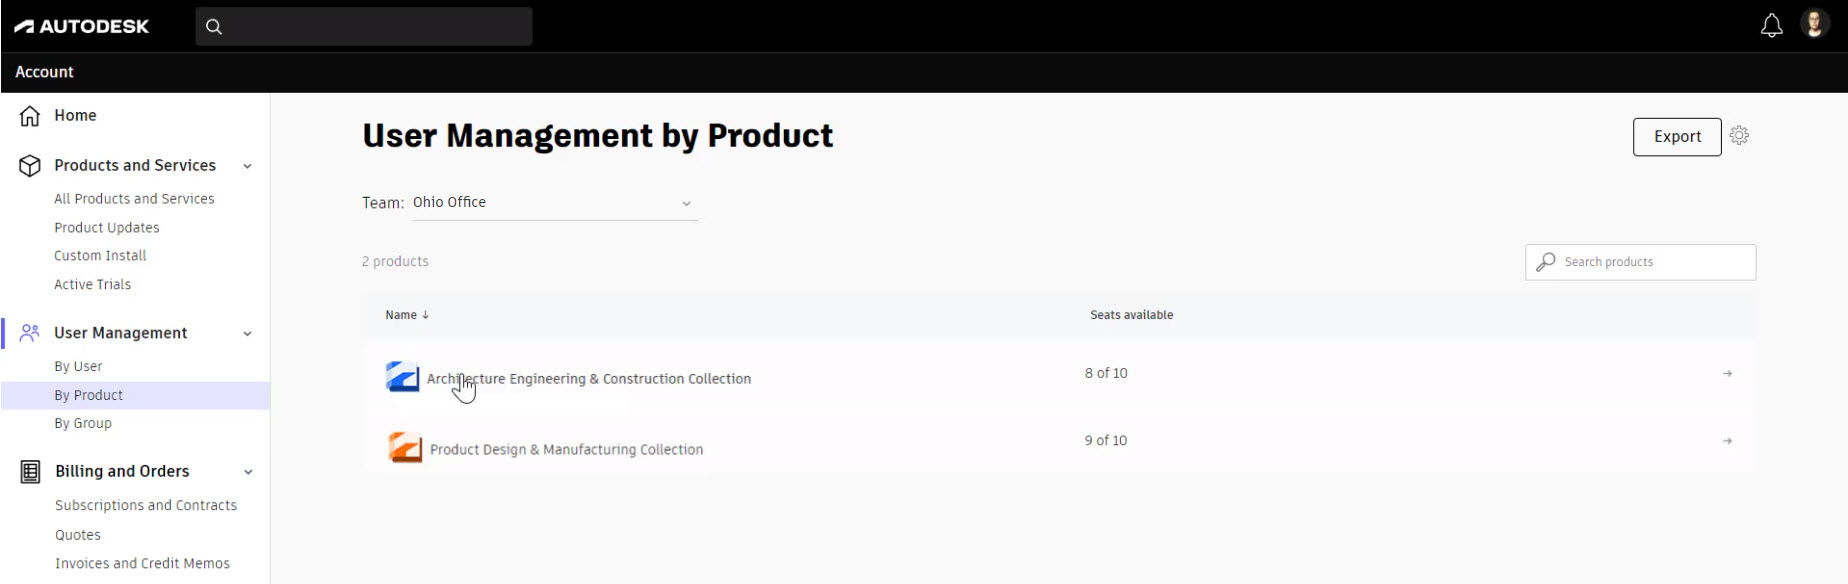
- In the navigation panel>User Management section, click By Product.
- On the User Management by Product page, expand the Team drop-down menu to select the team you want to assign products to, then select a product to view details.
- On the product page, click Assign users.
- In the Assign users dialog box, select the Import to assign tab.
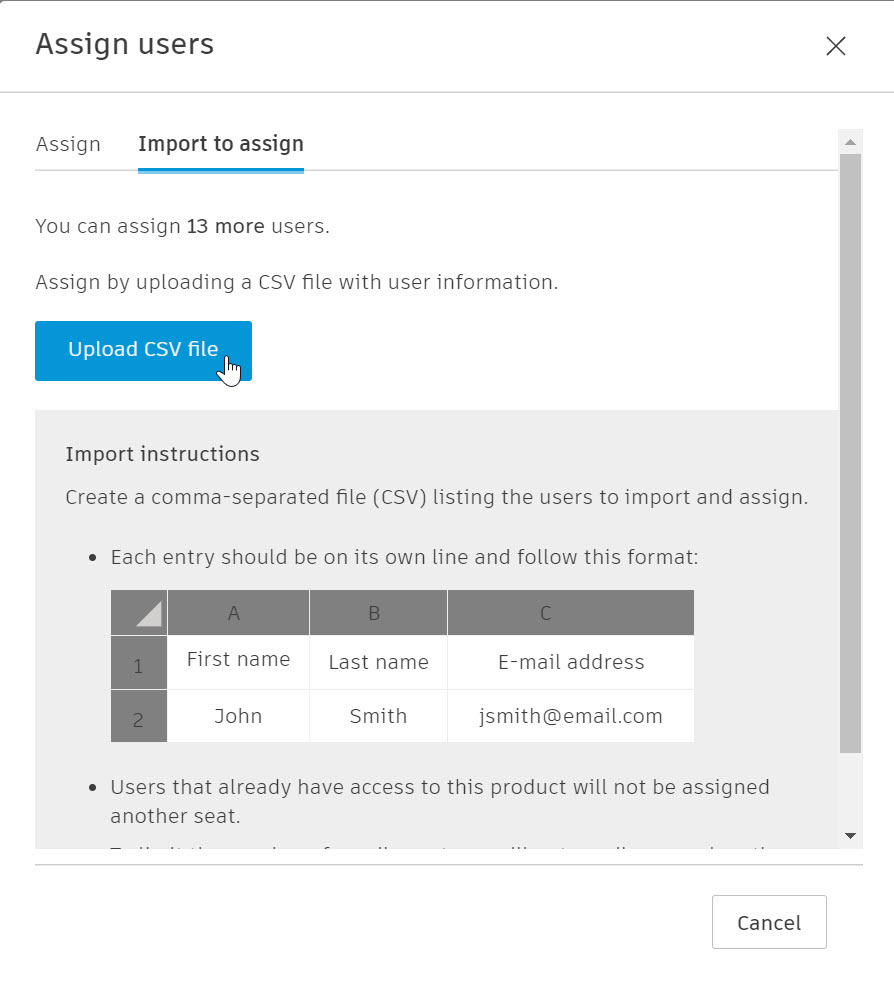
- Click Upload CSV file.
- Select your CSV file and click Open. You can continue working while the file is uploading. A notification displays when the import is complete. Note:If you receive an error, make sure the file is saved in the CSV format.
- The imported users will be added to your team and assigned the selected product(s).
- If the person was not already part of your account, they will receive an invitation to create an account. If the user does not accept within seven days, you'll need to resend the invitation.
Removing Users from a Team
Once your team has users added to it, you may need to make modifications to the list of users. You can remove as many users as necessary within a team using the bulk removal method by checking the checkbox next to their names in the team list. You can also remove a single user from the team from their user information page.
- It is advised that you only remove a user from a team if they have been added to more than one team. If the user is only on one team and you remove them, they are removed completely from your account and will need to be reinvited.
How to Bulk Remove Users from a Team
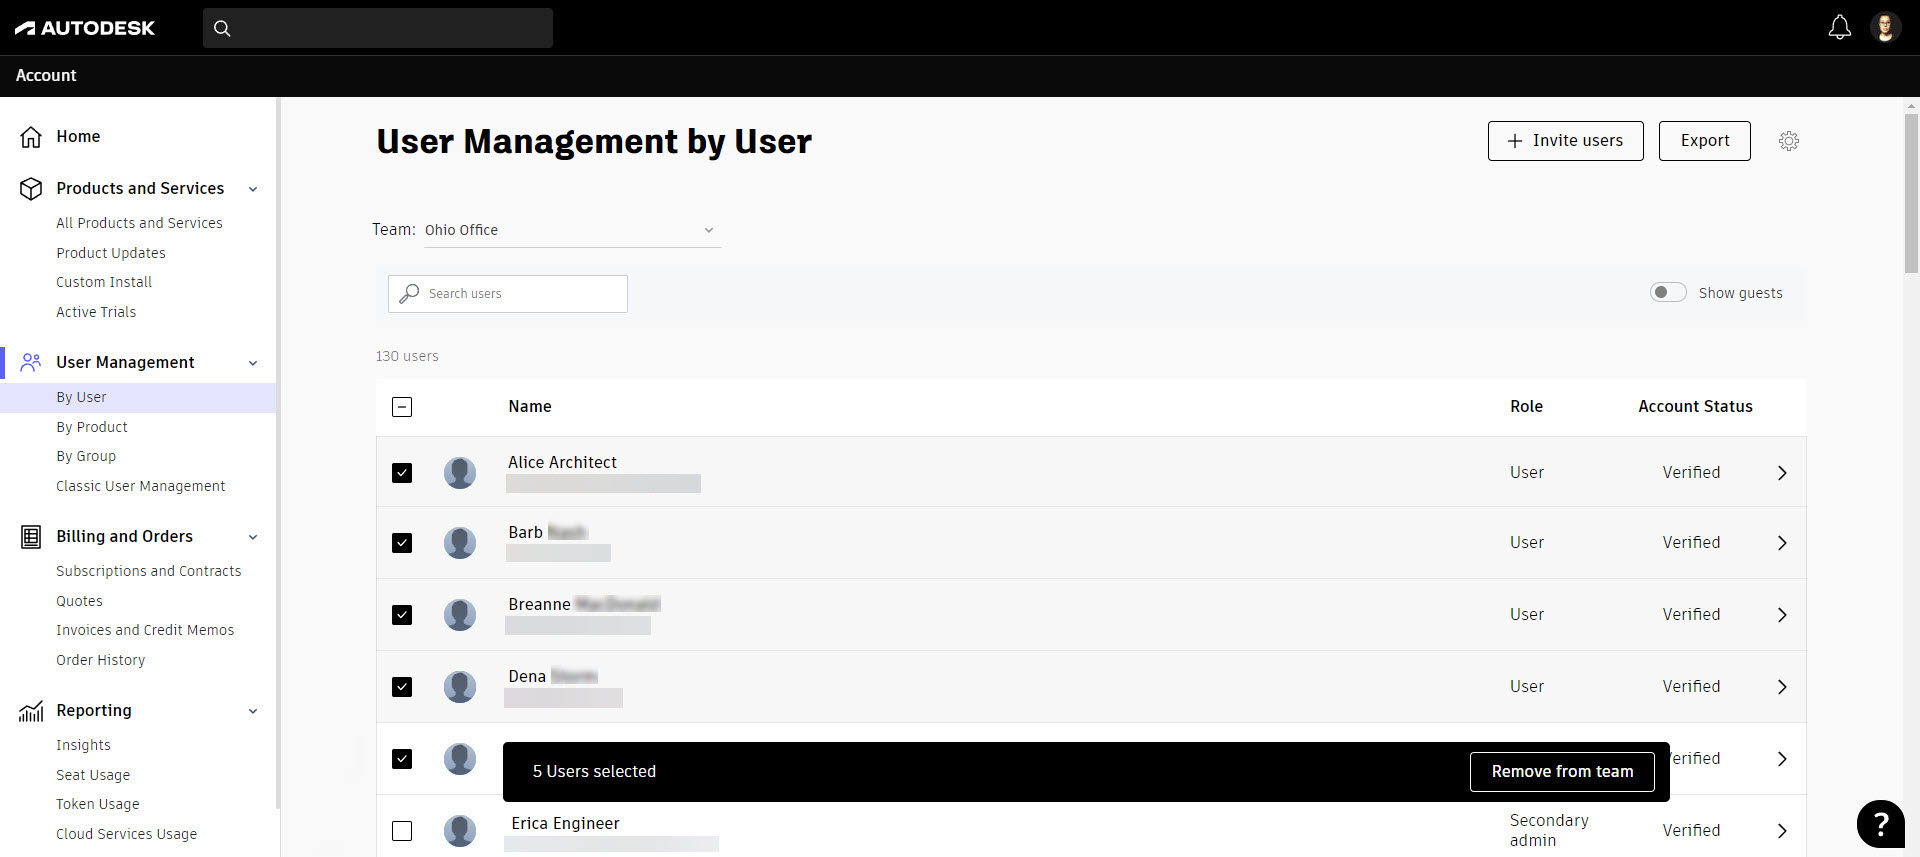
- In the navigation panel>User Management section, select By User.
- At the top of the page, verify you are in the correct team. If not, expand the Team drop-down menu and select the correct team.
- Check the checkbox next to each of the users you need to remove from the team.
- At the bottom of the screen, a black bar will display how many users are selected, along with a button to remove the users from the team. Once all users are selected, click Remove from team.
- In the dialog box that appears, read the information and click Remove.

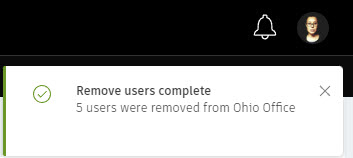
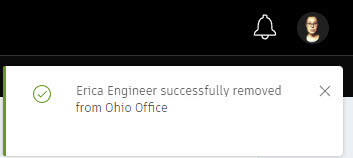
- A notification will display in the upper-right corner next to your account profile icon to indicate that the users are now removed from the team.
How to Remove a Single User from a Team
- In the navigation panel>User Management section, select By User.
- At the top of the page, verify you are in the correct team. If not, expand the Team drop-down menu and select the correct team.
- Click on the user you need to remove from the team.
- To the right of the user’s information, click the Remove User
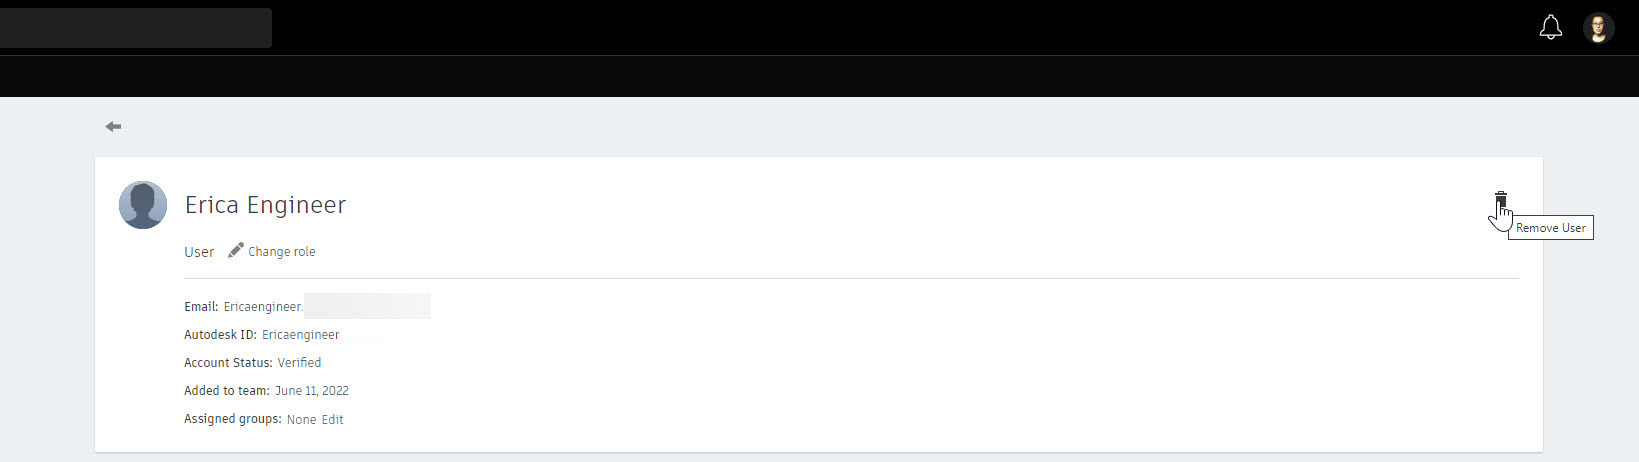
- When prompted, confirm the deletion of the user from the team by clicking Remove user.

- A notification will display in the upper-right corner next to your account profile icon to indicate that the user has been removed from the team.
Getting Support for Managing Teams
If you have any issues or questions about your teams, you can click the  icon in the lower-right corner to access the Get Help menu. Select Post-purchase support > Subscription management > Subscription benefits & set up. You can review the Knowledge Network articles or click Contact a support agent for further help.


