Create and Manage Autodesk Account Groups
Groups allow you to organize and assign products to multiple people at one time. Instead of assigning your users to products one by one, you can organize users into groups and manage them by role such that each group is assigned access to the same products.
How to Create a Group
- Sign in to Autodesk Account.
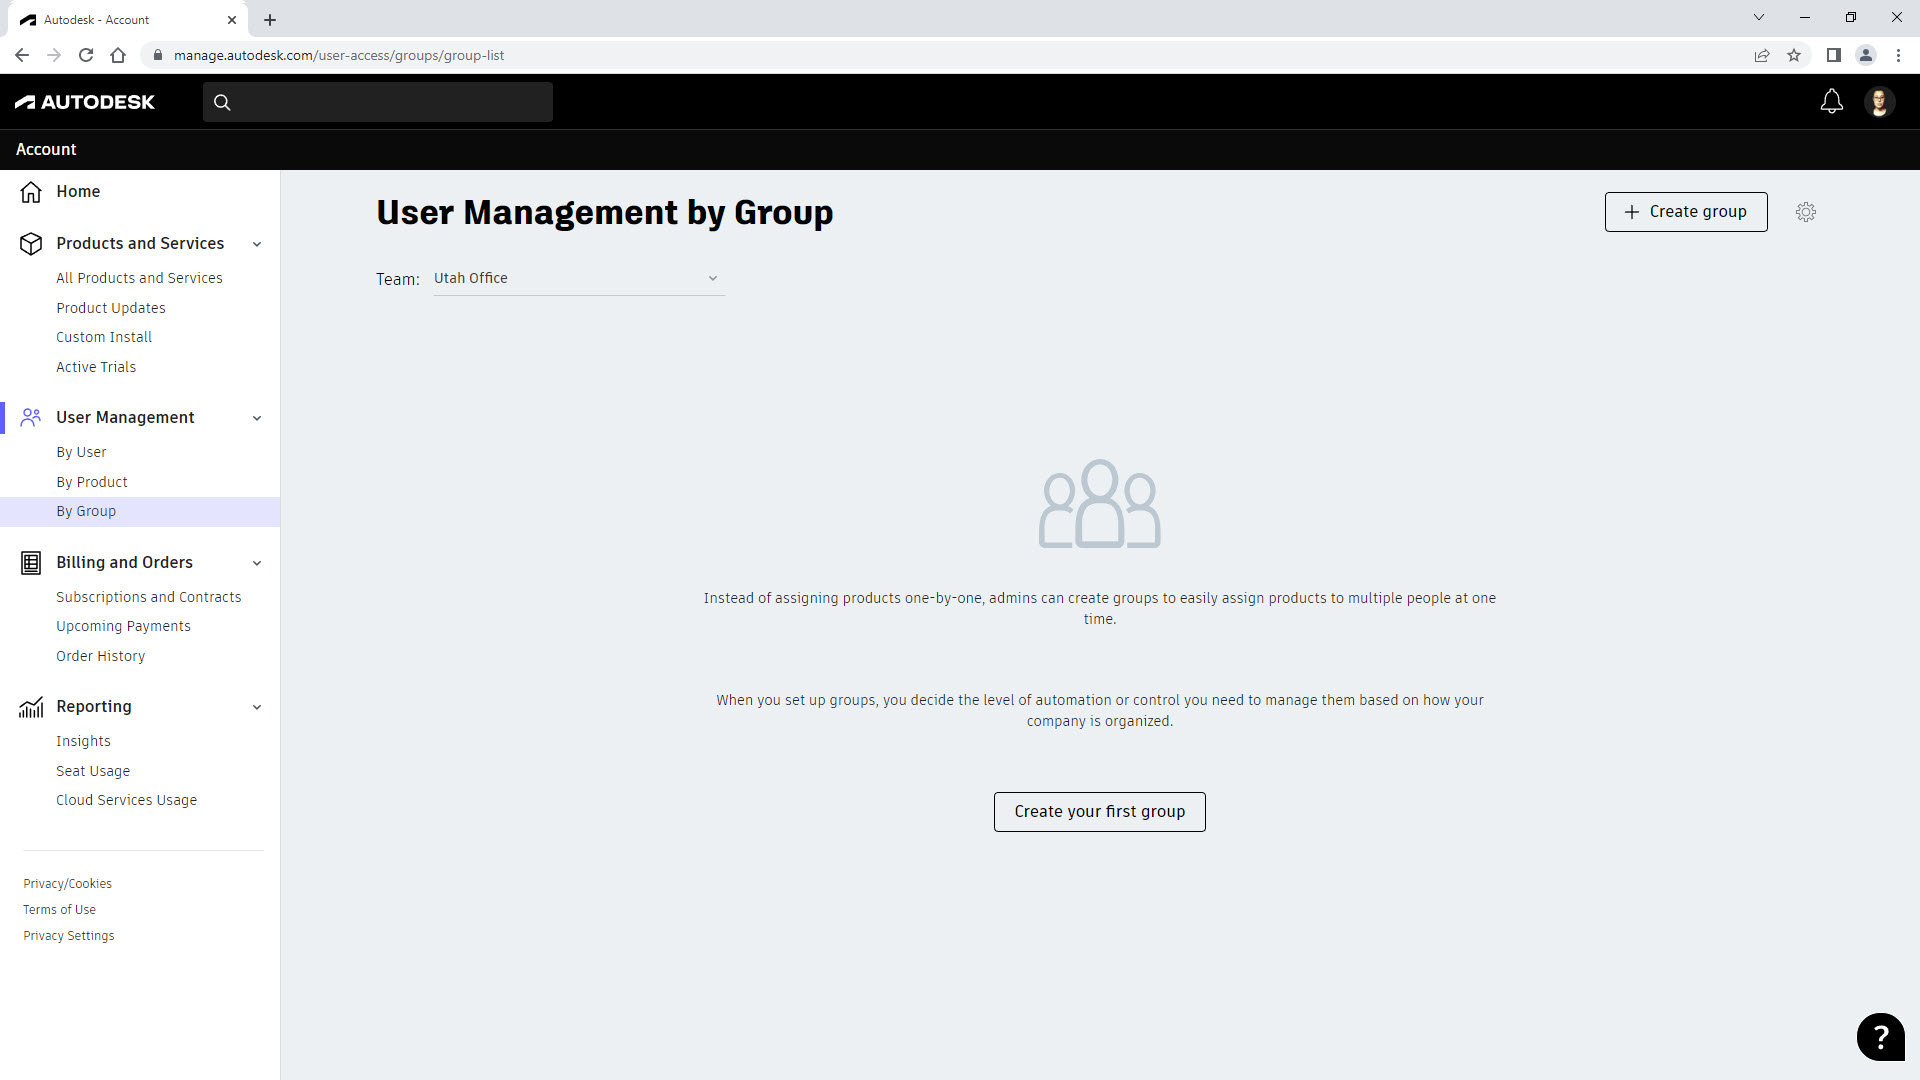
- In the navigation panel>User Management section, select By Group.
- On the User Management by Group page, expand the Team drop-down menu and specify a team, if applicable.
- Click Create your first group in the center of the page or Create group in the upper-right corner.
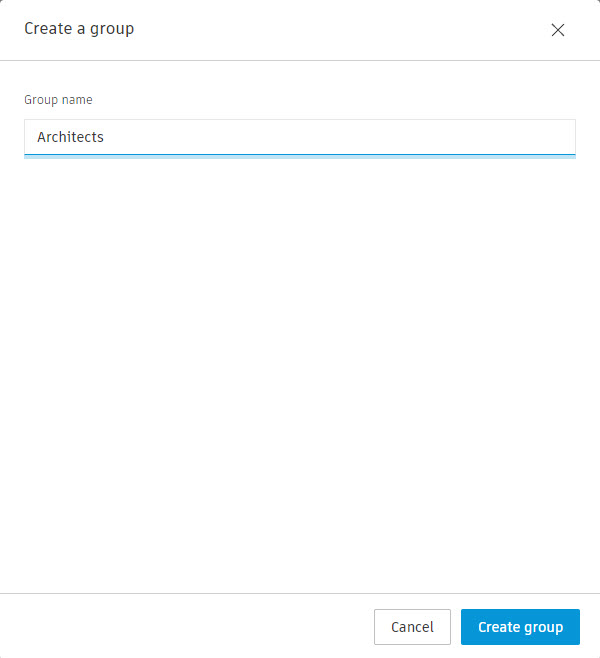
- In the Create a group dialog box, enter a Group name and click Create group.
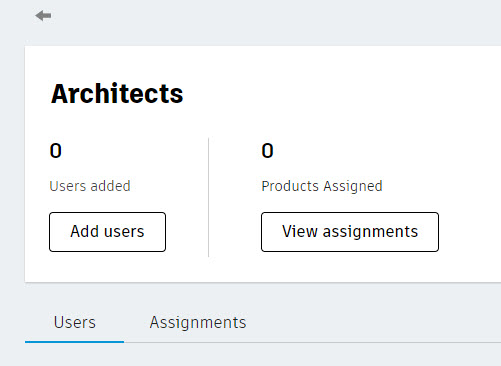
- To add users to the group, click Add users.
- In the Add users to <group name> dialog box, select the users that you want to add to the group. The users need to already be part of the team the group was created in.
- If the user you want to add is not in the list, add them to the team by going to User Management>By User.
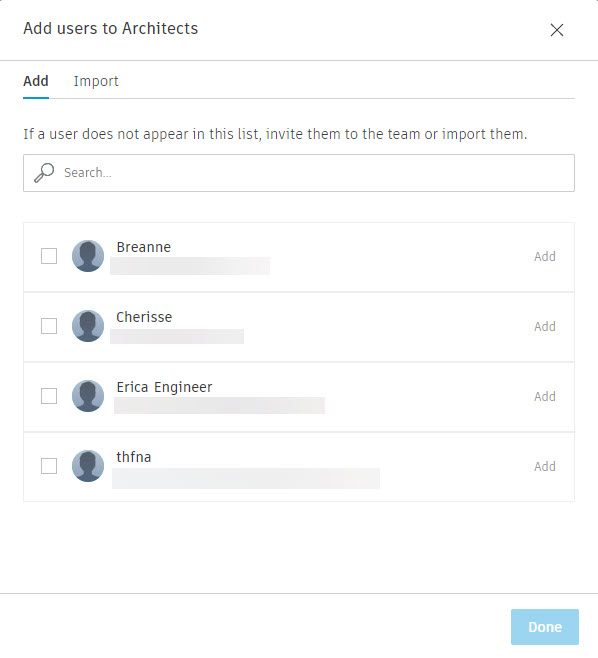
- Click Done.
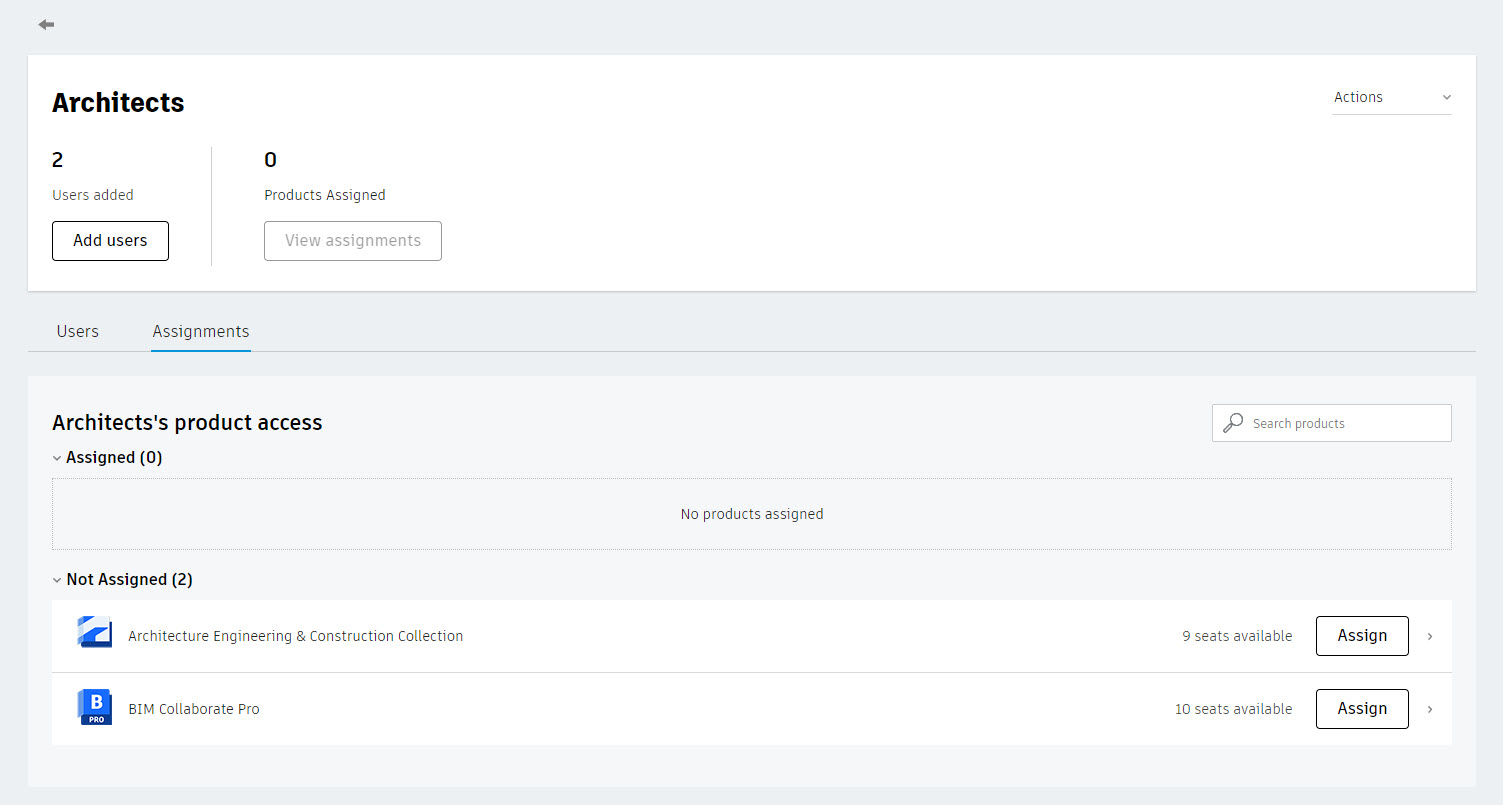
- To add products to the group, on the group page, click View assignments.
- In the Not Assigned section, click Assign next to the software you would like to assign to the users in the group. The software is assigned to everyone in the group.
- You do not need to assign all the software available in the Not Assigned
How to Add a New User and Assign Them to a Group
- In the navigation panel>User Management section, select By User.
- On the User Management by User page, click Invite users.
- In the Invite users dialog box, fill out the user’s information. At the bottom of the dialog box, you have the option to select a group to add the user to.
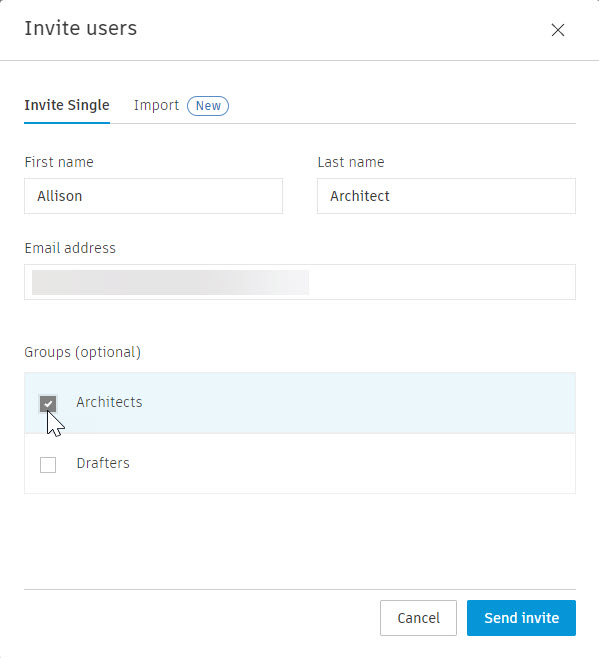
- Click Send invite, and then click Done.
How to Rename a Group
- On the User Management By Group page, select the group you want to rename.
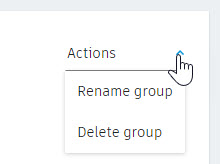
- In the upper-right corner, expand Actions and select Rename group.
- In the Rename group dialog box, enter a new name and click Save changes.
How to Delete a Group
Before deleting a group, it is best practice to remove all users and product assignments from the group, as done in the following steps.
- On the User Management By Group page, select the group you want to delete.
- Click the Users tab, then click Remove next to the user’s name to remove them from the group.
- Click the Assignments tab, then click Unassign next to the product name to remove it from the group.
- In the upper-right corner of the page, expand Actions and select Delete group.
- In the Delete <group name> dialog box, click Delete group.
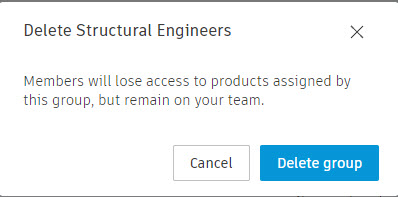
- Users assigned to products individually will continue to have access those products. Group management does not affect individual product assignments.
Getting Support with Group Management
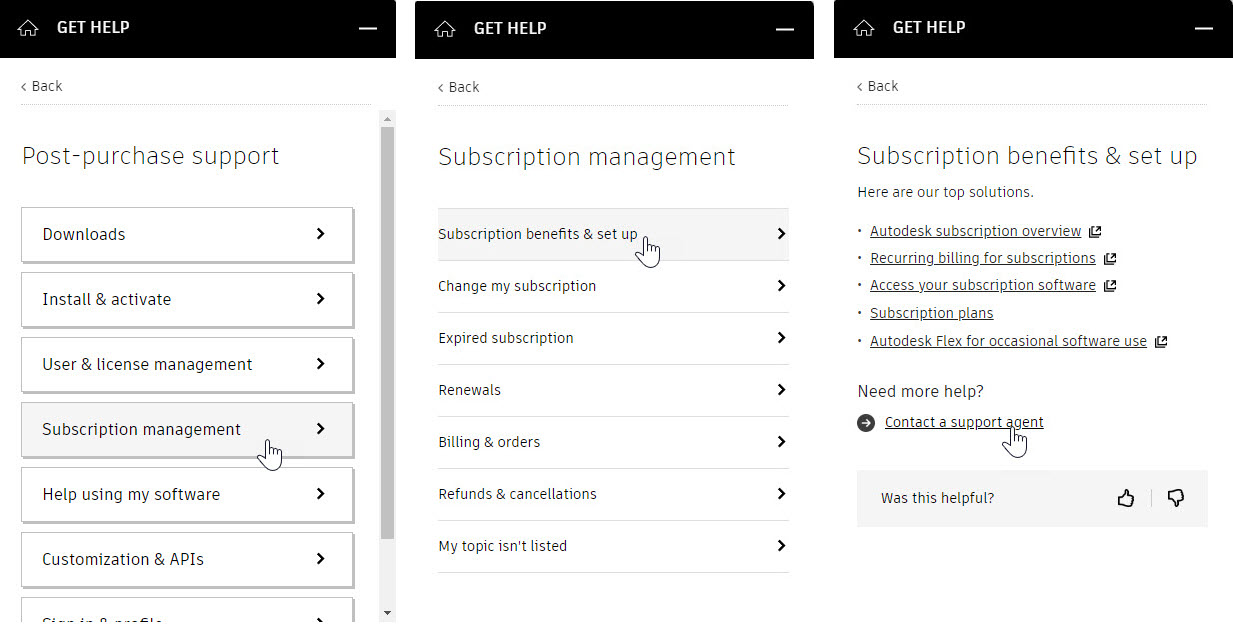
If you have any issues or questions about creating groups, you can click the  icon in the lower-right corner to access the Get Help menu. Select Post-purchase support > Subscription management > Subscription benefits & set up. You can review the Knowledge Network articles or click Contact a support agent for further help.