& Construction

Integrated BIM tools, including Revit, AutoCAD, and Civil 3D
& Manufacturing

Professional CAD/CAM tools built on Inventor and AutoCAD
Construction geometry is the building blocks for parametric modeling. In this tutorial, learn use cases for creating planes, as well as how to create an axis and points.
Construction geometry allows you to place a sketch plane, axis, or point at a location or angle relative to an assembly model. Added as parametric features in the timeline, construction planes automatically update when you make related modifications to the model.
You need to add new geometry, placed 8 mm down from the top of a model. Create an offset construction plane to reference the top face, and then specify the distance to offset.
If the Data Panel is not open, click Show Data Panel  .
.
In the Data Panel, open 3_Construction Geometry from Projects > Samples > Workshops & Events > Adoption Path > Mechanical Assemblies > 3_Construction Geometry.
In the Model workspace, choose Construct > Offset Plane.
Select a face on the top of the model. The construction plane aligns with the top of the model.
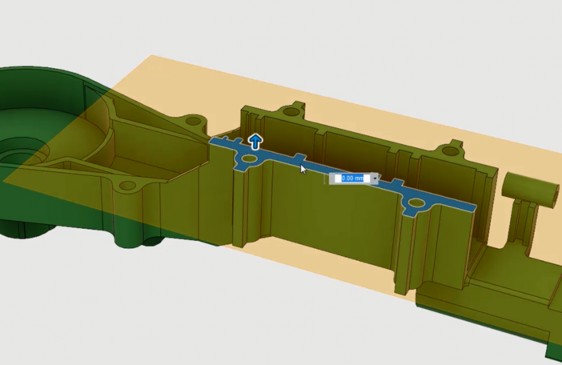
Specify an offset distance of -8 mm.
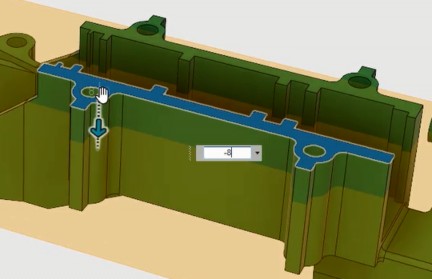
The offset plane appears.
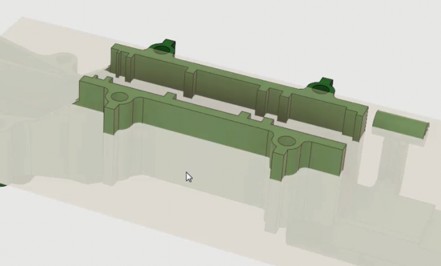
Right-click the offset plane and select Create Sketch from the Marking menu.
Create a sketch for the new geometry on the offset plane.

Extrude the new geometry from the sketch.
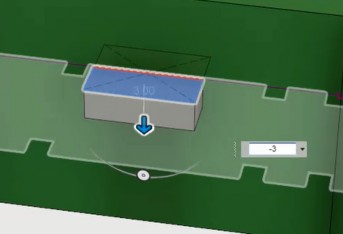
The geometry is complete.
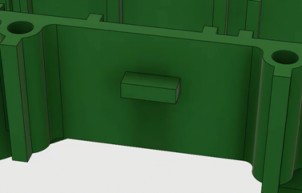
The browser now shows a construction folder containing the offset plane. The plane also appears in the timeline.
In this step, you use a construction plane to create a hole at an angle for a setscrew.
Choose Construct > Plane At Angle.
Select a line to specify the axis for the angle.
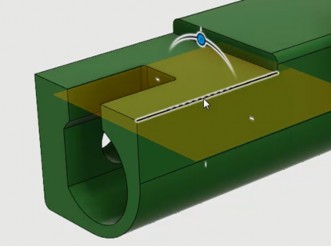
To specify the angle, drag the rotation manipulator until the plane is at 45 degrees, or type -45 deg in the text box. You'll use the construction plane as a reference for a sketch.

Right-click to display the Marking menu, hover over Sketch, and select Center Diameter Circle.
Draw a circle with a diameter of 3 mm centered on the axis of the construction plane.
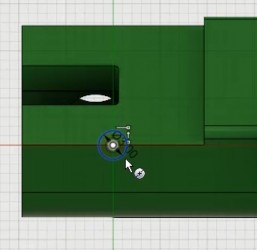
Right-click and select Press Pull from the Marking menu.
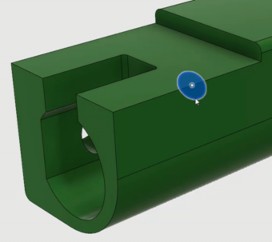
Extrude the hole to a distance of -12 mm.
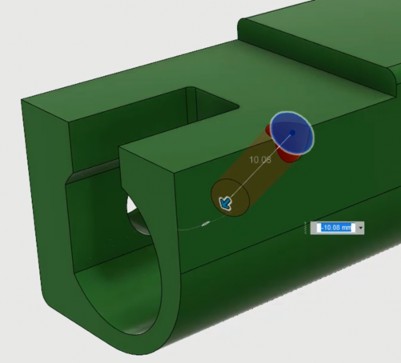
The timeline and the construction folder in the browser now contain the plane.

You need to place a screw hole on the boss. To create a hole on a cylindrical surface, use a tangent construction plane.
Choose Construct > Tangent Plane.
Select the face of the boss.
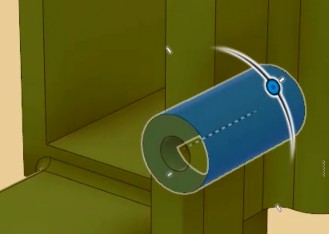
Select a reference plane.
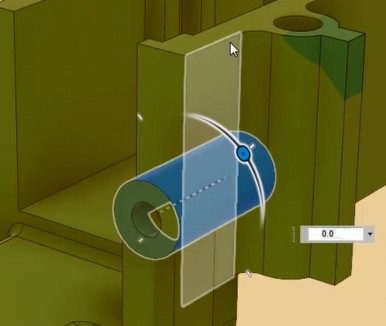
Drag the rotation manipulator to an angle of 45 degrees, or type in the value.
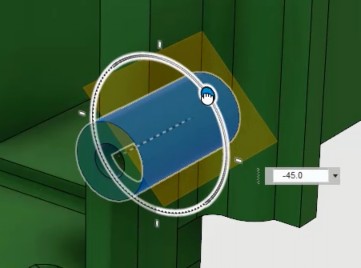
Drag a corner of the construction plane to make it larger. You can resize any construction plane by dragging a corner.
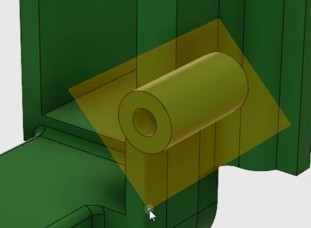
Right-click to display the Marking menu, hover over Sketch, and select Center Diameter Circle.
Draw a circle with a diameter of 1.5 mm on the construction plane.
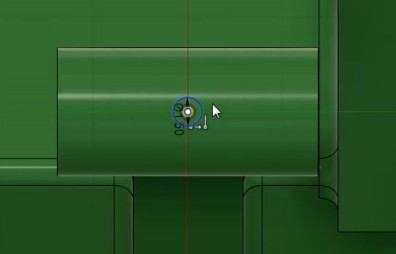
Right-click and select Press Pull from the Marking menu.
Extrude the hole to a distance of -4 mm.
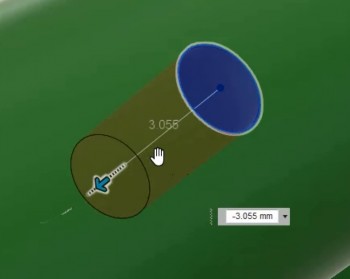
The timeline and browser now contain the tangent plane.
You need to create a cut in the base of the gear housing midway between two planar faces. Use Midplane to create a construction plane between the faces.
Choose Construct > Midplane.
Select the two planar faces between which you want to place the construction plane.
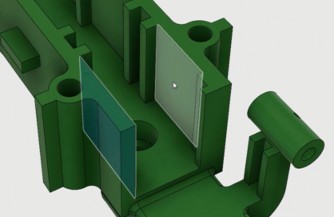
A construction plane appears between the two faces.
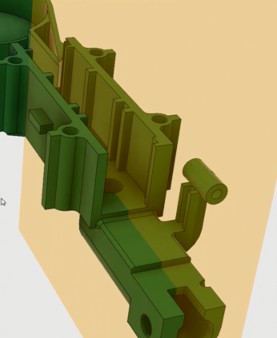
Drag a corner of the construction plane to make it smaller.
Right-click and select Sketch from the Marking menu.
On the construction plane, sketch a circle to define the cut you want to make in the base of the housing.
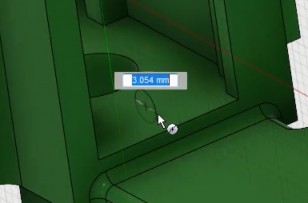
Right-click and select Press Pull from the Marking menu.
In the Extrude dialog, specify the following values:
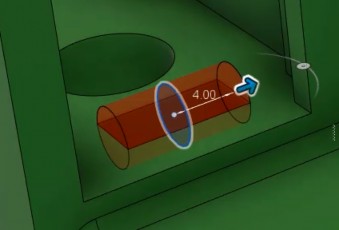
The cut in the base of the gear housing is complete.
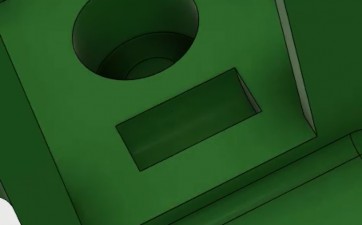
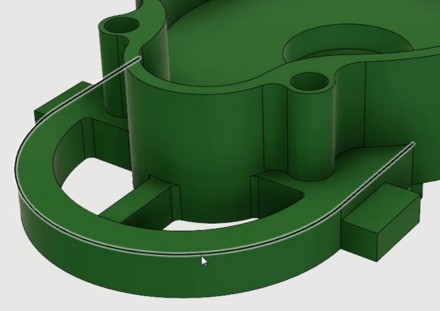
You want to sweep a profile along the curved edge at one end of the gear housing. Use Plane Along Path to create a construction plane for the profile.
Choose Construct > Plane Along Path.
Specify a path for the plane.
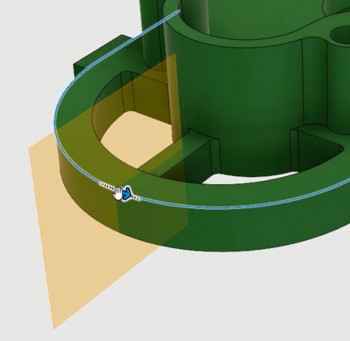
In the Plane Along Path dialog, specify a distance ratio of 0.50.
Right-click and select Sketch from the Marking menu.
Right-click again and select 2-Point Rectangle from the Marking menu.
Sketch a rectangle that intersects the top edge where you want to sweep the profile.
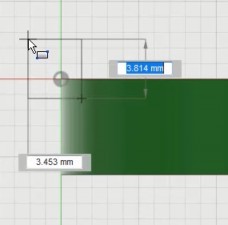
Choose Create > Sweep.
Select the profile to sweep.
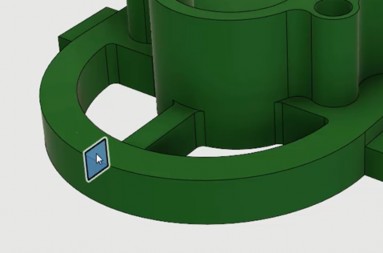
In the Sweep dialog, click the Path button and select the path on the model.
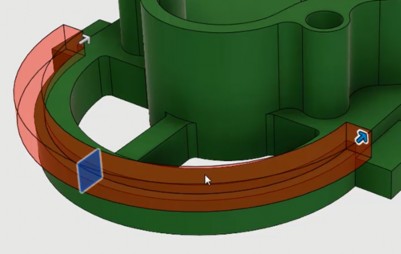
Finish by using the Sweep dialog to specify distances and the cut operation:
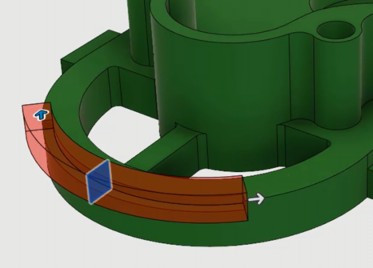
In this step, create several types of construction axes that serve as references for building geometry.
Choose Construct > Axis Through Cylinder/Cone/Torus.
Select the bore at the center of the round end of the gear housing.
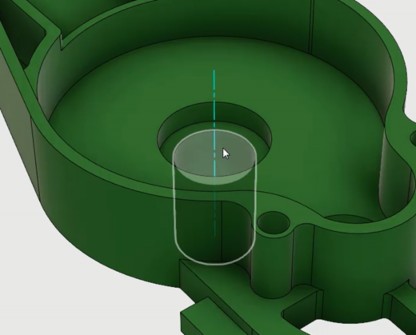
Drag either end of the axis to make it longer.
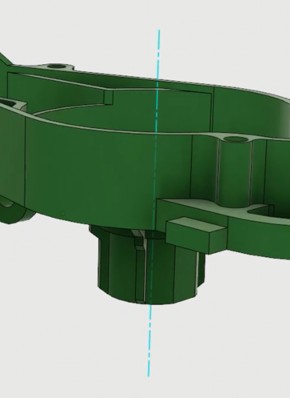
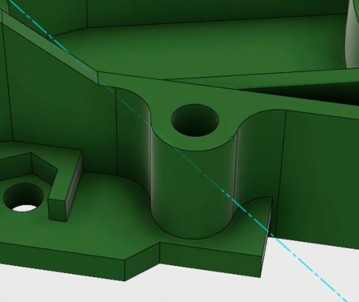
Choose Construct > Axis Perpendicular At Point.
Select a point on the gear housing.
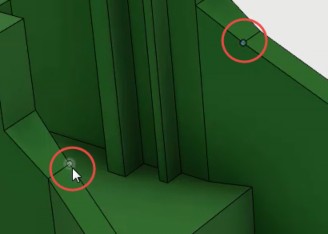
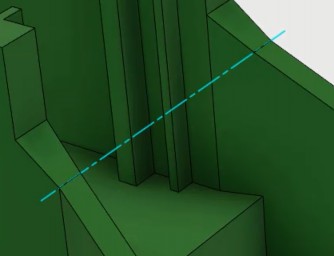
Choose Construct > Axis Through Two Points.
Select two points through which you want to place a rotation axis.
Like construction planes and axes, construction points serve as references for building geometry. There are several types of construction points. In this step, you place a construction point at the center of a circle.
Choose Construct > Point At Center Of Circle/Sphere/Torus.
Select the edges of the circles on the flanges of the gear housing.
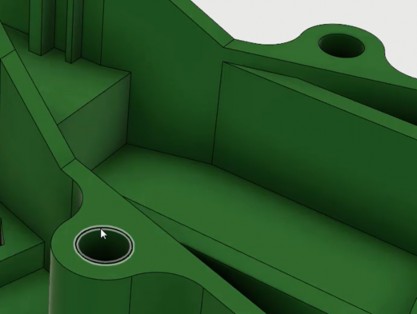

Right-click and select Sketch from the Marking menu.
Sketch new geometry using the construction points as references.
