00:01
In this section, you will learn how to manually add users to Autodesk account as the primary admin.
00:06
You will then learn how to review available seats and assign software to users under the "USER MANAGEMENT" section, by user and by product.
00:15
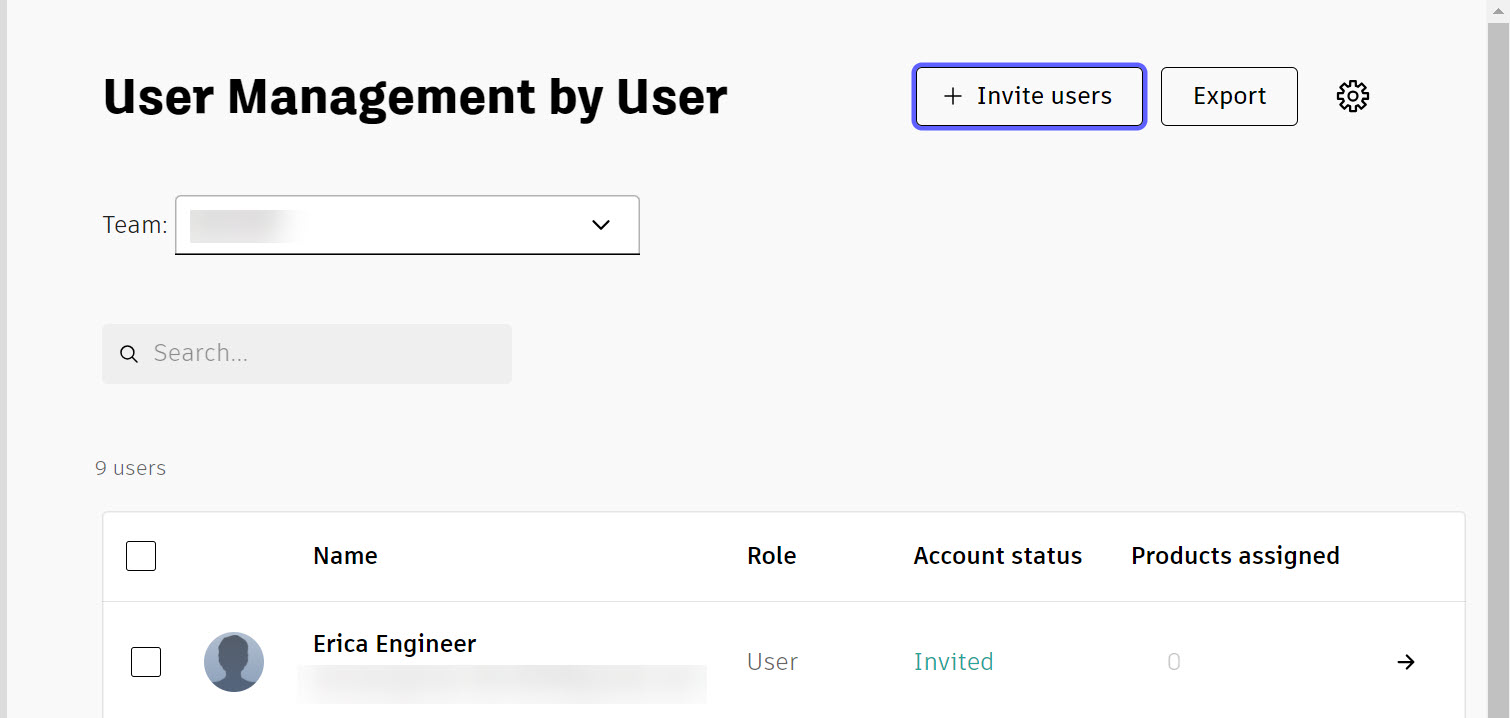
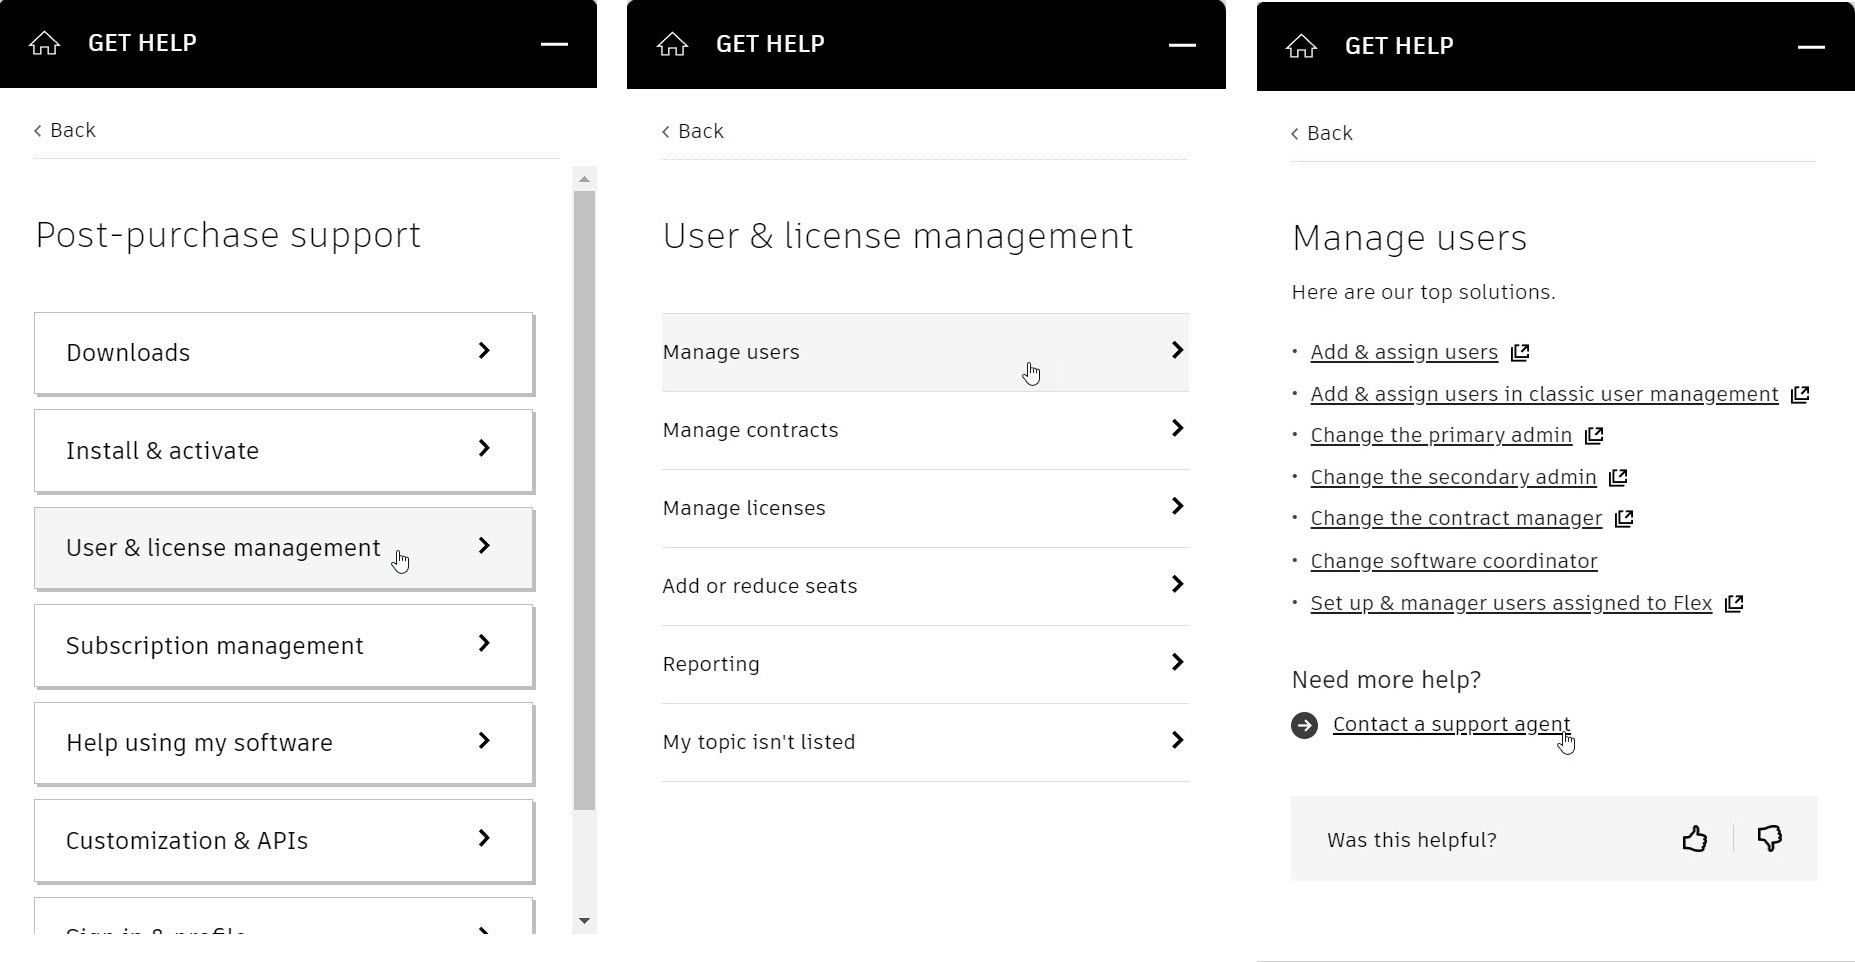
From Autodesk account, click on "BY USER", under the "USER MANAGEMENT" in the navigation panel.
00:21
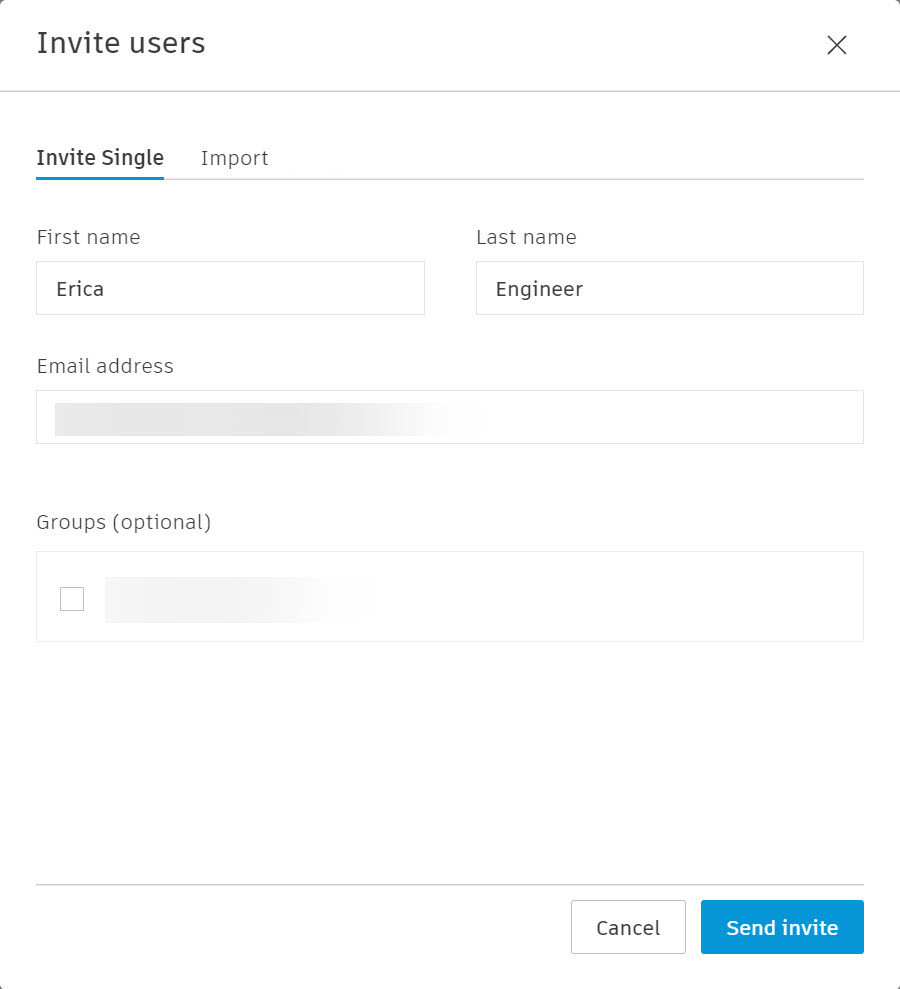
The "USER MANAGEMENT", "BY USER" page displays. Click on "INVITE USERS".
00:26
In the "INVITE USERS" dialogue box enter the user's first name, last name, and email address.
00:32
If a user already has an Autodesk account set up,
00:36
you will want to verify the correct spelling of the email address so that the accounts connect properly.
00:41
If successful, the user will receive an email similar to this, stating the primary admin has added them to the account and to accept the invitation.
00:51
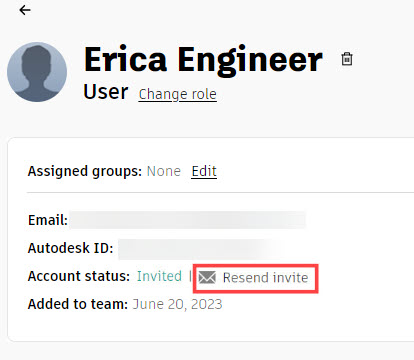
Users will have a day to accept the invitation before it expires.
00:55
After that, the primary admin will need to go back into their account, select on the user, and at the top of the screen, click "RESEND INVITES".
01:04
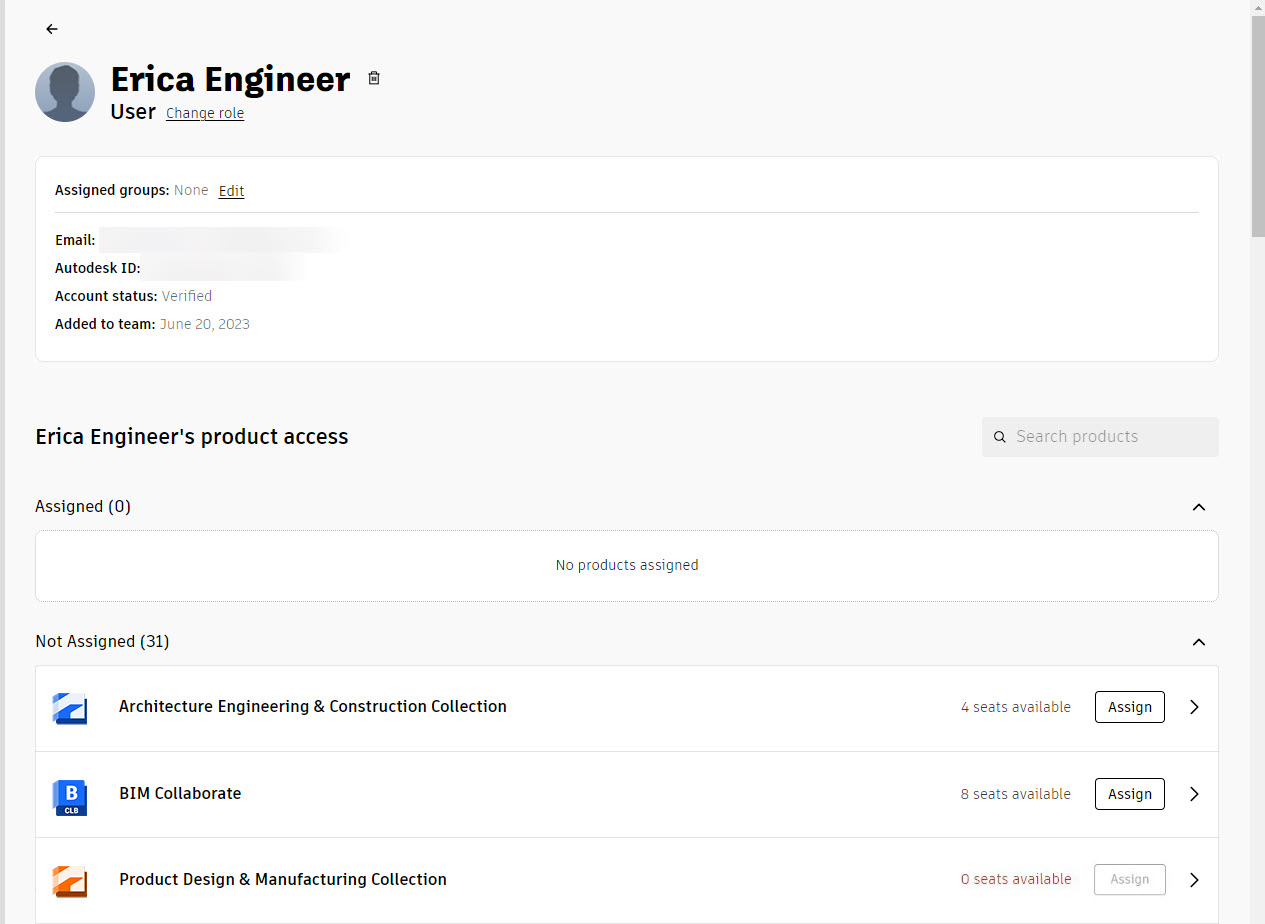
Now that the user has been added, software can be assigned, and a list of products, not assigned will display under the user's product access area.
01:13
When assigning a collection to a user, you can review the individual software that is being assigned from that collection,
01:20
by clicking on the collection and expanding the included software as well as reviewing the services.
01:27
Under the "SERVICES", you can uncheck the services that the user will not need access to and then save the changes.
01:34
By reviewing software in the collection, you can determine if other software is necessary to assign or not.
01:41
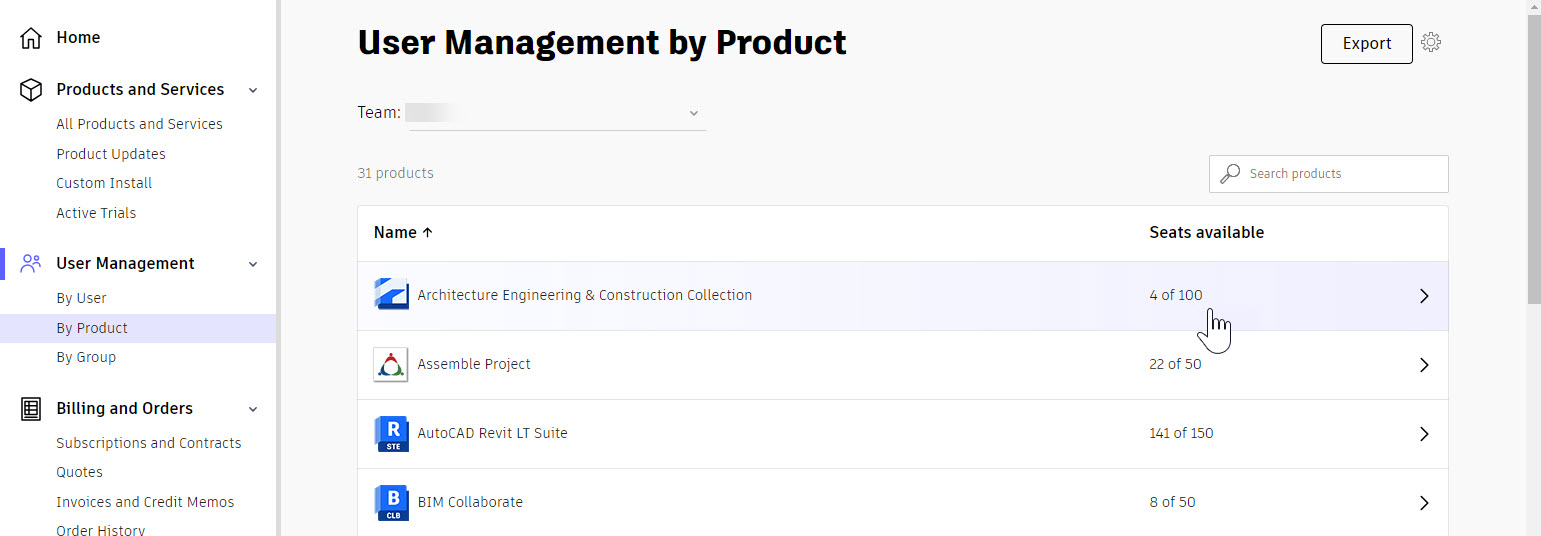
To assign products to a user by product, you will first need to verify the user has been added in the "BY USER" section.
01:49
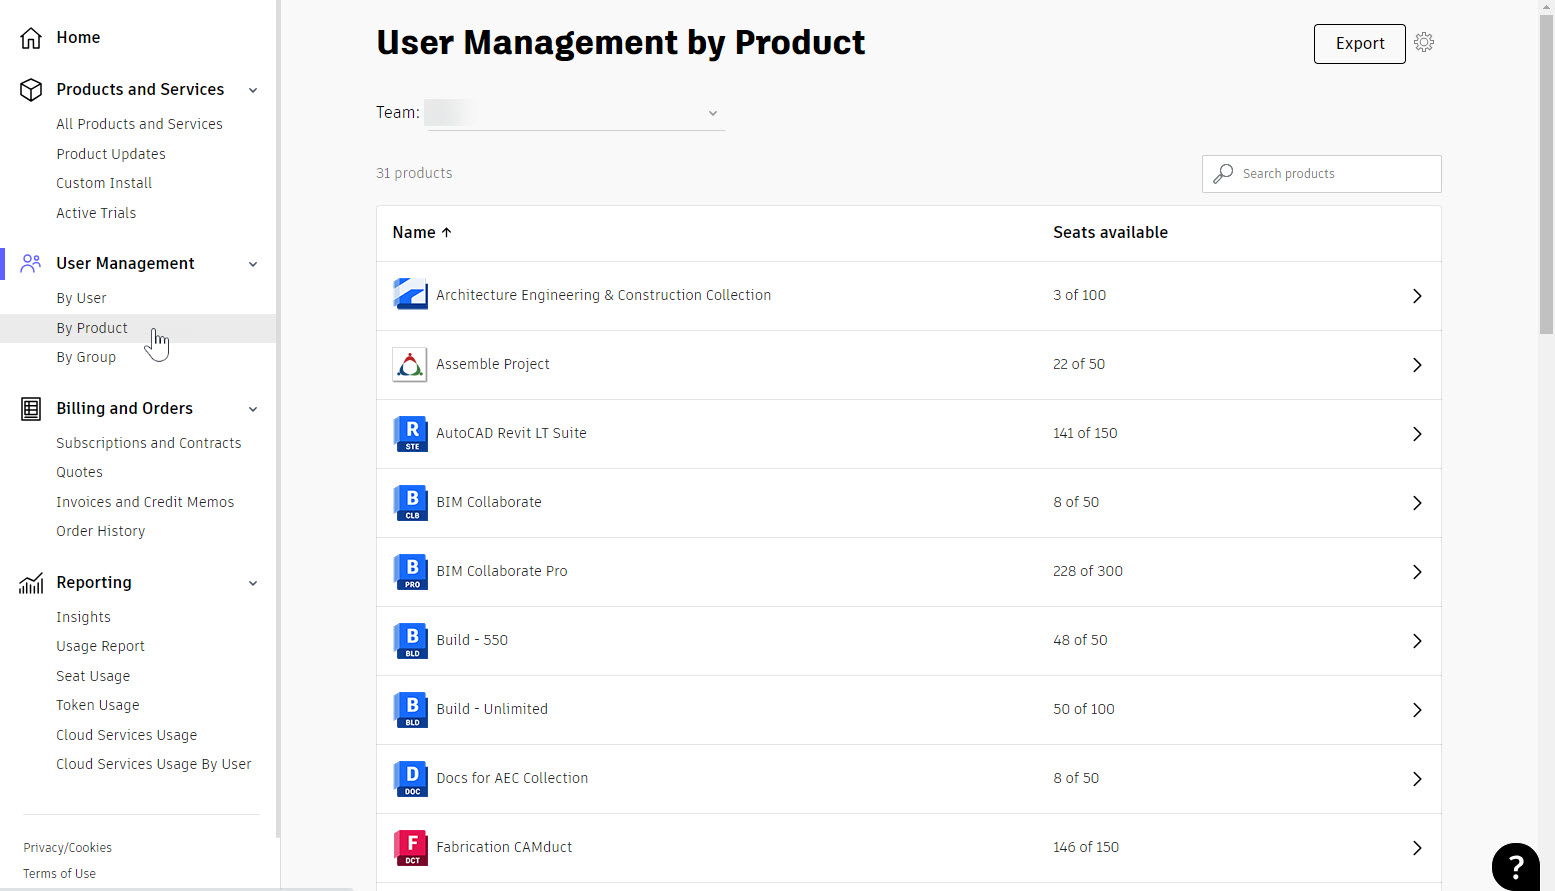
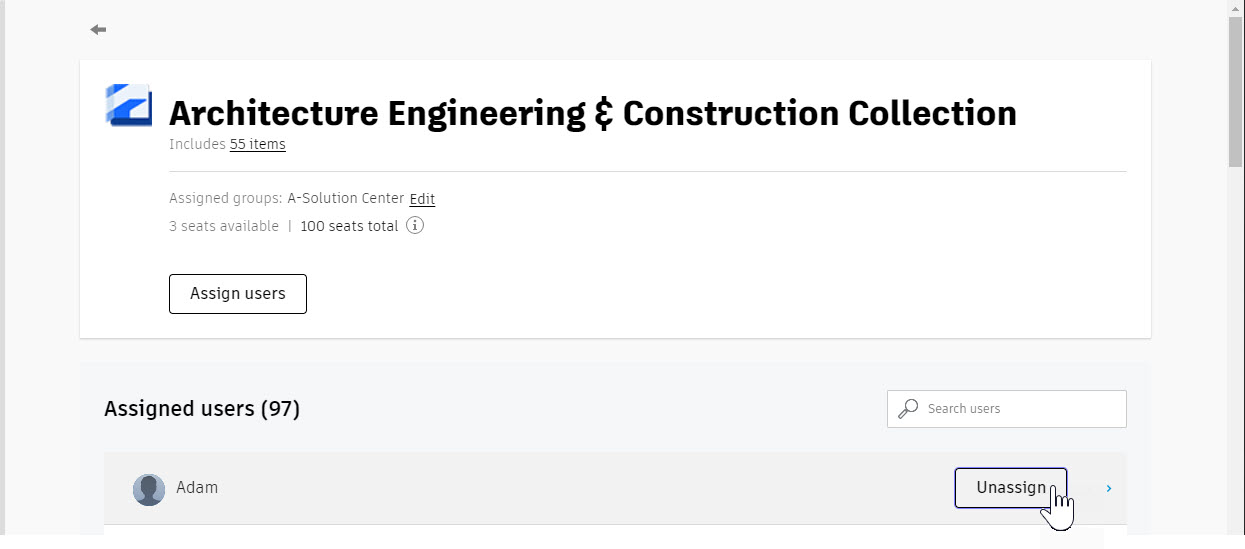
Under the "USER MANAGEMENT" section and clicking on "BY PRODUCT", you will see a list of products and the seats available.
01:56
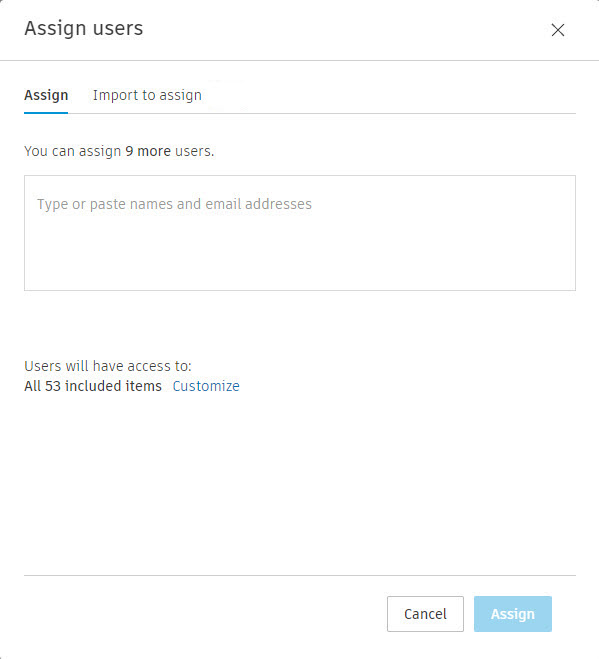
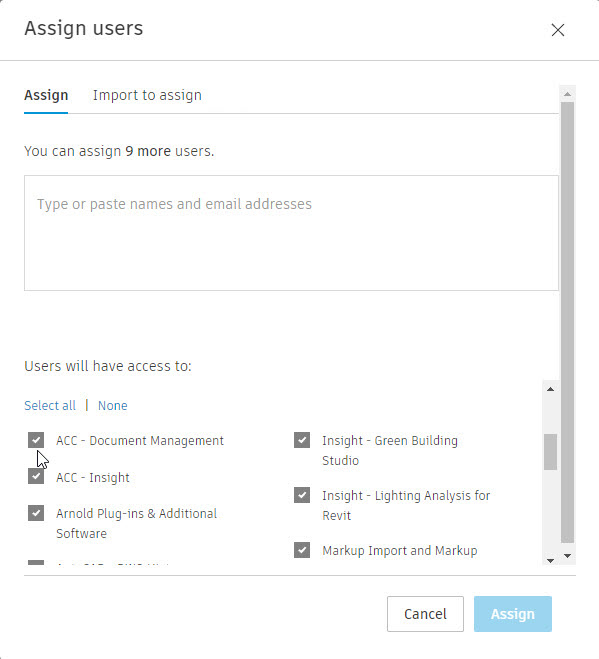
Click on the "SOFTWARE" you would like to assign to a user. Click "ASSIGN USERS".
02:00
Note that the dialog box indicates how many seats are left to be assigned.
02:05
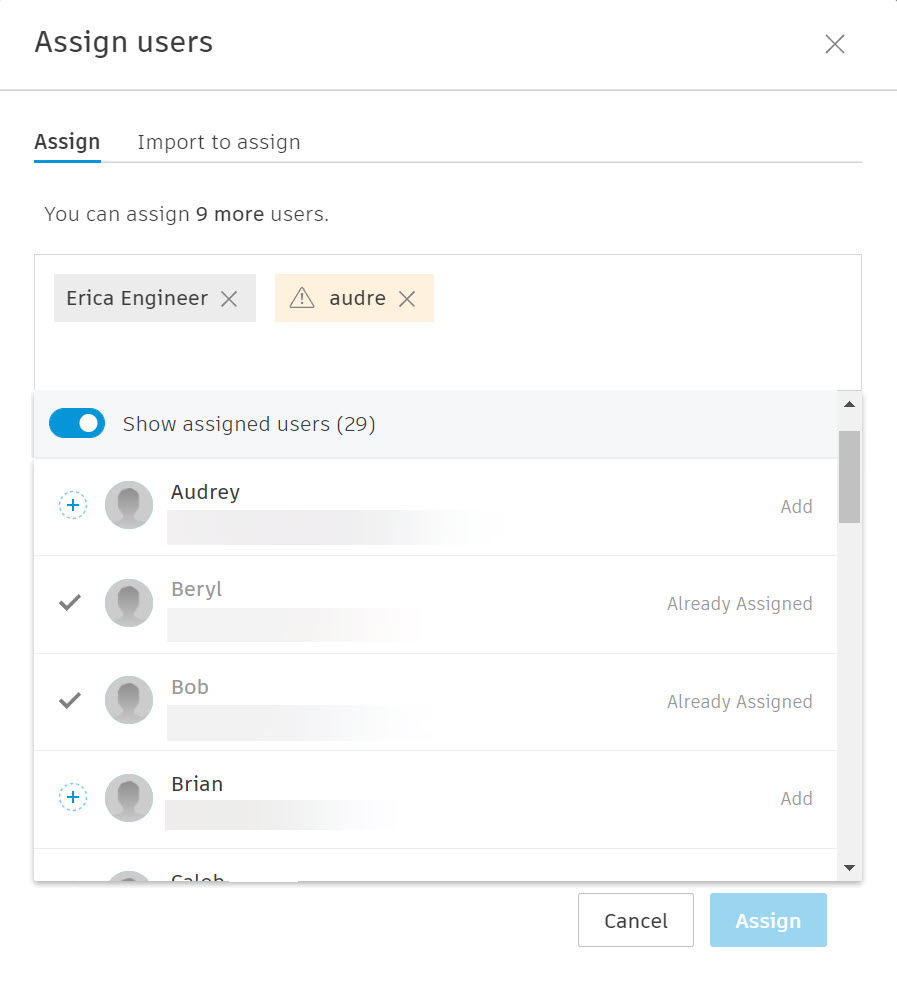
In the "ASSIGN USERS", you can type the username or email address and select them from the list below.
02:11
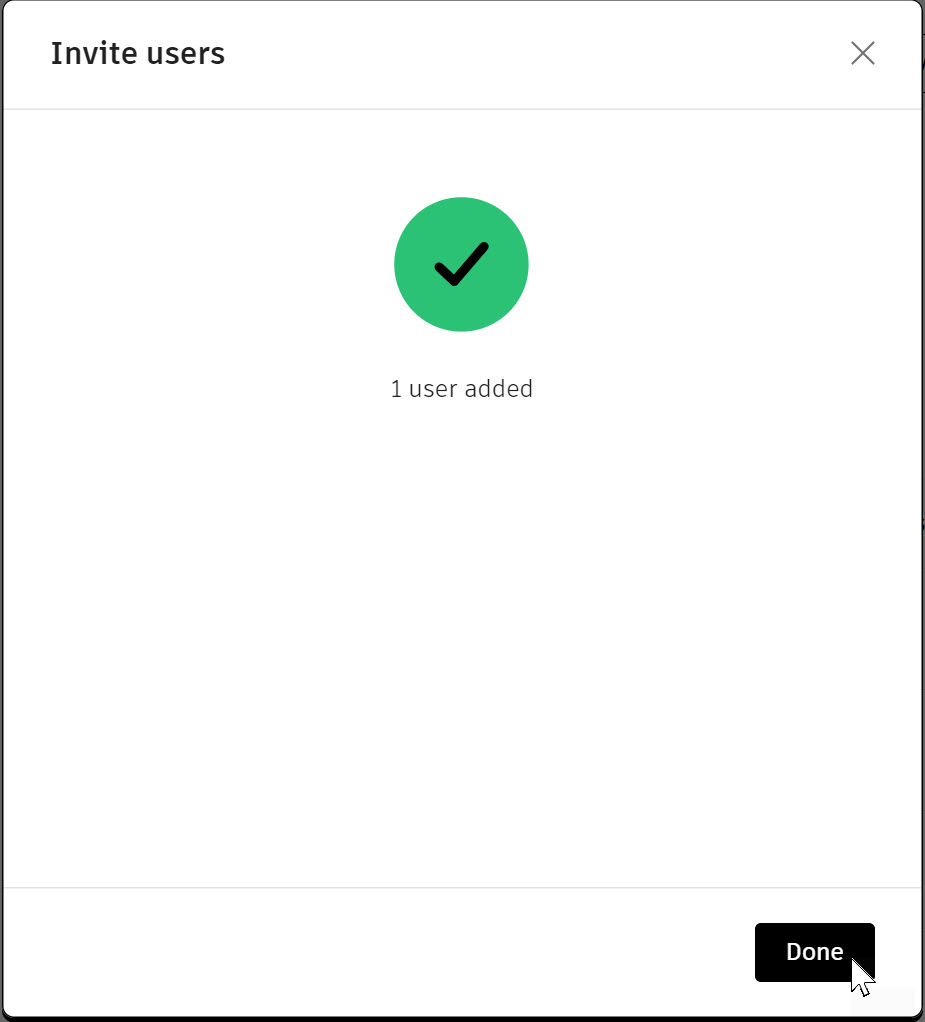
Click "ASSIGN" and "DONE", and the user has been added.
02:14
To remove software that has been assigned to a user, "BY PRODUCTS" and clicking "UNASSIGN" next to the user's name or through "BY USER",
02:22
and clicking on the "USER'S NAME" and then clicking "UNASSIGN" next to the product name.
02:28
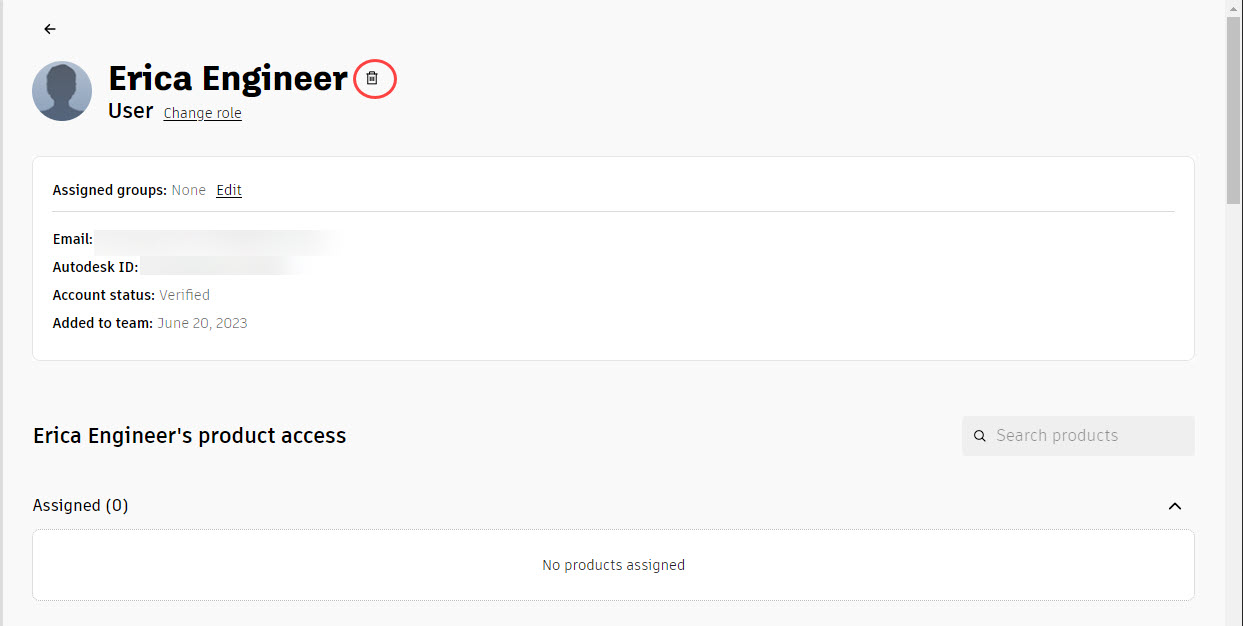
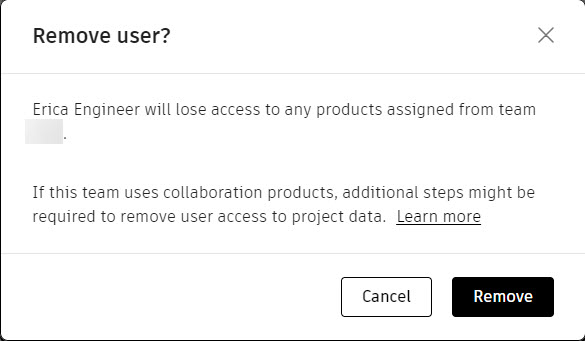
To remove a user from the company's account completely, go to the "BY USER" and select on "USERNAME",
02:35
remove any software that has been assigned to them, and then to the right of their name, click the "DELETE" icon.
02:40
A dialogue will display where you click "REMOVE USER" to officially remove them.