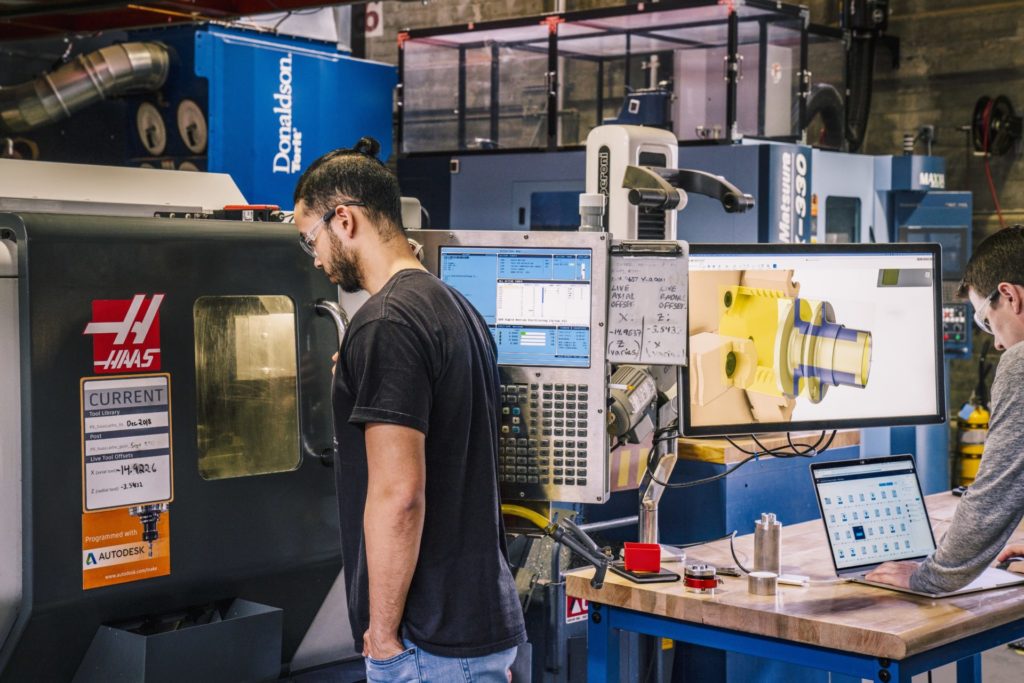
Learn all about 4-axis machining capabilities in Autodesk Fusion 360, including wrap toolpath functionality.

Some products are machined using old-fashioned methods — often at a slow pace. With the help of techniques like computer numerical control (CNC) machining, mass-producing products quickly is easier than ever before.
Machinists use CNC machining paired with computer-aided design (CAD) and computer-aided manufacturing (CAM) software like Autodesk Fusion 360 to create anything from a keychain to useful soft jaws for CNC vises. Milling mechanisms are vital to CNC machining and provide applications for aerospace, automotive, and medical industries. That said, conventional machining is limited to three dimensions: the X-axis, Y-axis, and Z-axis. However, machinists have revitalized the machining process by adding more milling axes to CNC machines, creating 4-axis, 3+2 axis, and 5-axis machining.
Types of CNC machines include:
- 3-axis — X, Y, and Z axes
- 4-axis — X, Y, Z, and A axes
- 5-5xis — X, Y, and Z axes and two out A, B, and C axes
What is 4-Axis Machining?
4-axis machining involves the original three axes (X, Y, and Z) plus the A-axis, which is the rotational axis around X. 4-axis machining is practical for when you need a hole or cut-out around a cylinder.
The A, B, and C axes are labeled alphabetically in correlation to X, Y, and Z. Hence, the A-axis is the rotation around the X-axis; the B-axis is the rotation around the Y-axis, and the C-axis is the rotation around the Z-axis.
Axes movement includes:
- X-axis — left to right
- Y-axis — front to back
- Z-axis — up and down
- A-axis — 180° rotation around the X-axis
- B-axis — 180° rotation around the Y-axis
- C-axis — 180° rotation around the Z-axis
For positional multi-axis application examples, refer to this positional multi-axis video library.
4th Axis Wrap Toolpath
A Wrap Toolpath can analyze the selected chain and create a 4th axis rotary contouring toolpath. This option is only available in the 2D Adaptive, 2D Pocket, and 2D Contour toolpaths. It is important to always select the geometry from a 3D model, so the toolpaths maintain associativity. The concept is relatively simple: select the edges to machine and then select the face representing the cylindrical part’s radius. As a result, Fusion 360 will calculate an unwrapped geometry, create a toolpath, and re-wrap the toolpath around the specified radius.
You can find the Wrap Toolpath functionality on the Geometry Tab in the 2D Adaptive, 2D Pocket, and 2D Contour Toolpaths. Select this option before attempting to select the geometry. Fusion 360 will change the geometry selection capabilities if it recognizes the creation of a 4th axis wrapped toolpath.
Download the Fusion 360 to explore the possibilities of 4-axis machining for your next project!
