& Construction

Integrated BIM tools, including Revit, AutoCAD, and Civil 3D
& Manufacturing

Professional CAD/CAM tools built on Inventor and AutoCAD
2 min read
Want to import data into Fusion 360 but not sure how to do it? You’ve come to the right place. In this article, we explore different ways to use data sets within Fusion 360.
Uploading design files into Fusion 360 can be done using the Data panel. To access the Data Panel click the grid symbol in the upper left corner of Fusion 360.

This will take you to your projects, where you will organize your designs and related data. Once in the data panel, select your desired project from the drop-down menu or create a new project. From here, you can upload files and keep your data sorted and stored.
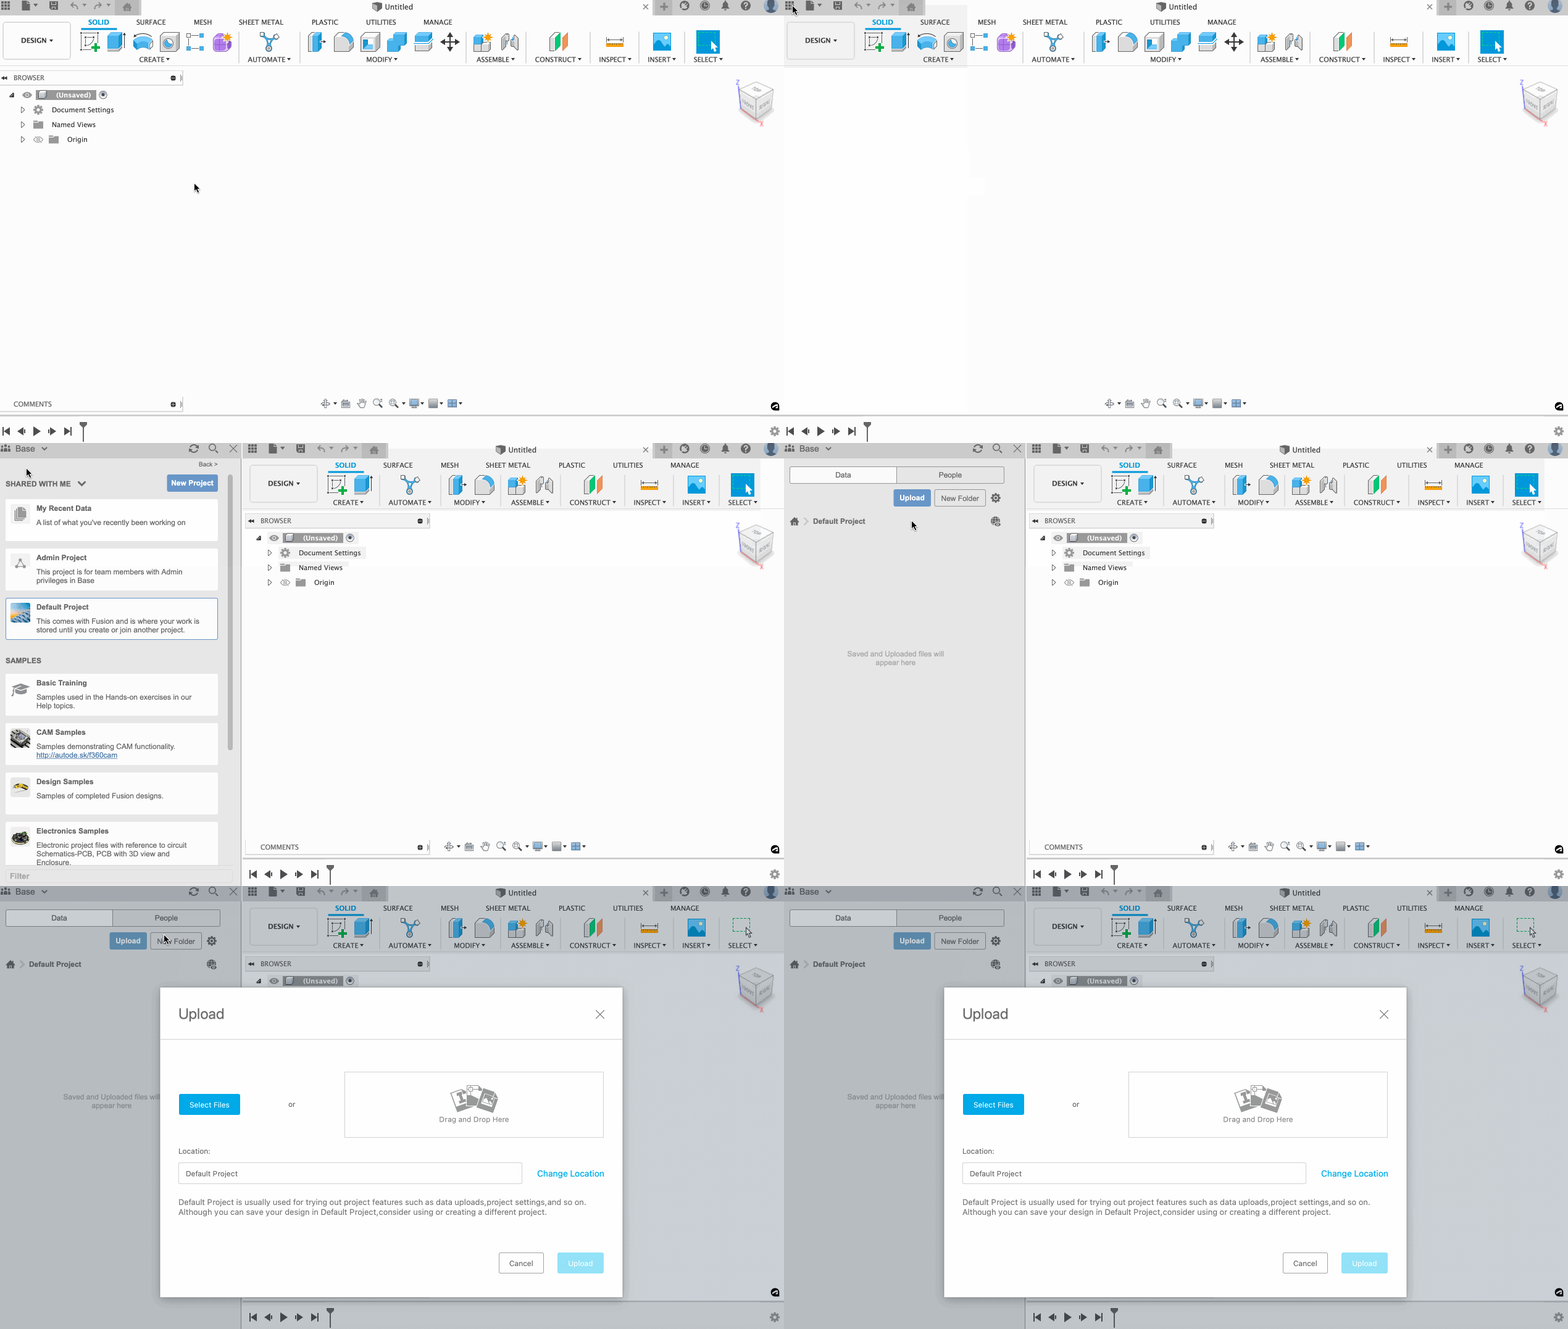
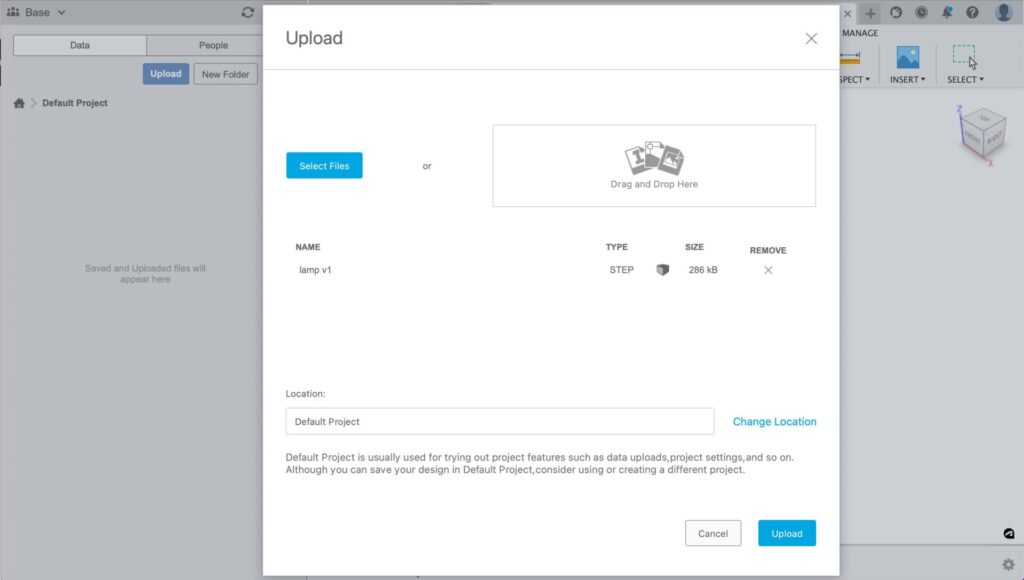
After you selected or created your project, click “Upload.” This will take you to a dialog box where you can select a file from your computer by either searching your computer or dragging and dropping straight onto the menu.
To search for a file, either search all your files or sort by type. Note that uploading a design or multiple designs to the Fusion 360 Data Panel uses the cloud translation process to immediately translate designs that are not native Fusion 360 files (such as .ipt) into the native Fusion 360 format (.f3d). This process requires that you are working online.
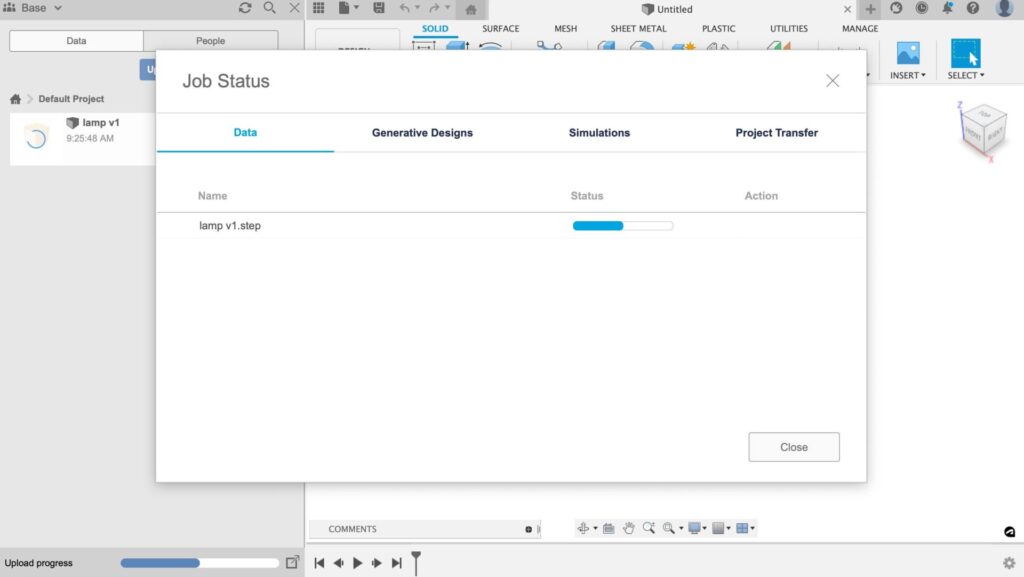
While the file is being translated, a dialog will appear to show the upload progress. You can close this dialog and continue working in Fusion 360 while the file processes.
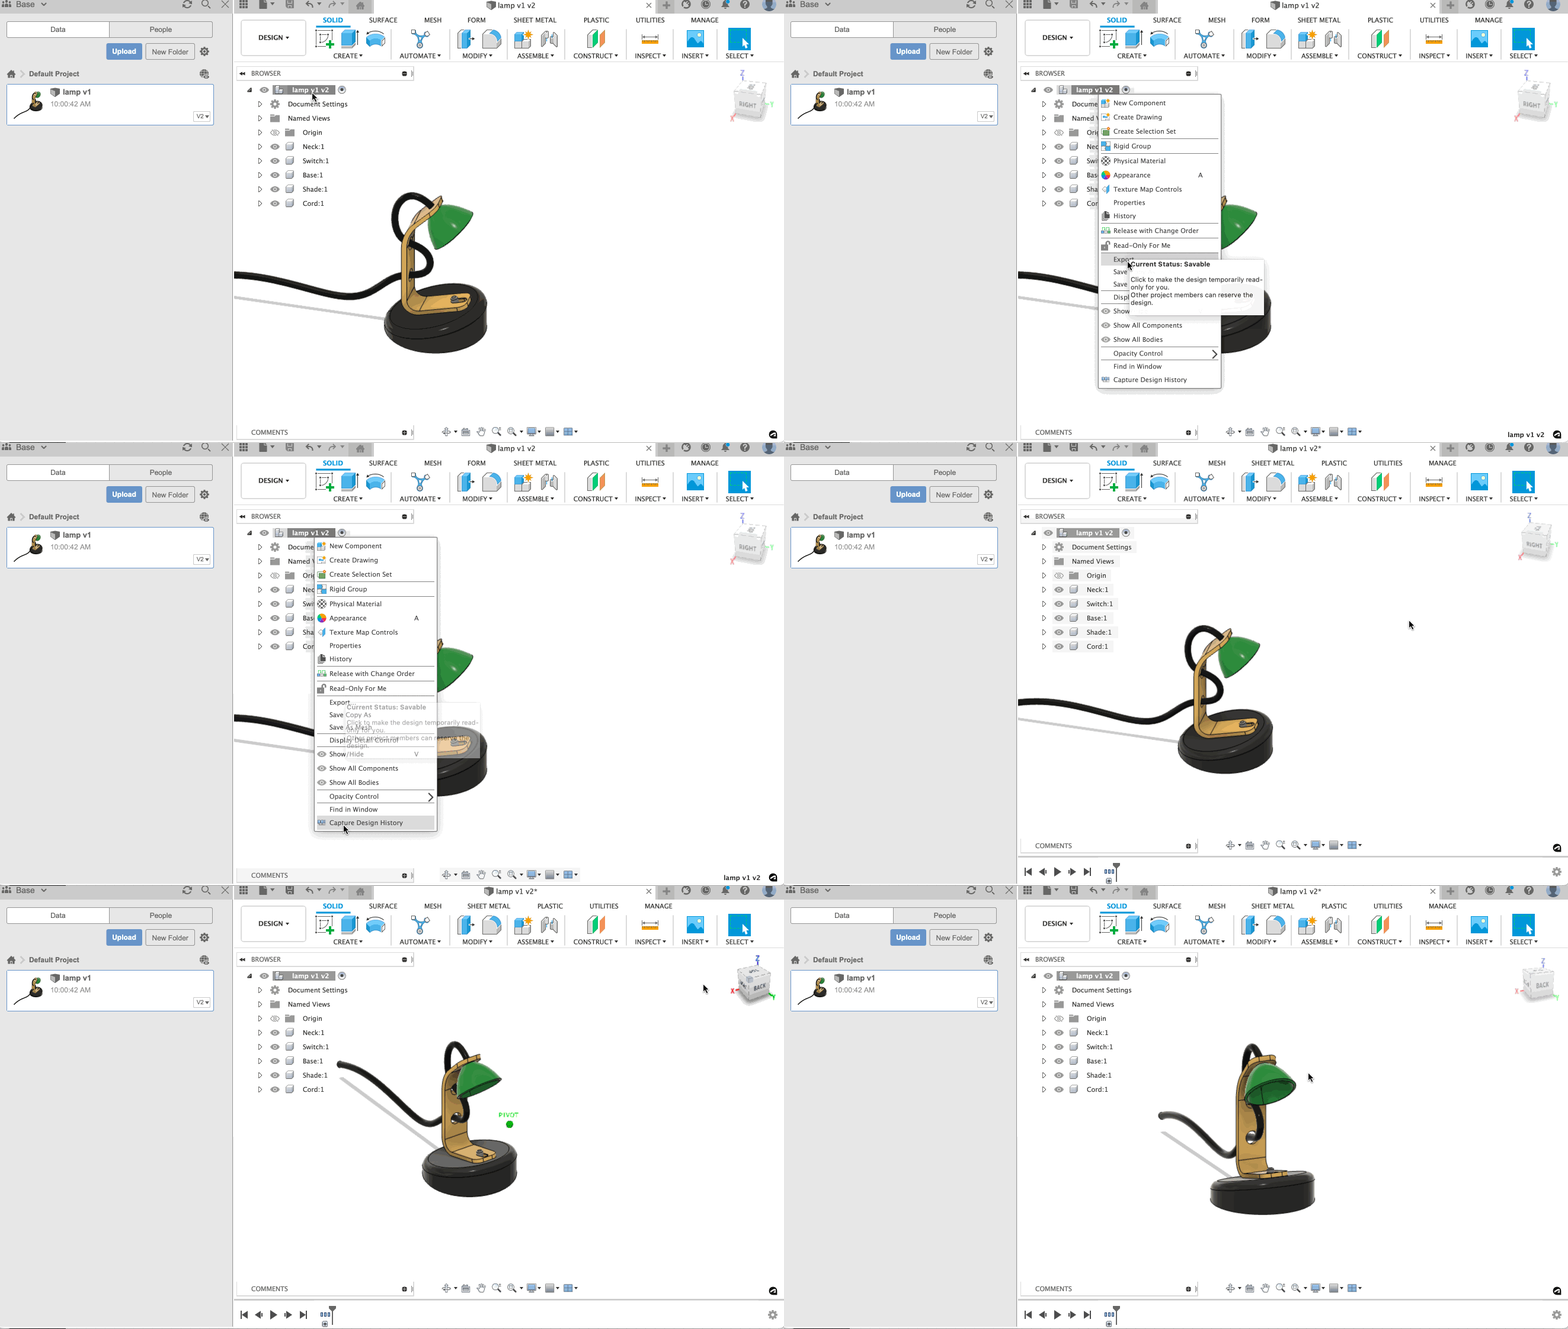
When the upload is complete, the design is listed in the data panel. Close the Upload Progress dialog.
To open the design, simply right-click on the thumbnail and select “Open.”
Once your file successfully imports and is displayed, the model will be shown as a direct model. This means that the history of the operations performed is not captured. Direct modeling is excellent for making minor changes to imported geometry. However, it isn’t as effective for making large-scale modifications.
If you want to capture history, right-click on the component name in the browser and then select “Capture Design History.” This will give you access to the Timeline to track your changes.
From here, you’ll want to save your design by either using the Save shortcut (Ctrl + S or Command + S) or by selecting the save icon located in the upper left corner of Fusion 360. By saving your design frequently, you can prevent the loss of work in the event of a crash or unexpected power outage.
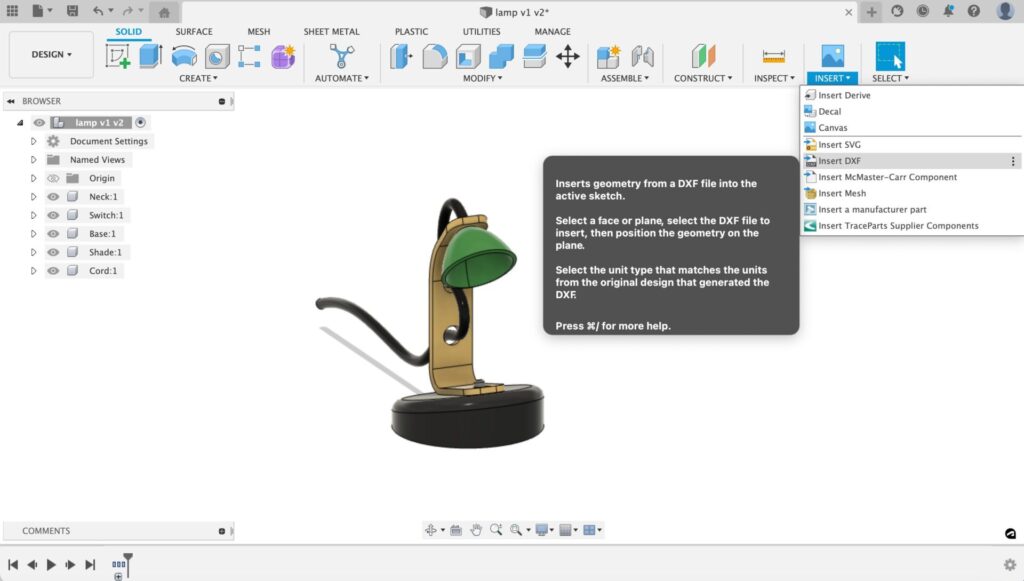
To insert an STL, OBJ, DXF, or SVG file into an existing Fusion 360 file, simply use the insert command in the toolbar. If you want to insert components from one Fusion 360 file into another, check out this quick guide.
Ready to get started? Download Fusion 360 today.

By clicking subscribe, I agree to receive the Fusion newsletter and acknowledge the Autodesk Privacy Statement.
Success!
May we collect and use your data?
Learn more about the Third Party Services we use and our Privacy Statement.May we collect and use your data to tailor your experience?
Explore the benefits of a customized experience by managing your privacy settings for this site or visit our Privacy Statement to learn more about your options.