Elevate your design and manufacturing processes with Autodesk Fusion
If you read my previous post on materials and editing or Garin’s Rendering 101 post or if you have been using Fusion 360 for a while, you probably know that Fusion 360 has always provided a way for models to be rendered in the cloud – but the workflow to get a cloud render done was a bit convoluted. In the March 2015 release of Fusion 360, a new workflow was introduced giving you the ability to render your Fusion 360 models directly to Autodesk’s cloud based rendering service.
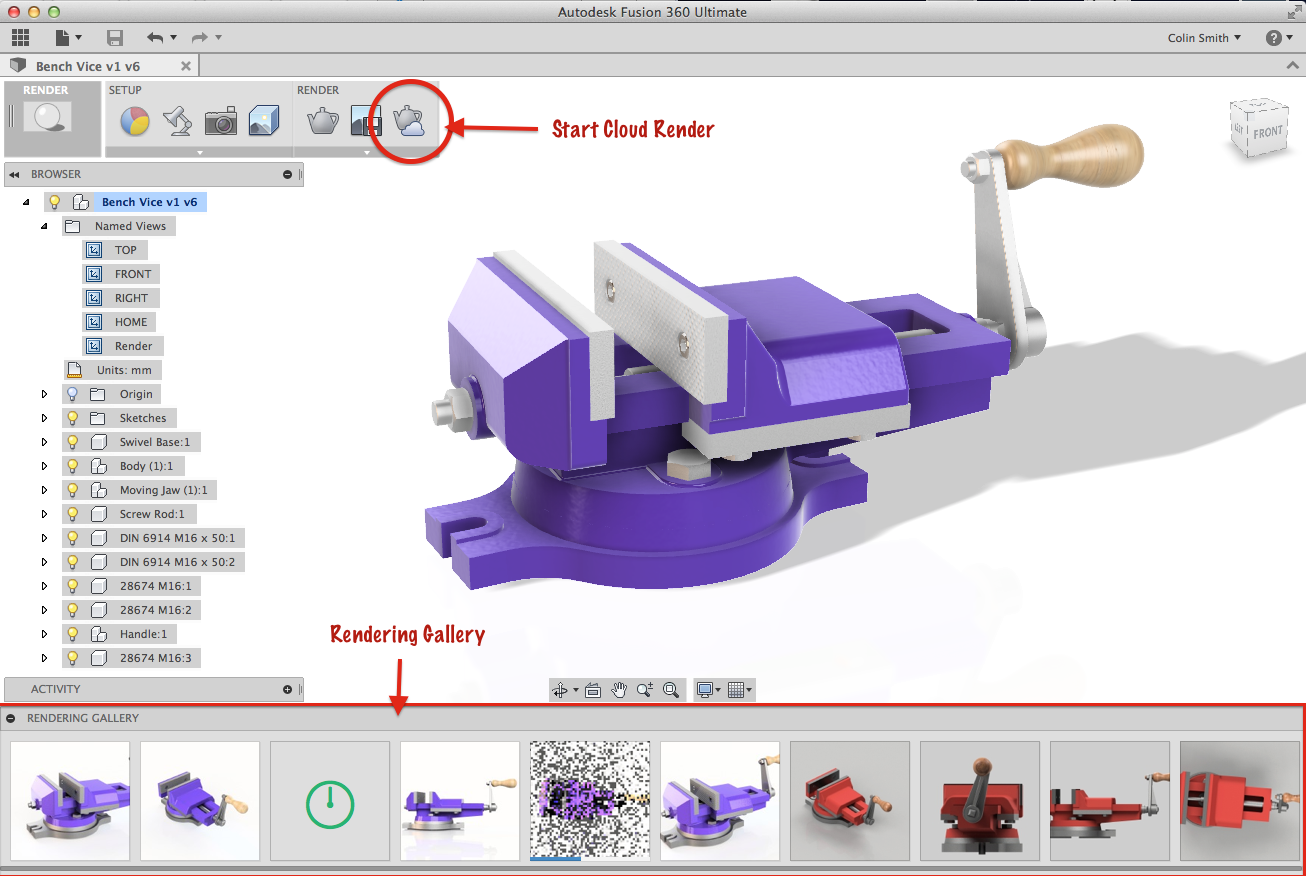
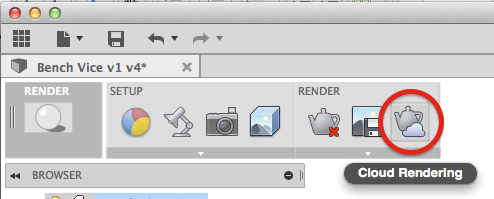
In the Rendering workspace you will see a new icon under Render > Cloud Rendering. At the bottom of the Rendering workspace a new Rendering Gallery “carousel” window has also been added.
How it all works
Once you have set up your model the way you want with the materials, environment and camera settings, click on the Cloud Render icon to start a cloud render.
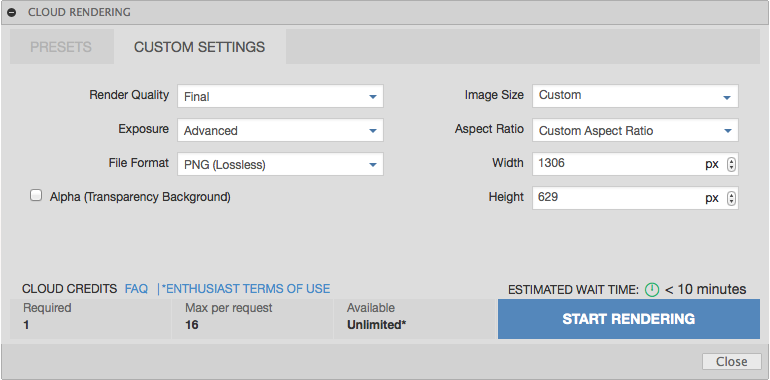
The cloud render automatically saves a version of the model and camera position and then shows a dialog box like the one below:
NOTE: If this is the first time using the cloud render or you haven’t saved a version before, you may be prompted to save the file before starting the cloud render.
The workflow for creating a cloud render is designed so that the default image size is based on your screen size. You can leave the defaults as they are or you can change the settings as you see fit.
You can also hit the PRESETS tab at the top of the window to select from a list of preset image settings that are categorized by the type of output you are creating the image for – web, mobile, print, or video.
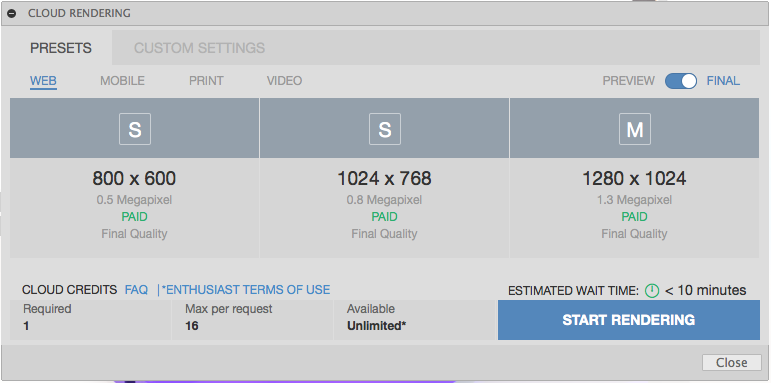
When you have the image settings set up the way you want – click on the START RENDERING button at the bottom of the window to send the information to the cloud renderer.
Once the cloud render has started a new image icon will show up in the RENDERING GALLERY. This indicates that the render is being queued in cloud.

Note: The rendering gallery displays all images that were created by the cloud render. This included images that were started by the designer, as well as the automatic renders that are created of the Top, Front, Right and Home Named Views that are generated every time you save a version of the design.
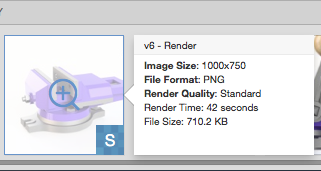
As the image starts to render, the image tile will slowly progress towards the finished version of the image. Hovering the icon over a finished image will show the item details (size, format, quality, time and size) of that image.
Note: If you want to cancel the cloud render, click on the image tile in the Rendering Gallery to open the Cloud Rendering window and click on Cancel Rendering.

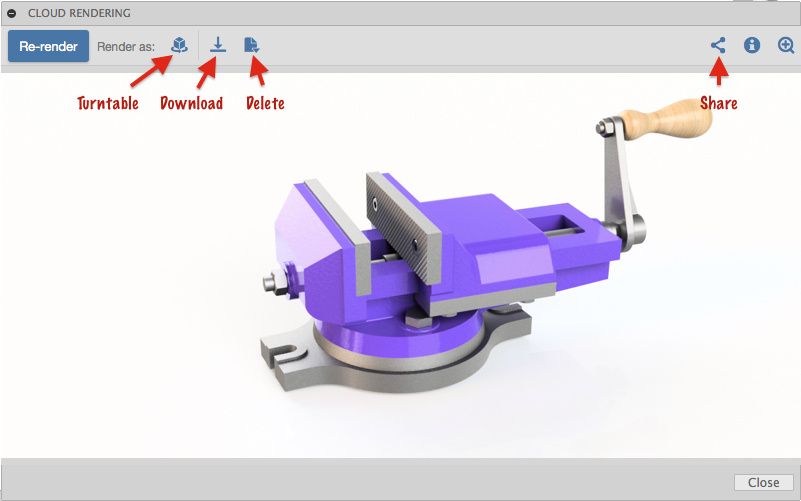
Double clicking on the image tile in the Rendering Gallery will open the image in a Cloud Rendering window. From this window you can download the image to your desktop, delete the image or share the image on the Fusion 360 Gallery or as an A360 Activity. You also have an option to start a turntable rendering of the file in the cloud.
Now you can create a cloud render in Fusion 360. As always, the Fusion 360 team would love to hear your feedback so please let us know what you like, or would like improved in the rendering workspace. Also if you have any suggestions for a rendering blog, let us know that too.
Don’t forget to share your beautiful renderings in the Gallery.