Everything You Need to Know About Buying, Designing, or Owning Arduino Shield
If you’re just getting started with electronics, then chances are you might be diving into the world of Arduino. Good choice! Arduino is the largest open-source electronics platform in the world, making it easy for aspiring engineers to learn about electronics, hardware, and software programming all in one place. And as your Arduino journey progresses, you’ll soon be ready to reach beyond the simplicity of the standard Arduino Uno boards with some new capabilities like wireless, motors, audio, displays, and a whole lot more. All of these added bells and whistles are made possible with an Arduino Shield. Never heard of them? Read on to learn more.
Powering Up Your Projects
A simple Arduino Uno board makes it easy to work with microcontrollers, but that’s just the beginning of what you can do. There’s only so much fun you can have with circuits on a breadboard and Arduino Uno side-by-side. Eventually, you’ll want to break out of your starter box and start to dive into the larger electronics world.
This is where Arduino Shields come into play. These are tiny circuit boards much like an Arduino Uno that sits on top of your Arduino and boosts it up with some new functionality and features. Want to measure the moisture in your plants and report that data to your phone? There’s an Arduino Shield that will let you do that. Or maybe you’ve got a robot you want to control using WiFi? You’ll need an Arduino Shield. There are so many great benefits, including:
- They’re Stackable. You can connect a bunch of shields together to create a unique Arduino module that fits the needs of your project. Maybe you need wireless, GPS, and sound all in one package? Stack all of those Arduino Shields together and you’ve got an entire system.
- They’re Simple to Use. Most Arduino Shields will come with some kind of example library, so you know how to use them. Pop open this library, and you’ll be greeted with a ton of example code that can be tweaked and assembled to make something extraordinary.
- They’re Inexpensive. Just like a standard Arduino Uno, most shields are relatively expensive. For example, getting your Arduino to communicate wirelessly with an XBee Shield will only run you around $15. That’s a bargain for all the functionality you get.
So how does all of this magic stacking of Arduino shields work? Take a look at your Arduino Uno for a moment, and you’ll see that there are two rows of headers that will accept pins or a connector inserted into them. The shield that you purchase will include these pins that will plug into the headers on your Uno. Depending on the shield you buy it will likely have another set of headers allowing you to add another shield on top.
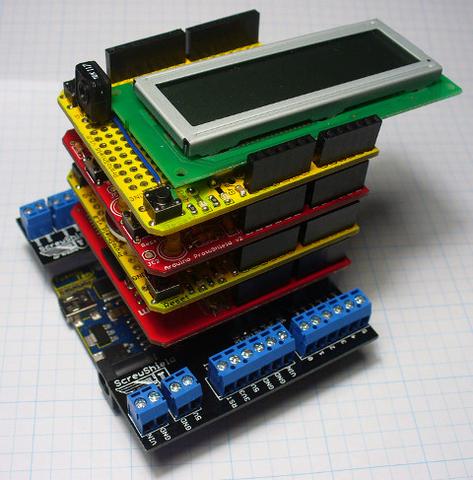
What to Look For When Buying a Shield
So you’ve decided that you want to a shield to add some new features to your project, awesome! Before you go running off to buy one, you’ll want to consider these five things:
Does it require any soldering?
Many shields will be sold as a kit and will require some manual soldering on your end to connect the headers to the circuit board. Some companies will also sell your shield fully assembled. Which variation you go with really comes down to your personal preference. Want to take a stab and learn how to solder? Then definitely consider picking up a kit, it’s super easy to do.
Does the hardware and software match?
Like the Arduino itself, shields go through their iterations and hardware upgrades. This also means that each hardware version will have a separate code library. If you buy a shield and start hitting some odd issues with the code, make sure you’re using the right library for the version of your hardware.
Does it have proper documentation?
Most Arduino shields will come with a user manual and library examples to get you started, but not all of them do. When buying your first Arduino Shield we always recommend confirming what kind of documentation it has available beforehand, and if it’s any good. If not then, you might wind up with a shield that you don’t know how to use.
Does it stack?
If you’re like most Arduino adventurists, then you’ll likely be stacking multiple shields on top of each other. If this is the case, then you’ll want to confirm whether the shield(s) you are buying are stackable. Some will include new header pins on top, and others won’t. This process will likely require some careful planning on your part to piece all of your shields together on paper to confirm it will work.
Does the pinout match?
Depending on what Arduino Shield you buy, a number of pins might not match the header rows on your Arduino. This may or may not be a big deal. If all of the pins on your shield need an electrical connection to your Arduino, then you’ve got yourself a problem and either need to upgrade the shield or your Arduino. Some shields will work with unused pins though, so be sure to check the requirements for the shield you plan to buy.
Our Top 10 Arduino Shield Picks
Once you’ve got all of these details squared away, then you’re ready to buy your first Arduino Shield! There are a number of places to buy them, our favorite being from our friends over at Sparkfun and Adafruit. Here’s 10 Arduino Shields you’ll want to consider buying:
Xbee Shield
Need a way to allow your Arduino to communicate wirelessly with each other? This is your shield of choice. On its own, the Xbee Shield offers wireless communications but not WiFi. But you’re in luck; there’s now an added XBee Wifi Module that you can hook into your Xbee Shield to connect to the web.
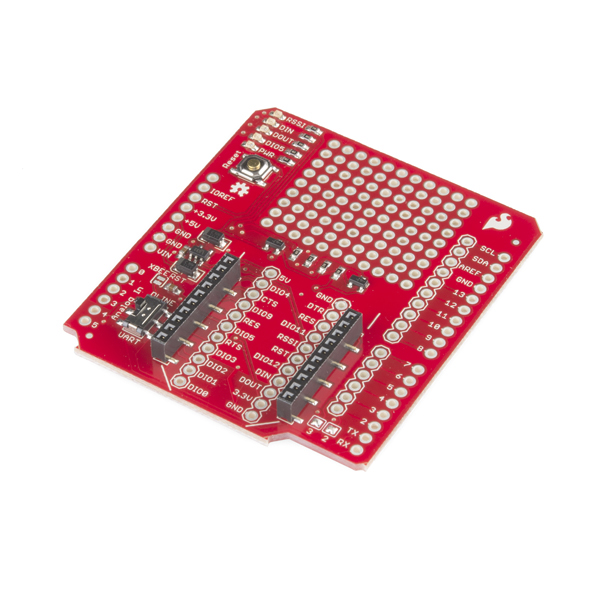
Ethernet Shield
Prefer a hardwired connection to get your Arduino online? Then consider the official ethernet shield from Arduino. This is the perfect shield to use if you need to get your Arduino talking to your computer and the rest of the world independently. It also comes with a microSD card slot so you can store your mp3s, videos, and other files for your project nearby.
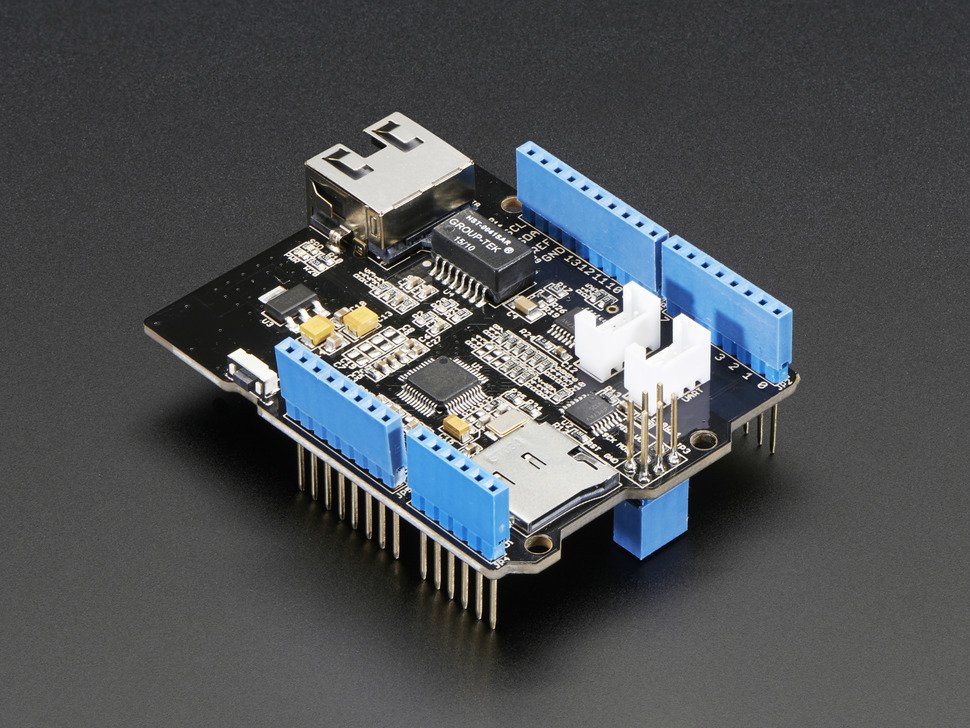
Relay Shield
Want to start dabbling in a home automation project? The Relay Shield is exactly what you need to get started. This shield allows you to switch on and off higher voltage circuits, like those found in your everyday household appliances. The board includes four sets of relays that can all be individually controlled.

Prototyping Shield
Not quite ready to throw a project together permanently? Maybe you just want to experiment with some circuit designs without dragging a separate breadboard around. If so, then consider picking up an Arduino Protoshield. Once you’re done prototyping on this, you can solder your components onto the shield while continuing to stack more shields on top of it. It’s the best of both worlds.
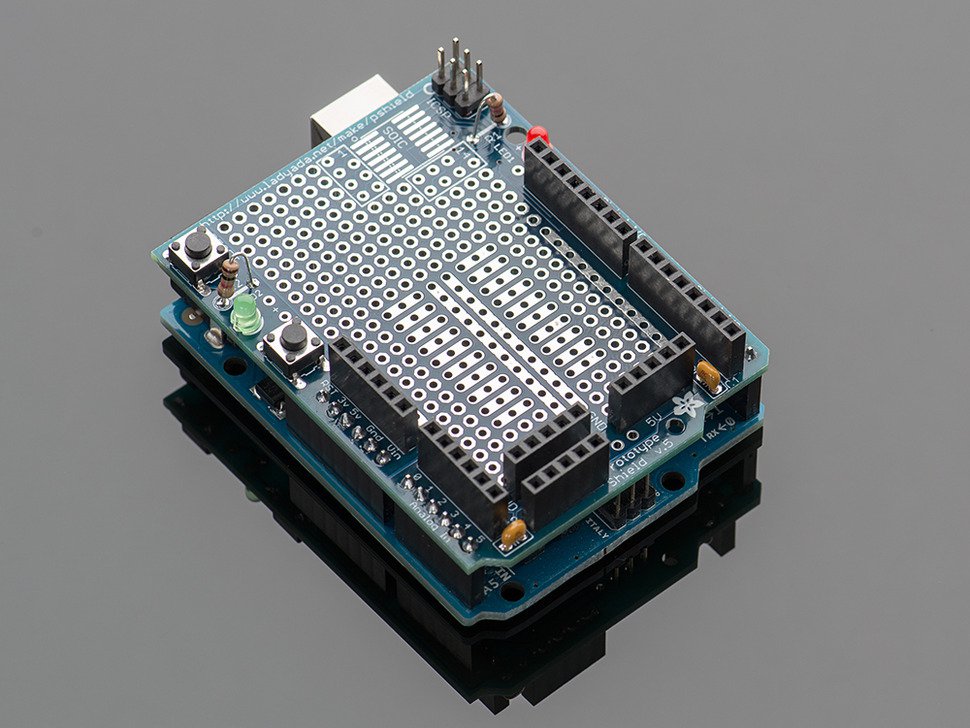
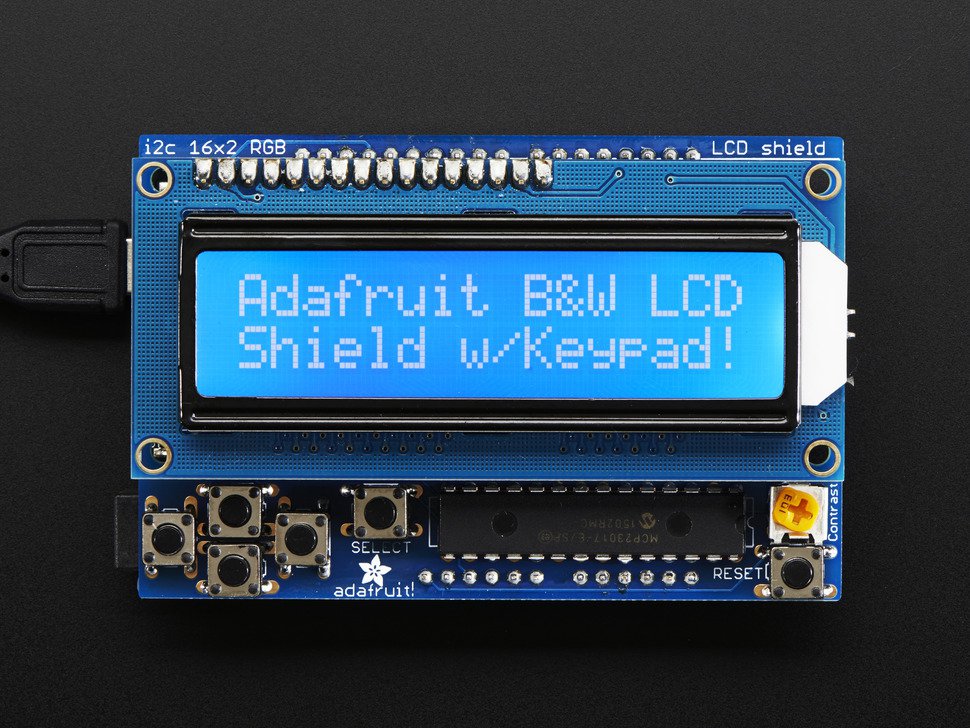
LCD Shield
Need a way to output messages on your Arduino with a screen? Now you can! This board only requires a whopping 2 pins on your Arduino and offers 2 lines of text that can each be 16 characters long.
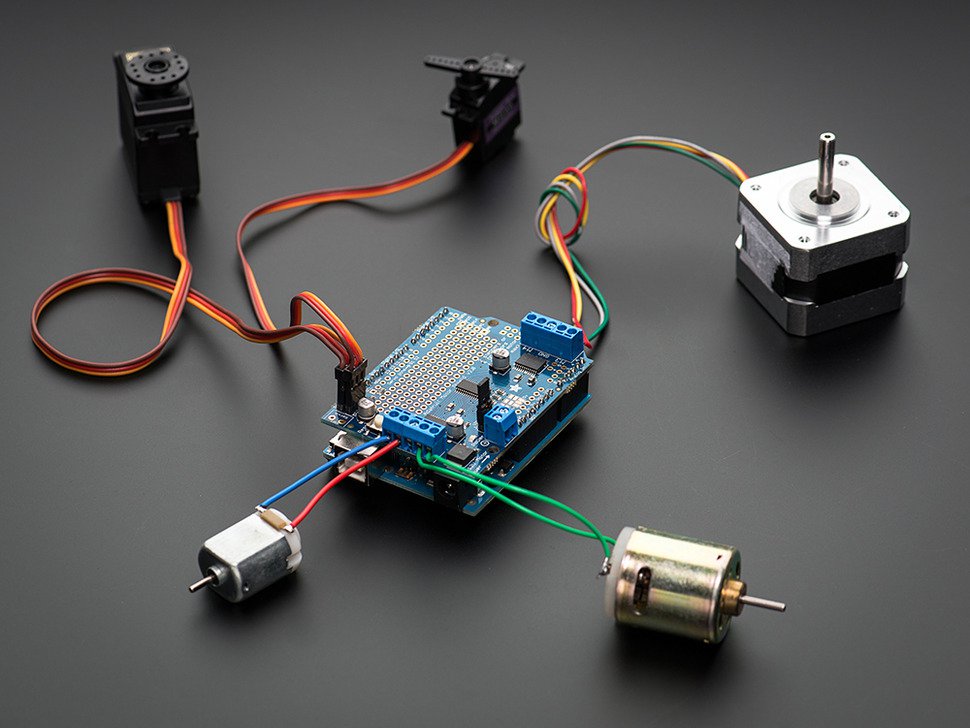
Motor Shield
Want to build a robot? Then you’ll likely need some motors to provide your robot with some much-needed mobility. The Arduino Motor Shield makes it easy to add both DC and stepper motors into your project. It’s capable of driving up to 4 DC motors or 2 stepper motors at once (motors not included).
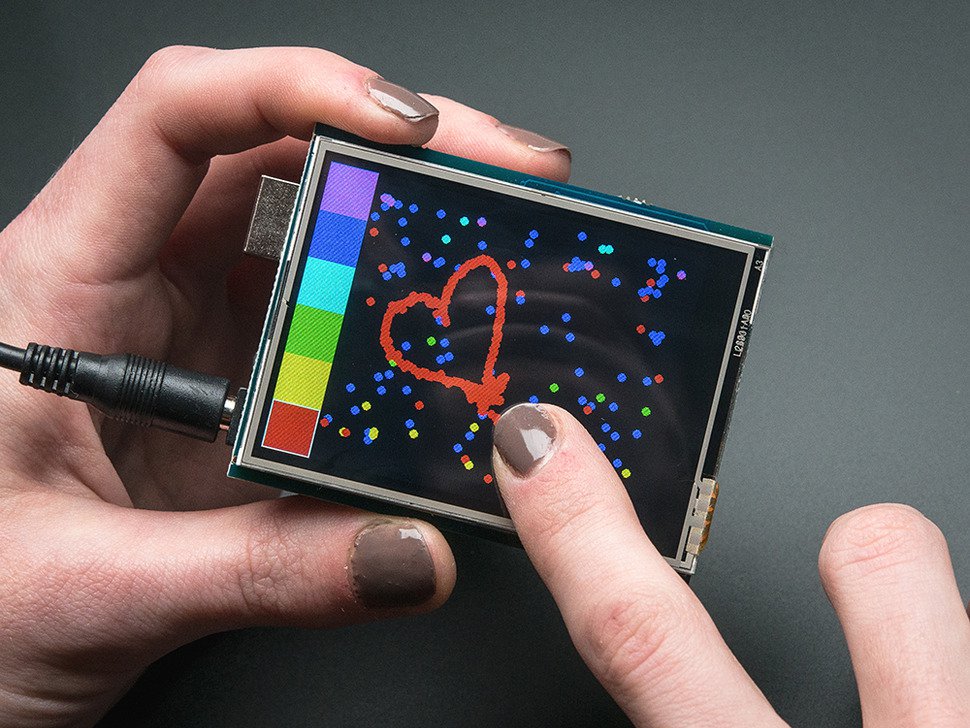
Touchscreen Shield
Who says you can only enjoy a touchscreen on your phone or tablet? Add it to your Arduino as well! This shield comes with a microSD slot so you can display images and videos as you please. The LED display itself is tiny, measuring in at 2.8” diagonally with a 240×320 resolution.
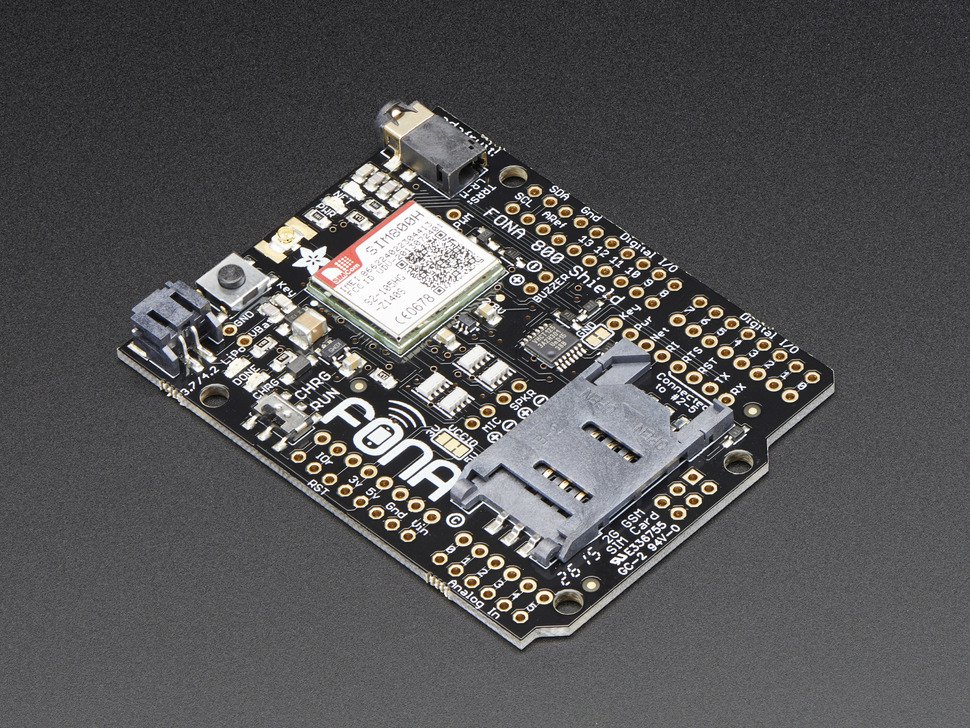
GSM Shield
Need a way to send text messages, connect to the web, or make voice calls? The GSM shield is what you need. All you’ll have to add is a SIM card from your cell phone provider to get this shield online, and then you can use it just like a phone!
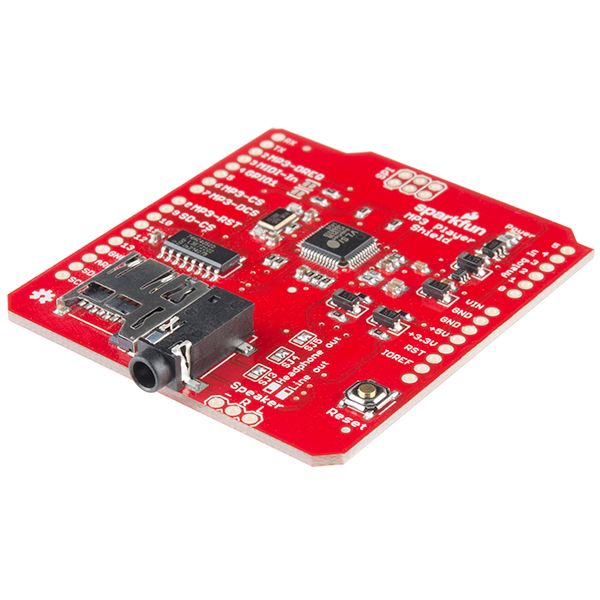
MP3 Player Shield
Ever wanted to make your own MP3 player for your home or office, or maybe you need your robot to play some sounds? Then pick up an Arduino MP3 Player Shield. This board comes with a microSD slot to store and play all of your music and sound effect files straight from the shield.
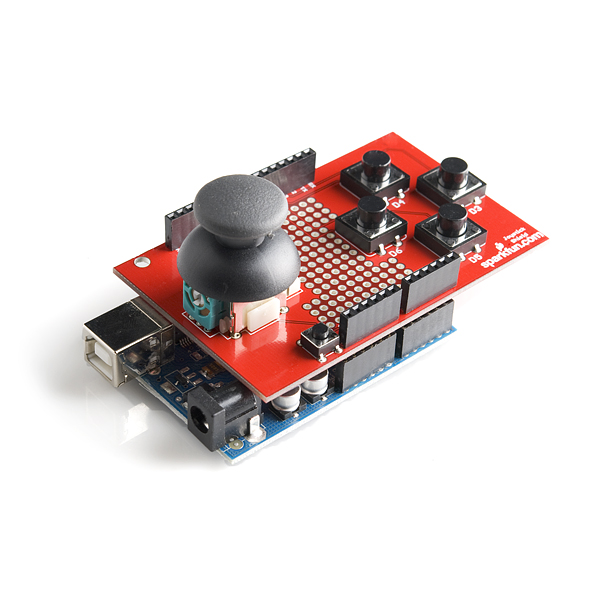
Joystick Shield
You’ve got that robot built, but how are you going to control it? Get yourself an Arduino Joystick Shield! This kit allows you to place a controller on top of your Arduino and includes various push buttons and an analog joystick for complete movement and mobility.
Still Not Finding the Shield You Need?
If you’re struggling to find the right shield for your needs in the list above, then you’re not alone. It might be time to consider designing your own. This can be the perfect opportunity to combine your Arduino and Autodesk EAGLE knowledge to design your first Arduino shield, and then have it made by your manufacturer of choice.
The good news is that getting started with a project like this isn’t all that hard. Once you know what you want to design, then all you’ll need is the form factor for an Arduino Shield in Autodesk EAGLE. Thankfully every Arduino Shield has the same form factor to match the standard Arduino, including power and ground pins on an eight-pin header, analog pins on a six-pin header, and digital pins on an eighteen-pin header. This pin configuration will always be the same regardless of what kind of shield you’re making.

More good news – the Arduino community has already spent time making this form factor freely available to download and use in Autodesk EAGLE! Pop open one of the community libraries below, and you’ll have your very own form factor outline in place, and all you need to worry about is adding the components. Here are three places you can get an Arduino Shield template from for use in Autodesk EAGLE
- element14 Arduino Library. If you just want a library of various Arduino form factors and nothing else then use this library.
- Sparkfun Arduino Library. This library includes some standard Arduino form factors along with the complete Sparkfun library catalog. This is one of our most favorite libraries as it includes a ton of commonly used parts, making it a great time saver!
- Adafruit Arduino Library. Just like the Sparkfun library, this one from Adafruit includes standard Arduino form factor templates for your shield design along with some other great part libraries. Another time saver!
Once you’ve got your form factor template opened in Autodesk EAGLE, then it’s time to get started with your design process. The folks over at Open Electronics have an excellent guide on how to design your Arduino Shield with EAGLE CAD.
It’s a Modular World
It’s pretty clear why Arduino is the most popular open-source electronics platform out there. There’s a ton of great shields that make it easy to add additional hardware functionality without needing to reinvent the wheel. Couple that with Arduino being inexpensive to get started with, available on every major operating system, while offering a simple programming environment, and you’ve got a recipe for success! Whether you’re just getting started in electronics or you’re already a pro, an Arduino has all the tools you need to bring your next idea to life.
Want to take a shot at designing your own Arduino Shield? Try Autodesk EAGLE for free today.
