& Construction

Integrated BIM tools, including Revit, AutoCAD, and Civil 3D
& Manufacturing

Professional CAD/CAM tools built on Inventor and AutoCAD
4 min read
Learning how to get started with electronics design is half the battle. You’ve probably got some great ideas in your head, but how do you turn them into reality?
The truth is, there’s a ton of small steps that make up a typical design journey. And it doesn’t help that there’s no universally “right” way to design a PCB.
So what are to do?
Whether you’re brand new to Autodesk EAGLE or PCB design in general, we’ve made it easy to get started on your first electronics design project with our EAGLE First Flights Webinar Series.
The PCB design process is anything but simple and involves a ton of twists and turns that you’ll need to navigate along your journey. But how will you know which direction to take when you encounter a fork in the road?
All of these questions and more will come up during your typical design process, which can be broken down into these 5 major steps:

Some of our greatest minds understood the beauty of imagination. (Image source)
You’ll probably start doodling in a notebook or the back of a napkin when inspiration strikes. Maybe you’ve figured out a way to automate one of those mundane chores you do every day like cleaning your cat’s litter box. Or perhaps you want to find a way to sort all of your skittles by color. The possibilities in your imagination are endless.

Here’s a tiny sampling of all the parts you might use in your design, from ICs to capacitors (Image source)
Once you’ve got that idea in your head, you’ll now need to piece all of the parts together. This can include scouring online datasheets from traditional parts distributors like Digikey, Farnell, or Mouser and making sure they’re available and at your budget. Parts are the foundation of your entire design process.

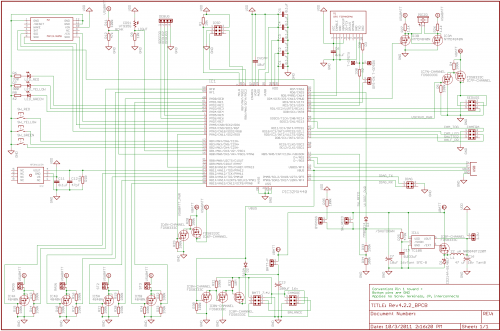
Schematics can get super complex like the one above, but we’ll start off simple. (Image source)
Now it’s time to dig into the theory and mathematics to make your idea achievable. The schematic design process is all about turning your ideas from your imagination into some practical realities by mastering the flow of electricity between all of your parts. You don’t need to be an EE to create a schematic design, though. There’s a ton of existing schematic designs around that you can leverage for inspiration to help you through this challenge.

Time to translate that schematic design into something physical in a PCB layout. (Image source)
Your schematic might look great on paper, but how is it going to translate into a physical design? This stage is where the rubber meets the road, and you’ll be tasked with placing all of your parts within a set physical boundary. Where the schematic design is all about representations of ideas, your PCB layout has to ground those ideas in our world of physical limitations.

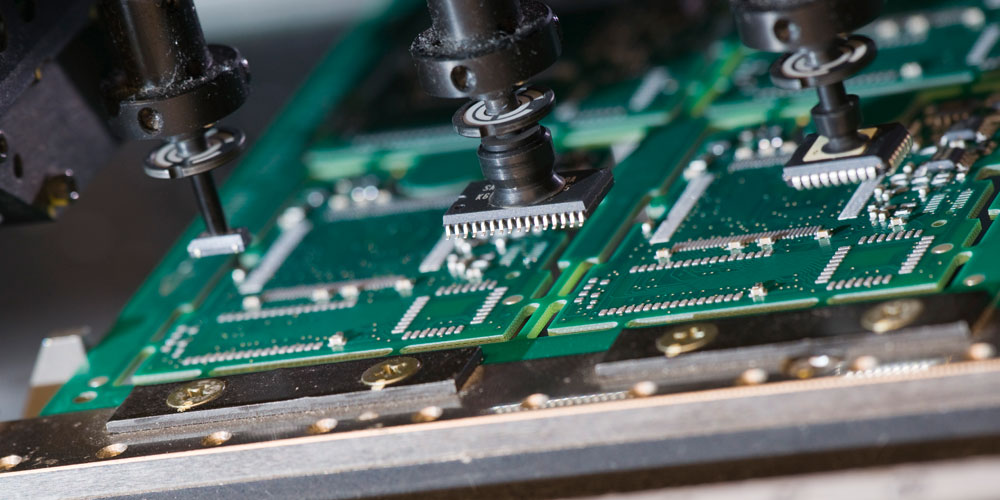
PCB manufacturing is a world in its own. How deep do you want to go?
Got your PCB layout done? Now it’s time to take those digital bits and turn them into an actual board. This stage is all about your manufacturer. You’ll ship your design files off, and in a few days or week(s) you’ll get your board back in its physical form. Does it work as you thought it would? Multiple revisions and design respins can be a harsh but necessary part of the design process.
Within each of these 5 steps, there’s a ton of tips and tricks to discover. For example, did you know that you can reuse existing schematic circuitry in a new project without having to remake it again from scratch with modular design blocks? This is but one of the many useful tools you’ll discover in the EAGLE First Flights Webinar Series. Here’s what we’ll be covering:

We’ll be starting off with the basics, covering how to design your first schematic, build your part library, place your components, and use the autorouter to make an easy job of your routing process. Get registered now for each of these upcoming webinars below:

Once you’ve got all of your basics conquered it’s time to level up your Autodesk EAGLE skills with some pro design strategies. You’ll start off learning the ins and outs of routing your board, then move on to mastering the placement of vias, and finally prepare your design files for manufacturing. Get registered now for each of these upcoming webinars below:
Electronics is a lifelong passion filled with so many challenges and triumphs that you’ll never see the end. And with the EAGLE First Flights Webinar Series, you’ll be able to soak in all of the knowledge you need to complete your first design with ease.
So what are you waiting for? Register for one (or preferably all!) or our webinars with the links above. Seating is limited!
By clicking subscribe, I agree to receive the Fusion newsletter and acknowledge the Autodesk Privacy Statement.
Success!
May we collect and use your data?
Learn more about the Third Party Services we use and our Privacy Statement.May we collect and use your data to tailor your experience?
Explore the benefits of a customized experience by managing your privacy settings for this site or visit our Privacy Statement to learn more about your options.