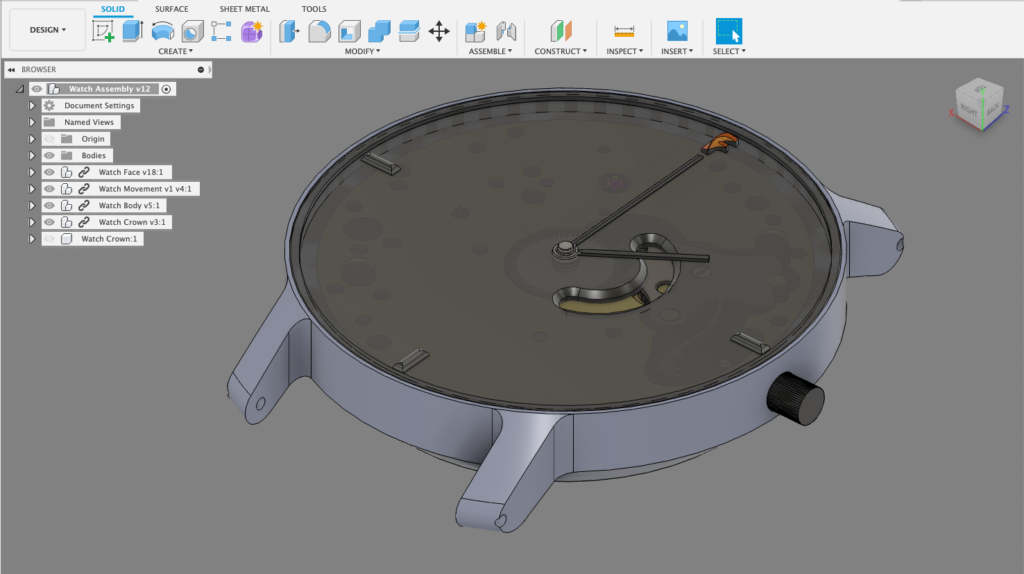
For Project Managers
Fusion 360 has and will continue to de-centralize the product design and manufacturing industries by empowering companies and users to work remotely without impacting efficiency and throughput. Follow along this three-part series to see how you can deploy Fusion 360 as a high-value asset to increase productivity, lessen the risk of missed release and launch dates, and hopefully add an increase in throughput to help your bottom line.
Project Managers
In many instances, PM’s are responsible for ensuring the right information goes out to all parties involved in the project. Their job may have them collaborating with every single portion of the product lifecycle, or just one team. Regardless of touchpoints, their ability to parse information quickly and efficiently is a key to hitting margins, milestones, and ship dates. The following tool and workflow automate a tedious part of your job—drawing set creation. Use it to create a set of drawings to engage contract manufacturers, prototypers, fabricators, as well as clients when needed. With a couple of inputs, you can ensure brand identity, visual consistency, and required data are always present with whomever you’re working with.
Template Creation
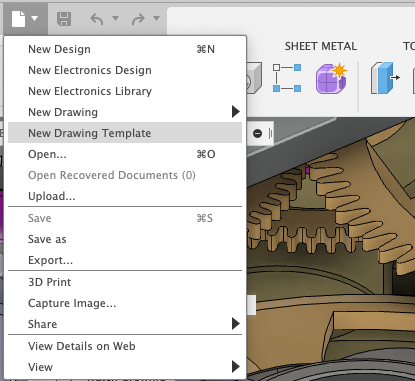
- Select the File icon in the top navigation bar. In the drop-down, select New Drawing Template. Once selected, input your choices in the dialogue box to the right.
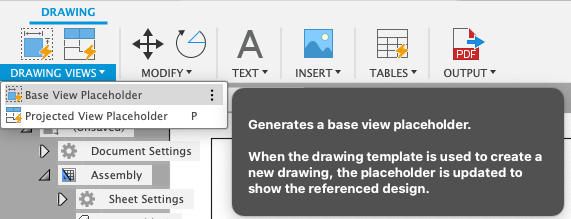
- Once you’ve made your template inputs and a new page appears, simply navigate to the top left and select the Placeholder Views. Here you’ll find Base View. Place your generic views in any orientation you’d like. Once you’ve placed your views, you can also attach tables – like parts lists to your design.
- For multiple page setups in the lower-left corner, hit the + sign and you’ll be able to add as many pages your project needs. The value here is that as a company, you can have multiple use cases but one single place for creation.

Use Your Template
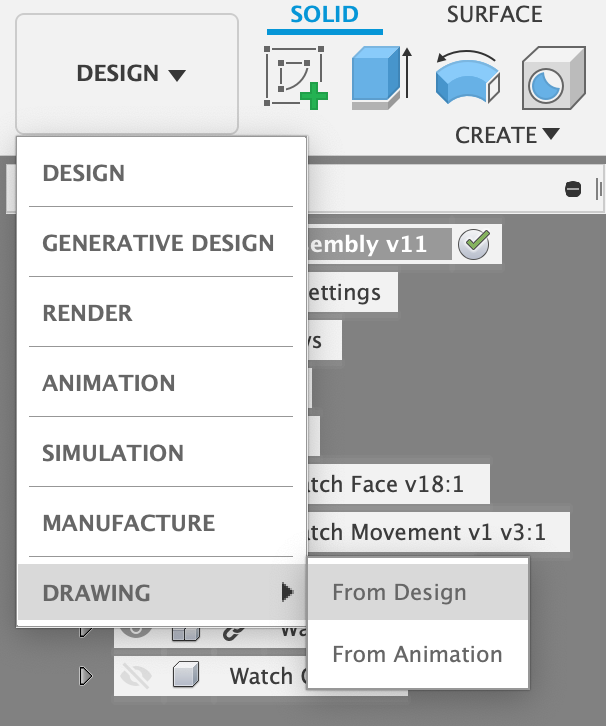
- In the navigation bar, select the Design drop-down. You’ll see Drawing and an arrow. Hover and select Drawing From Design.
- Follow the prompts for input and select Template to select your pre-designed template. Sit back and watch the amazing thing that is workflow automation.
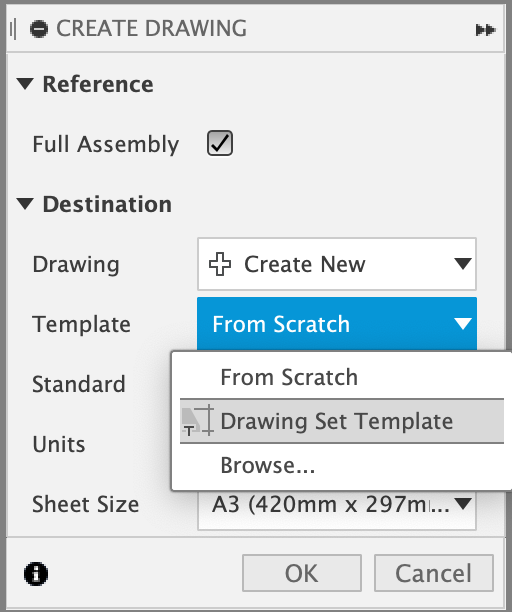
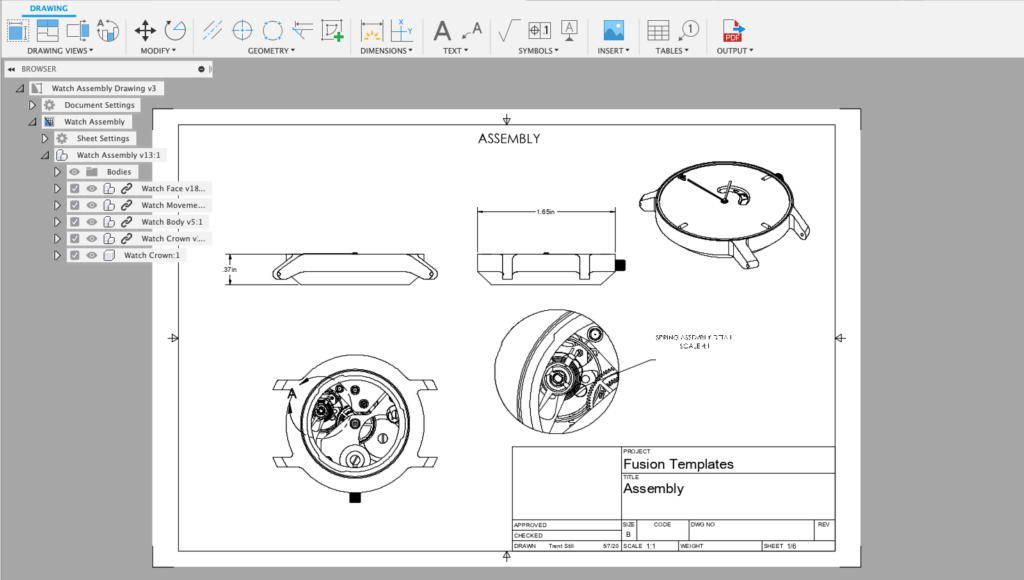
- After the drawings are uploaded, you can then begin to add drawing specific details like dimensions, material specs, etc.
Alright, that’s it for our 3 part series on how Fusion 360 can be a value-added at any level in any job function. We hope you find ways to deploy these at all levels of your company or project, and for updates to these workflows or new feature releases, check out our Learning page. For the latest tutorials, web series, and live shares, follow us on our Youtube channel.
Ready to start equipping your teams with the best collaboration tools? Subscribe today.
