This post is also available in: Français (French) Italiano (Italian) Deutsch (German)
Learn everything you need to know about capacitors, including capacitance, measuring electrical charge, and the different types of caps.
Capacitors play a significant role in the family of passive electronic components, and their uses are everywhere.
Remember the flash in your digital camera? Capacitors make that happen. Or being able to change the channel on your TV? Capacitors again. These guys are the little batteries that “can,” and you’ll need to know everything there is to know about them before you start working on your first electronics project.
It’s like an ice cream sandwich
To keep it simple – a capacitor stores an electrical charge, much like a battery. Also referred to as caps, you’ll find these guys in applications that require energy storage, voltage suppression, and even signal filtering. And what do they look like? Well, an ice cream sandwich!

Think about a delicious ice cream sandwich. You have your crust on two sides and a slab of vanilla ice cream seated in the middle. This composition of two outer layers and one inner layer is what a capacitor looks like.
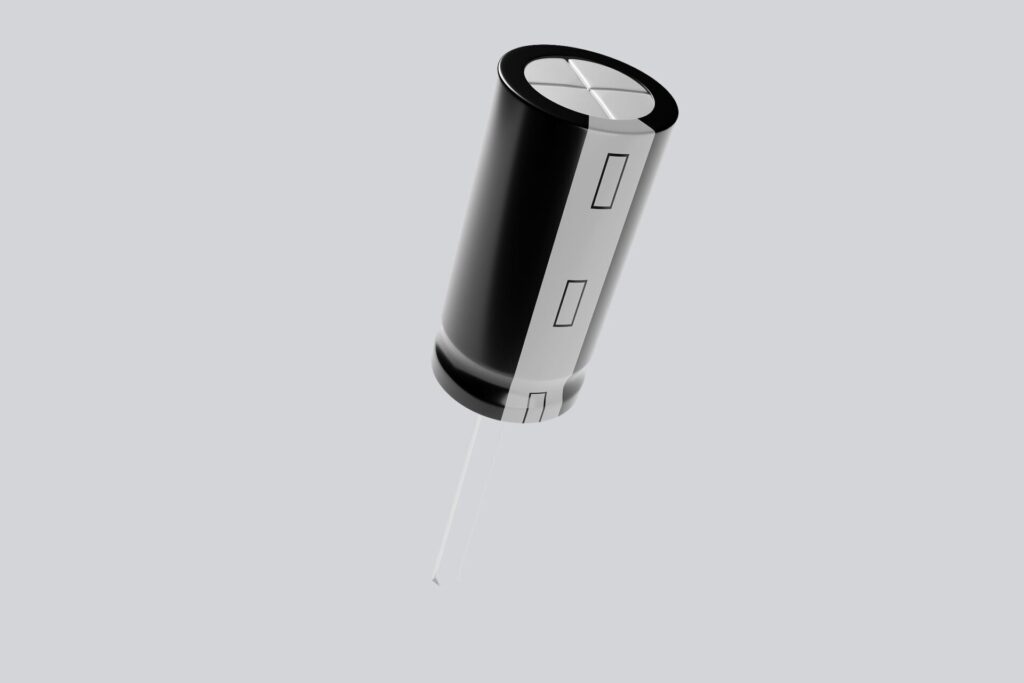
Here’s what they’re made of:
- Starting from the outside. On the top and bottom of a capacitor, you’ll find a set of metal plates, also referred to as conductors. An Electric charge finds these metal plates very attractive.
- Sitting in the middle. In the midst of these two metal plates, you’ll find an insulator or material to which electricity is not attracted. This insulator will commonly be referred to as a dielectric and can be made of paper, glass, rubber, plastic, etc.
- Connecting it together. The two metal plates on the top and bottom of a cap are connected by two electrical terminals that connect it to the rest of a circuit. One end of the capacitor connects to power, and the other flows to ground.

Capacitors in all shapes and sizes
Capacitors come in a variety of shapes and sizes, all of which determine how well they can hold a charge. The three most common type of capacitors that you’ll run into include the ceramic capacitor, electrolytic capacitor, and supercapacitor:
Ceramic capacitors
These are the capacitors that you’ll likely be working with on your first electronics project using a breadboard. Unlike their electrolytic counterparts, ceramic capacitors hold a smaller charge but also leak less current. They also happen to be the cheapest capacitor of the bunch, so stock up! You can quickly identify a through-hole ceramic capacitor by looking for the small yellow or red bulbs with two terminals sticking out of them.
Electrolytic capacitors
These guys look like the small tin cans that you’ll find on a circuit board and can hold a massive electric charge in their tiny footprint. They’re also the only type of capacitor that is polarized, meaning that they will only work when wired in a particular orientation. On these electrolytic capacitors, there’s a positive pin, called the anode, and a negative pin called the cathode. The anode always needs to be connected to a higher voltage. If you wire it up the other way around with the cathode getting a higher voltage, then prepare for an exploding cap!
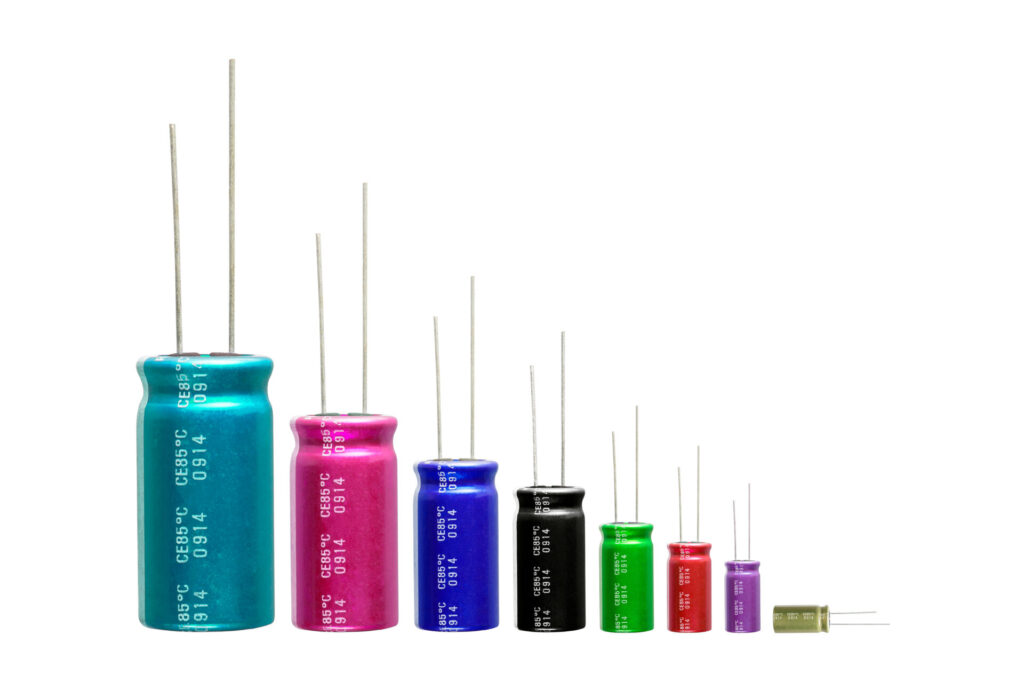
Despite being able to hold a large amount of an electric charge, electrolytic caps are also well known for leaking current quicker than ceramic caps. Because of this, they’re not the best cap of choice when you need to store energy.
Supercapacitors
Supercaps are the superheroes of the capacitor family and can store a high amount of energy! Unfortunately, supercaps don’t handle excess voltages very well, and you’ll find yourself capless if you exceed the maximum voltage found on a datasheet. POP!
Unlike electrolytic capacitors, you’ll find supercaps being used to store and discharge energy, much like a battery. But in contrast to a battery, supercaps release their charge all at once, and you’ll never get the lifespan out of one that you would from a regular battery.
Capacitor symbols
Identifying a capacitor on your first schematic is super easy, as they only come in two types, standard or polarized. Check out the Standard capacitor symbol below. You’ll notice that it’s just two simple lines with space in between. These are the two metal plates that you’ll find on the top and bottom of a physical capacitor.
The polarized capacitor looks a little different and includes an arced line on the lower part of it, along with a positive terminal on top. This positive terminal is super important and designates how this polarized capacitor needs to be wired. The positive side always gets connected to power, and the arc side connects to ground.
Who invented these things?
While many credit English Chemist Michael Faraday as being the pioneer of today’s capacitor, he wasn’t the first to invent it. What Faraday did was important – He demonstrated the first practical examples of the capacitor and how to use it to store an electric charge in his experiments. And thanks to Faraday, we also have a way to measure the charge that a capacitor can hold, known as capacitance, and measured in Farads!
Before Michael Faraday, some records point to the late, late German scientist Ewald Georg von Kleist as having invented the first capacitor in 1745. Months later, a Dutch professor by the name of Pieter van Musschenbroek came up with a similar design, now known as the Leyden Jar. Odd timing right? It was all just coincidence, though, and both scientists have been given equal credit for their initial inventions of the capacitor.
The famous Benjamin Franklin later went on to improve the Leyden Jar design created by Musschenbroek. Franklin was also able to discover that using a flat piece of glass was a great alternative to needing an entire jar. And so the first flat capacitor was born, dubbed the Franklin Square.
Capacitators in action
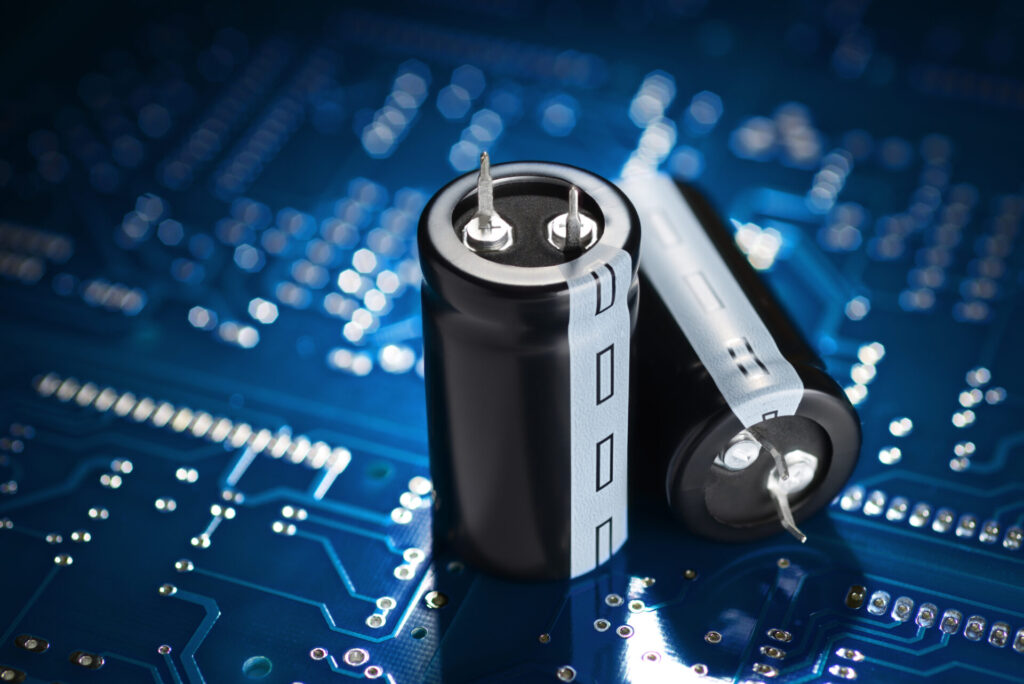
Let’s dive into how these powerful capacitors work in detail with a practical example. You’ve used a digital camera before, right? Then you know that there are a few brief moments between when you push the button to take a picture and when the flash goes off.
What’s happening here? There’s a capacitor attached to the flash that charges up after you press the button to snap a picture. Once that capacitor is fully charged by the camera’s battery, all of that energy explodes outward in a blinding flash of light!
How they work
So how did all of this happen? Here’s an inside look into the mysterious world of the capacitor:
- It starts with a charge. Electric current from a power source first flows into a capacitor and gets stuck on the first plate. Why does it get stuck? Because there’s an insulator that won’t let any negatively charged electronics through.
- Charges build up. As more and more electrons get stuck to this first plate, it becomes negatively charged and ends up pushing away all of the excess electrons it can’t handle to the other plate. This second plate then becomes positively charged.
- The charge is stored. As the two plates of the capacitor continue to charge, the negative and positive electrons frantically try to come together, but that pesky insulator in the middle won’t let them, creating an electric field. This is why the cap continues to hold and store a charge because there’s an endless source of tension between the negative and positive sides of the two plates that aren’t resolved.
- The charge lets loose. Sooner or later, the two plates in our capacitor can’t hold a charge as they’re at capacity. But what happens now? If there’s a path in your circuit for the electric charge to flow elsewhere, then all the electrons in your cap will discharge, finally ending their tension as they seek another path to each other.
Measuring that charge
How can you measure how much charge is stored in a capacitor? Every cap is made to hold a specific amount of capacitance. This is measured in Farads, after the English Chemist Michael Faraday. Because one Farad will hold a ton of electrical charge, you’ll typically see capacitors measured in picofarads or microfarads. Here’s a helpful chart that shows how these measurements break down:
| Name | Abbreviation | Farads |
| Picofarad | pF | 0.000000000001 F |
| Nanofarad | nF | 0.000000001 F |
| Microfarad | uF | 0.000001 F |
| Milifarad | mF | 0.001 F |
| Kilofarad | kF | 1000 F |
Now, to figure out how much charge a capacitor is currently storing, you need this equation:
Q = CV
In this equation, the total charge is represented by (Q), and the relationship of that charge can be found by multiplying a capacitor’s capacitance (C) and the voltage applied to it (V). One thing to note here, the capacitance of a capacitor has a direct relationship to its voltage. So the more you increase or decrease the voltage source in a circuit, the more or less charge that your capacitor will have.
Capacitance in parallel and series circuits
When you place capacitors in parallel in a circuit, you can find the total capacitance by adding all of the individual capacitances together.
When placing capacitors in series, the total capacitance of your circuit is the inverse of all your capacitances added together. Here’s a quick example, if you have two 10F capacitors wired in a series, then they’ll produce a total capacitance of 5F.
Putting caps to work

Now that we have a solid understanding of what capacitors are, how they work, and how they’re measured, let’s take a look at three common applications that use capacitors. This includes applications like decoupling capacitors, energy storage, and capacitive touch sensors.
Decoupling capacitor
You’ll be hard-pressed these days to find a circuit that doesn’t include an Integrated Circuit or IC. In these types of circuits, capacitors have a critical job to perform by removing all of the high-frequency noise found in the power supply signals that power an IC.
Why is this a necessary job for our capacitor? Any fluctuation in voltage can be fatal to an IC and can even result in the chip powering off unexpectedly. By placing capacitors between the IC and a power supply, they calm the voltage fluctuations and also act as a second power source if the primary power drops its voltage enough to turn off an IC.
Energy storage
Capacitors share many similar characteristics to batteries, including their ability to store energy. However, unlike the battery, capacitors can’t hold nearly as much power. But while they can’t keep up in quantity, they make up for in their zest to discharge as quickly as possible! Capacitors can deliver energy way faster than a battery, which makes them the perfect fit for powering the flash in a camera, tuning a radio station, or switching the channels on a TV.
Capacitive touch sensors
One of the most recent advancements in capacitor applications has to do with the explosion of touchscreen technologies. The glass screens that make up these touch sensors have a very thin, transparent metal coating. When your finger touches the screen, this creates a voltage drop, identifying the exact location of your finger!
Getting practical — choosing a capacitor
Let’s bring things down to the realm of practicality and talk about what to look for when choosing your next capacitor. There are five variables to consider, including:
- Size – This includes both the physical size of your capacitor as well as its total capacitance. Don’t be surprised if your chosen capacitor is the largest part of your circuit board, as the more capacitance you need, the larger they get.
- Tolerance – Just like their resistor counterparts, capacitors also have a variable tolerance. You’ll find tolerance for capacitors anywhere between ±1% to ±20% of its advertised value.
- Maximum Voltage – Every capacitor has a maximum voltage that it can handle. Otherwise, it will explode! You’ll find max voltages anywhere from 1.5V to 100V.
- Equivalent Series Resistance (ESR) – Like any other physical material, the terminals on a capacitor have a very tiny amount of resistance. This can become a problem if you need to be mindful of heat and power loss.
- Leakage Current – Unlike our batteries, capacitors will leak their stored charge. And while this drains slowly, you’ll want to pay attention to how much your capacitor leaks, if it’s primary function, is storing energy.
All charged up
There you go, everything you need to know about capacitors to get all charged up for your next electronics project! Capacitors are a fascinating little bunch, capable of storing an electric charge for a variety of applications, and they can even act as a secondary power source for those sensitive Integrated Circuits. When working with capacitors, be extra mindful of the maximum voltage possible. Otherwise, you’ll wind up with some exploding caps, as you’ll see in the video:
Did you know that Autodesk Fusion 360 includes a ton of capacitor libraries free of charge? Get started with your next electronics project and skip the busywork of creating your own parts! Try Autodesk Fusion 360 for free today.