Let’s take an in-depth look at what Fused Filament Fabrication (FFF) is and some cool functionality in Fusion.

The ability to be able to generate 3D printing toolpaths has been possible in Fusion for some time now. However, things have really started taking off recently with the introduction of some advanced 3D printing functionality.
Here we are going to take a look at some of the cool Fused Filament Fabrication (FFF) features in Fusion.
What is Fused Filament Fabrication (FFF)?
Fused Filament Fabrication (FFF), also known as Fused Deposition Modeling (FDM), is a 3D printing process that uses a continuous filament of a thermoplastic material. It allows you to 3D print a complete part in a few minutes or a few hours, shortening your lead times and speeding up the prototyping process. In this article, we will refer to it as FFF, which is consistent with Fusion.
Fused Filament Fabrication (FFF) workflows in Fusion
The FFF workflow in Fusion differs somewhat from the common workflow of most slicers. This is because Fusion is not just a slicer, but a complete product development solution. We also have functionality that other slicers do not have.
The FFF that we follow in Fusion is the following:
- Select your printer
- Select your print settings
- Edit your print settings & assign your per-body settings
- Add your support structures
- Generate your toolpath (the equivalent of slicing)
- Simulate your toolpath
- Generate your print file
The video below walks you through each of these workflow stages:
Support structures
The generation of support structures in Fusion differs a bit from how other FFF slicers do them. In most FFF slicers, supports are automatically generated, and the user often has minimal control over their shape and where they are placed. Some slicers do have extended support capabilities, but they hit the same major hurdles that the other slicers hit – precise manual placement of support is generally not possible. However, in Fusion, since we can slice BRep (boundary representation) bodies, and not just meshes, we can actually select specific faces of the body that we wish to generate support on. Not only this, but there is also the ability to have multiple support types on one body – for example, bar support & volume support.
Learn how to add and generate these bar and volume support structures in the following video:
Per-body settings
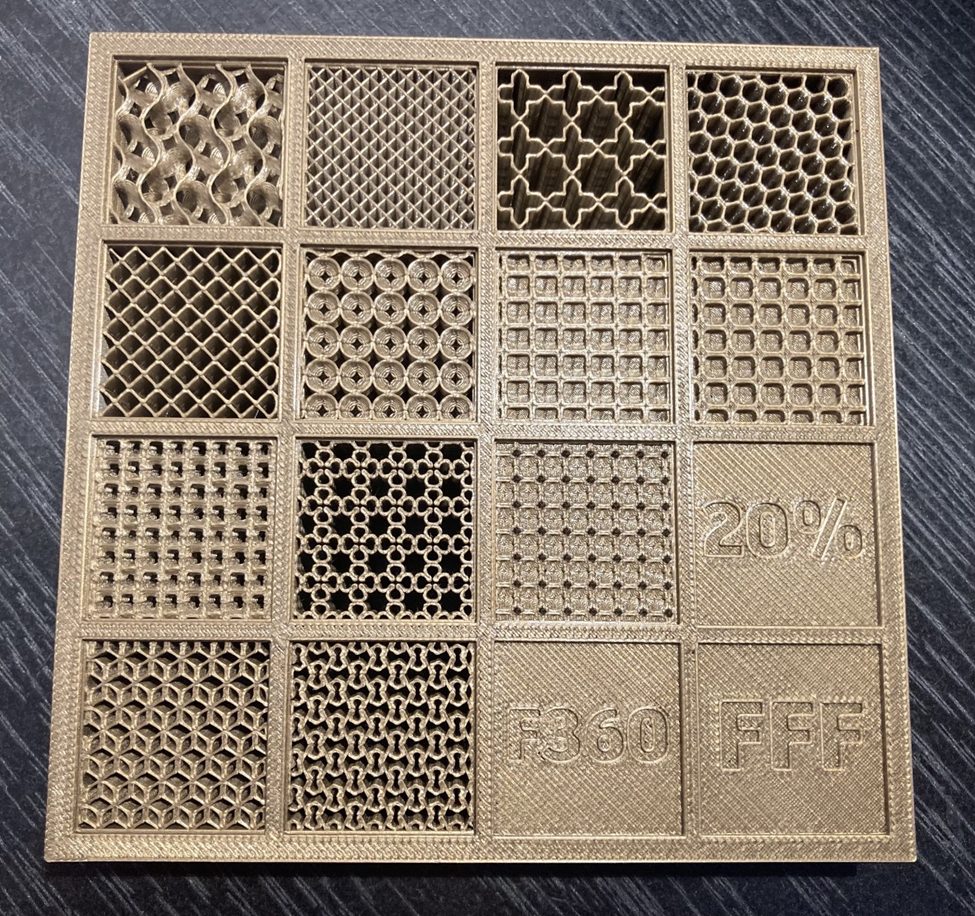
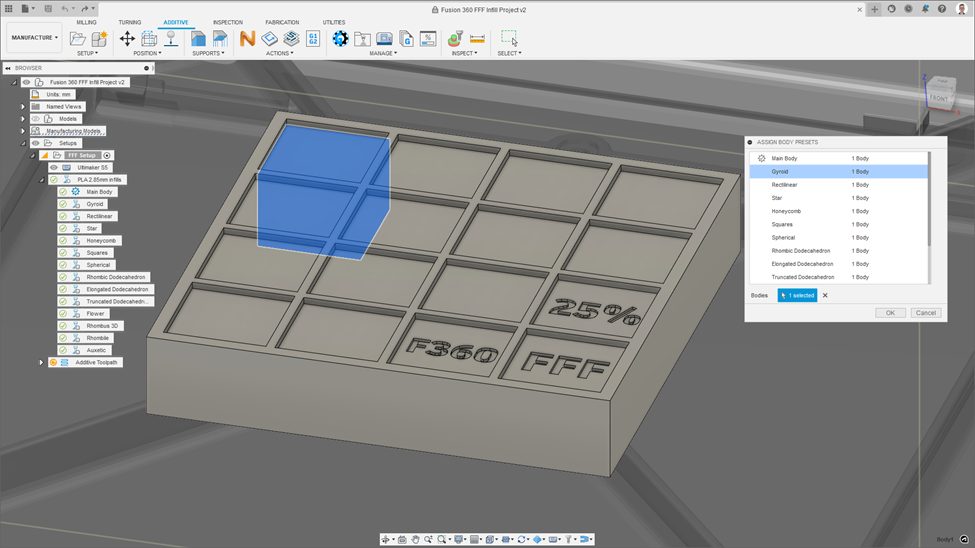
Another cool bit of FFF functionality that Fusion supplies, is the ability to have different print settings for different bodies on the build plate. There are many slicers that have this functionality, but it is cumbersome to use. In Fusion, we’ve tried to simplify and clean up this workflow. To do this, we’ve added something we call “Body presets”. These are groups of settings that can be different for each body on the print bed. For example, if you wanted to print different various bodies with different infill patterns, densities, speeds, extrusion widths, etc, then we can create and assign these body presets.

The video below takes you through the workflow of creating and assigning your body presets so that you can have multiple bodies, all with different print settings on your print bed.
Multi-material prints
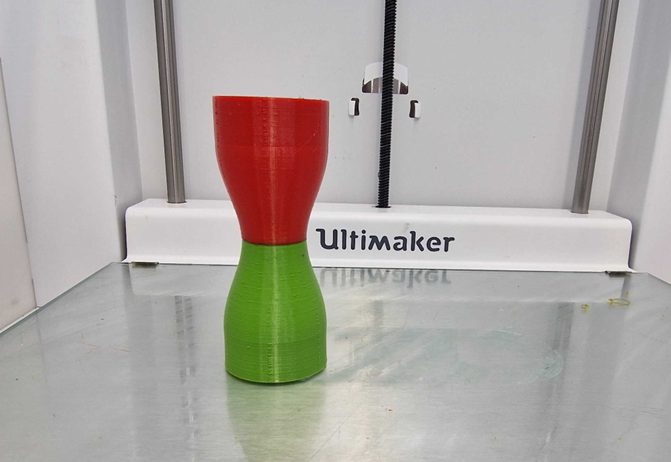
This functionality can also be used to print single parts with multiple materials! For example, see this Go/No-Go gauge that was printed on an Ultimaker S5.

The workflow on how to do this exact part is shown below:
To summarize, there are a lot of great things about FFF manufacture in Fusion that make it stand out from other FFF slicers. We encourage everyone to get out there and try some of these cool features a go!
Get a free 30-day Fusion trial today.