Last month, we released Fusion 360 Ultimate, which includes a new Animation workspace. We are excited about introducing this new workspace and are looking forward to all of your feedback so be sure to check it out and let us know what you think.
The Animations workspace in Fusion 360 Ultimate gives a dedicated toolset and environment specifically for generating exploded views and animations. Animations can be used to communicate assembly design via an animated exploded view, an assembly process or instructions to collaborators, stakeholders and customers via the A360 Web Viewer.
Check out this introductory video, and read on for a detailed look at this new workspace.
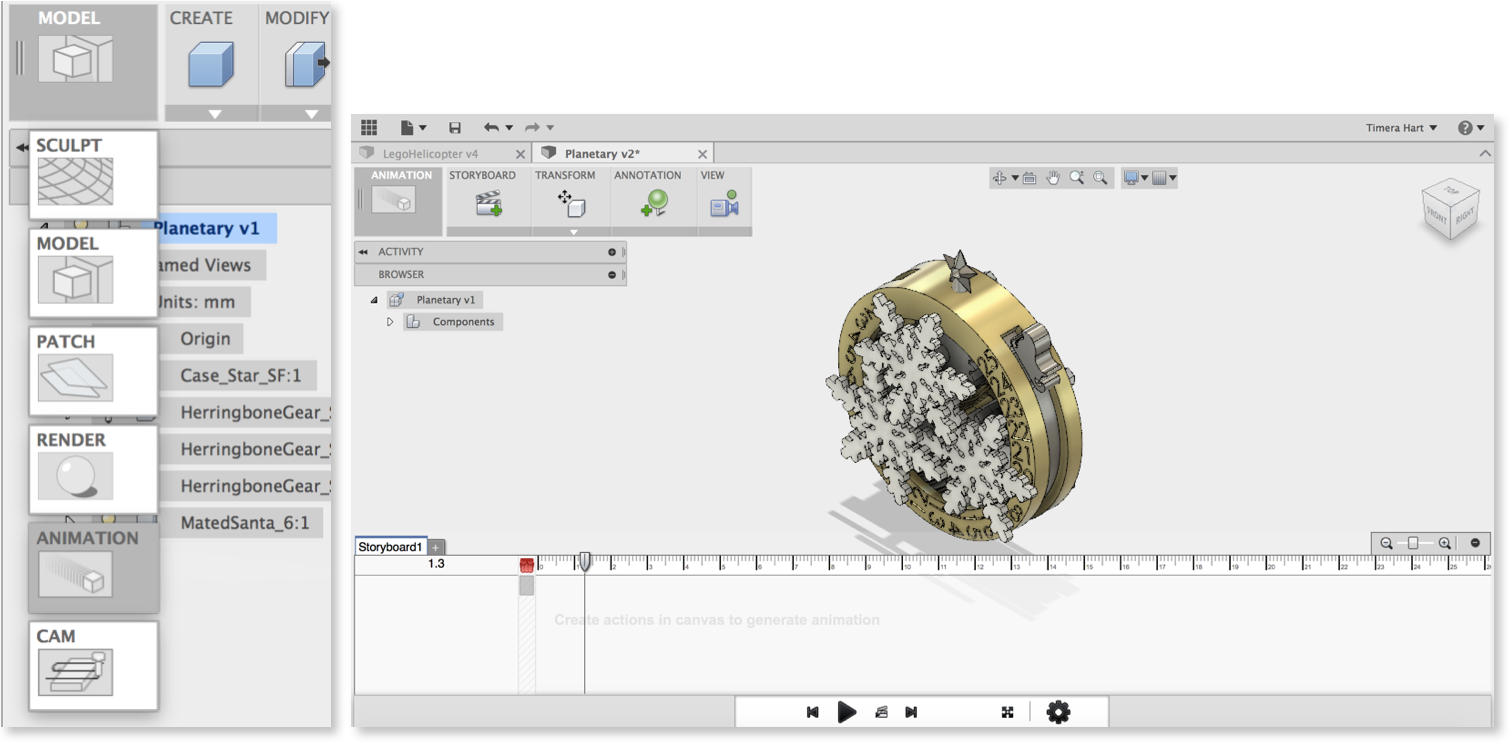
With a model open in Fusion 360 Ultimate, use the workspace switcher in the top left corner of the ribbon to access the Animations workspace. By selecting the Animation workspace, you’ll notice that the user interface swaps out from the modeling interface to provide the Animation-specific tools and a timeline.
Note: The Animation workspace works off of components, so make sure that your bodies are converted to components so they can be animated individually. Feel free to switch back and forth between the workspaces, and rest assured that any changes made to your model geometry will be represented appropriately in the Animation workspace too.
Timeline Introduction
This is your animation timeline. All of the transformations you make to the model will be captured here, and are referred to as actions.
Actions are always created at the time on the timeline where the playhead resides, and all actions can be moved using drag, or their duration can be edited by dragging either end of the action. There are 5 types of actions:
1. Move 2. Rotate 3. Visibility
4. Callout 5. Camera
Tip: To modify how the actions are created on the timeline, toggle the Recording Mode (found in Settings).
Start from 0 – All actions are created with their Start time at 0, and end time at the current location of the playhead.

Sequential – All actions are created with their Start time being the end of the previous action, and their end time at the current location of the playhead.
Use the 
Notice the Scratch Zone to the left of Time 0 on the timeline. This area is used to set up your scene without capturing any actions in the timeline. For example, you may want to toggle the visibility of some components off before beginning an animation, to reveal them at a later time. You would move the playhead into the Scratch Zone, toggle off certain components, then move the playhead to the desired point in time you want them turned on, and toggle their visibility back.
Transform Tools Overview
The Transform menu in the Animations workspace contains a variety of tools which can allow you to automatically or manually control your components. All of these tools can also be accessed quickly from the right-click marking menu in-canvas as well.
Transform: This activates the transform triad (similar to the Move command in the Model workspace), and allows for manual movement/rotation of components.
Restore Home: This command restores a component back to it’s original “home” location (the location specified in the Model workspace), and automatically generates a Move Action in the timeline if the playhead is out of the Scratch Zone.
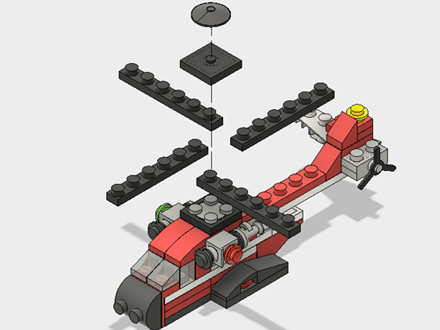
Auto-Explode One Level: Use this command to automatically explode the first level of components of an assembly.
Auto-Explode All Levels: Use this command to automatically explode all levels of components of an assembly.
Manual Explode: Use this command for more control over which direction each component explodes.
Check out this video to see how the Explode commands work.
Appearance: The Appearance command allows you to edit/change the materials applied to your model, in the same way you would in any other workspace with the exception that Appearances operate as an override in the Animation workspace, and can be toggled on/off to always give the ability to revert back to the material specified in the Render or Model workspaces. This is particularly helpful when there is a need to show different color options or configurations of a model.
Tip: Reverse an animation. Right-click on a Storyboard and select Copy, then right-click again and select Paste. Notice that the Storyboard was duplicated. You can now right-click and select Reverse. All of the actions in the storyboard reverse, giving you the opposite animation. This is a great way to create an explode / assemble animation in no time!
Viewing & Sharing your Animation
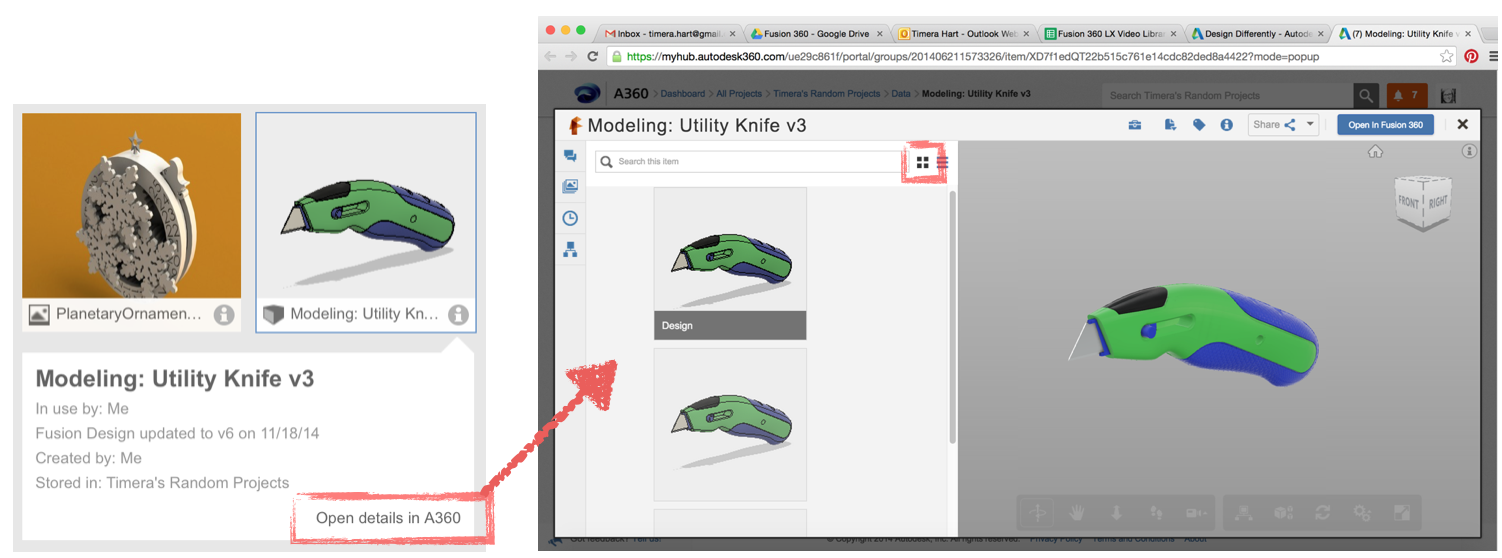
As you probably already noticed, each time your design is saved, it kicks off a viewable that’s accessible from the Item Details page in your A360 Project.
If you click on the thumbnail icon, you will now see all of the viewable assets associated with your design, including:
– Model (interactive viewer)
– Animations
– Each Storyboard publishes out individually.
– CAM
Select any Storyboard in the list, and it will load in the viewer along with some playback controls. Use the Share Public Link or Embed commands as normal to allow collaborators, stakeholders or customers to view these assets. We are working on a publish to video (locally) solution for the Animation Storyboards as well, and you can look forward to seeing that functionality available in a release soon.
Please take some time to play with this workspace, and let us know your thoughts – we are excited to make this workspace a part of the Fusion 360 Ultimate offering and are looking forward to expanding the Animation tool-set with your feedback.
Happy Animating!
Timera, Brankey, Frank, Neil, Sally & Irene


