Looking for things to do at Autodesk University 2022? Well, look no further: the Fusion 360 Factory Experience is back and better than ever.
The Fusion 360 Factory Experience started at Autodesk University 2016 as a way to give attendees a hands-on experience of the concept to production process in Fusion 360. Every year since, our team designs, develops and produces a consumer product. Our machine partners collaborate with us to build a mini factory floor where we manufacture a batch of the products on site. The parts we manufacture come as kits that attendees can then assemble themselves and bring home.
It’s a fun experience where you can interact with Fusion 360 during every stage in the product development process. How cool is that?
With Autodesk University 2022 right around the corner (September 27-29), we’re excited to announce this year’s Factory Experience product. Drumroll, please!

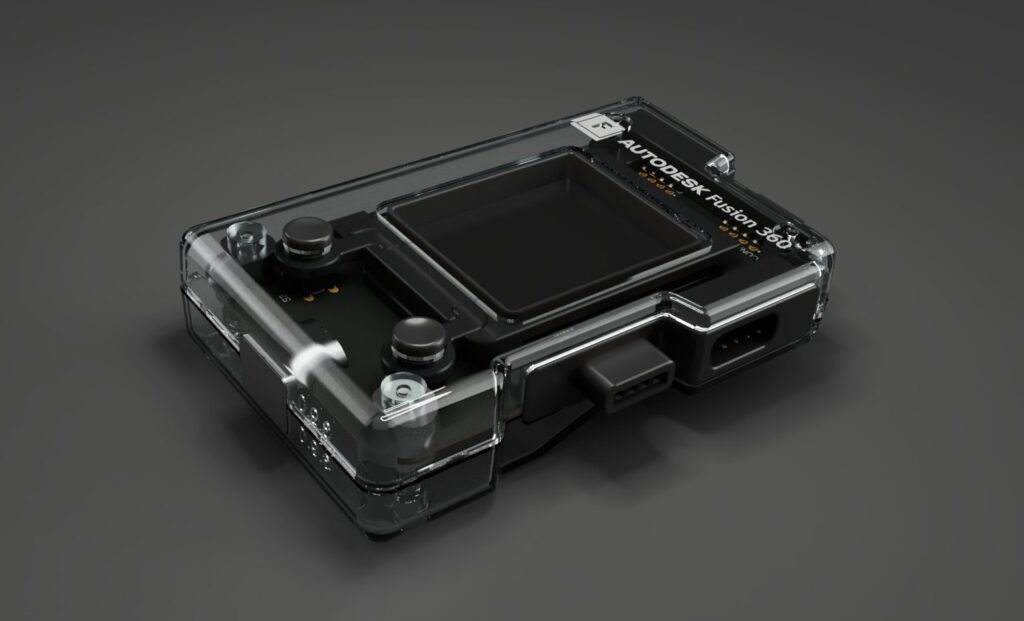
Introducing the electronic name badge: think conference badge meets Gameboy.
The journey that led us to this device started with a simple concept: connection. Autodesk University will be many people’s first large, in-person event since the beginning of the pandemic. We challenged ourselves to make a product that encourages connection at the event while still having a purpose outside of the conference setting.
Our electronic badge acts as a virtual handshake. It houses contact information, a QR code, and the ability to play games when connected to someone else’s device.
Check out the video below to see the build process in action. If you attend the event, you’ll get to do this IRL!
To bring this idea to life, we phoned our internal Fusion 360 experts to lend us a hand. Our team focused on two core areas of Fusion 360: Electronics and the Product Design Extension. Here’s a behind-the-scenes look at our design process and how you can learn more at Autodesk University.
Fusion 360 Electronics

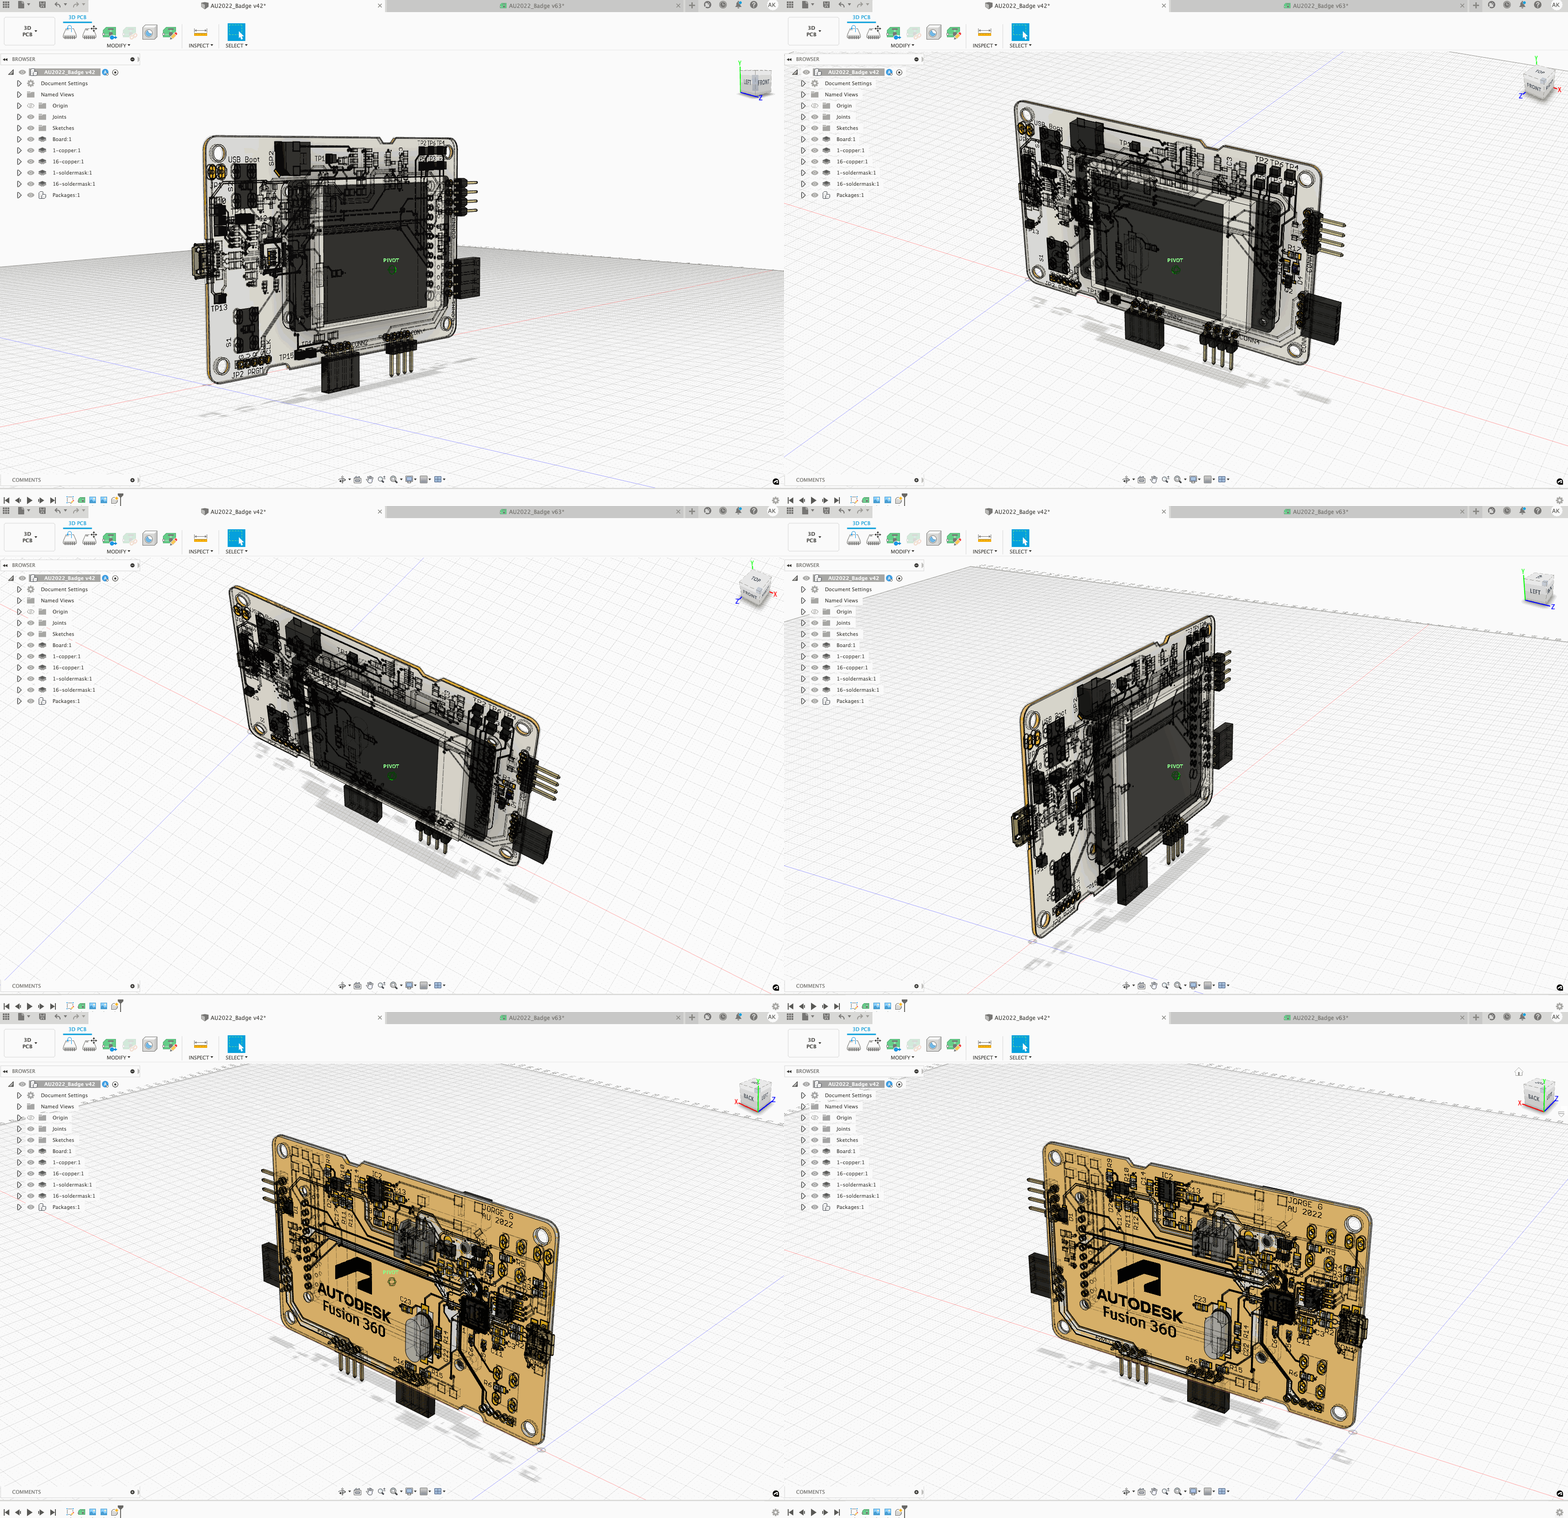
First, let’s take a look at the badge’s schematics. We choose the microprocessor RP 2040 for our board. We broke its functionalities into sections to make the schematic easier to read.
We have a screen on the badge, we have two buttons, and we have an LED that glows through the case. We also have audio, USB connectivity and connectors that let it connect to other badges or future peripherals. The badge is not that crazy when you look at it in blocks, but if you’ve never seen it before it can be a little overwhelming.

We took advantage of the integrated ECAD/MCAD in Fusion 360, which enabled us to design and create electronic structures while integrating the models directly into mechanical systems. This ensured that every stakeholder was included in the product development cycle. Design changes are automatically managed, which let us revise our board shape and component placement and update the enclosure in real time.
Want to learn more about MCAD/ECAD integration at Autodesk University? Check out this class!
Curious about how to use ECAD/MCAD? Learn more here.
Fusion 360 Product Design Extension

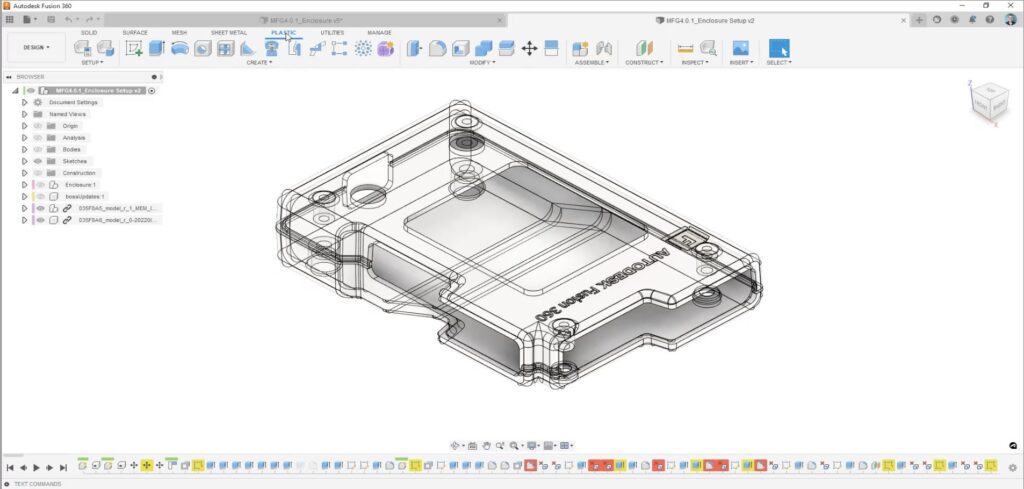
When designing the injection molded enclosure, a huge part of the process hinged on collaboration with the other members of our team. Together we figured out what was going inside, where it would be located, and what tolerances were needed so everything could run smoothly.
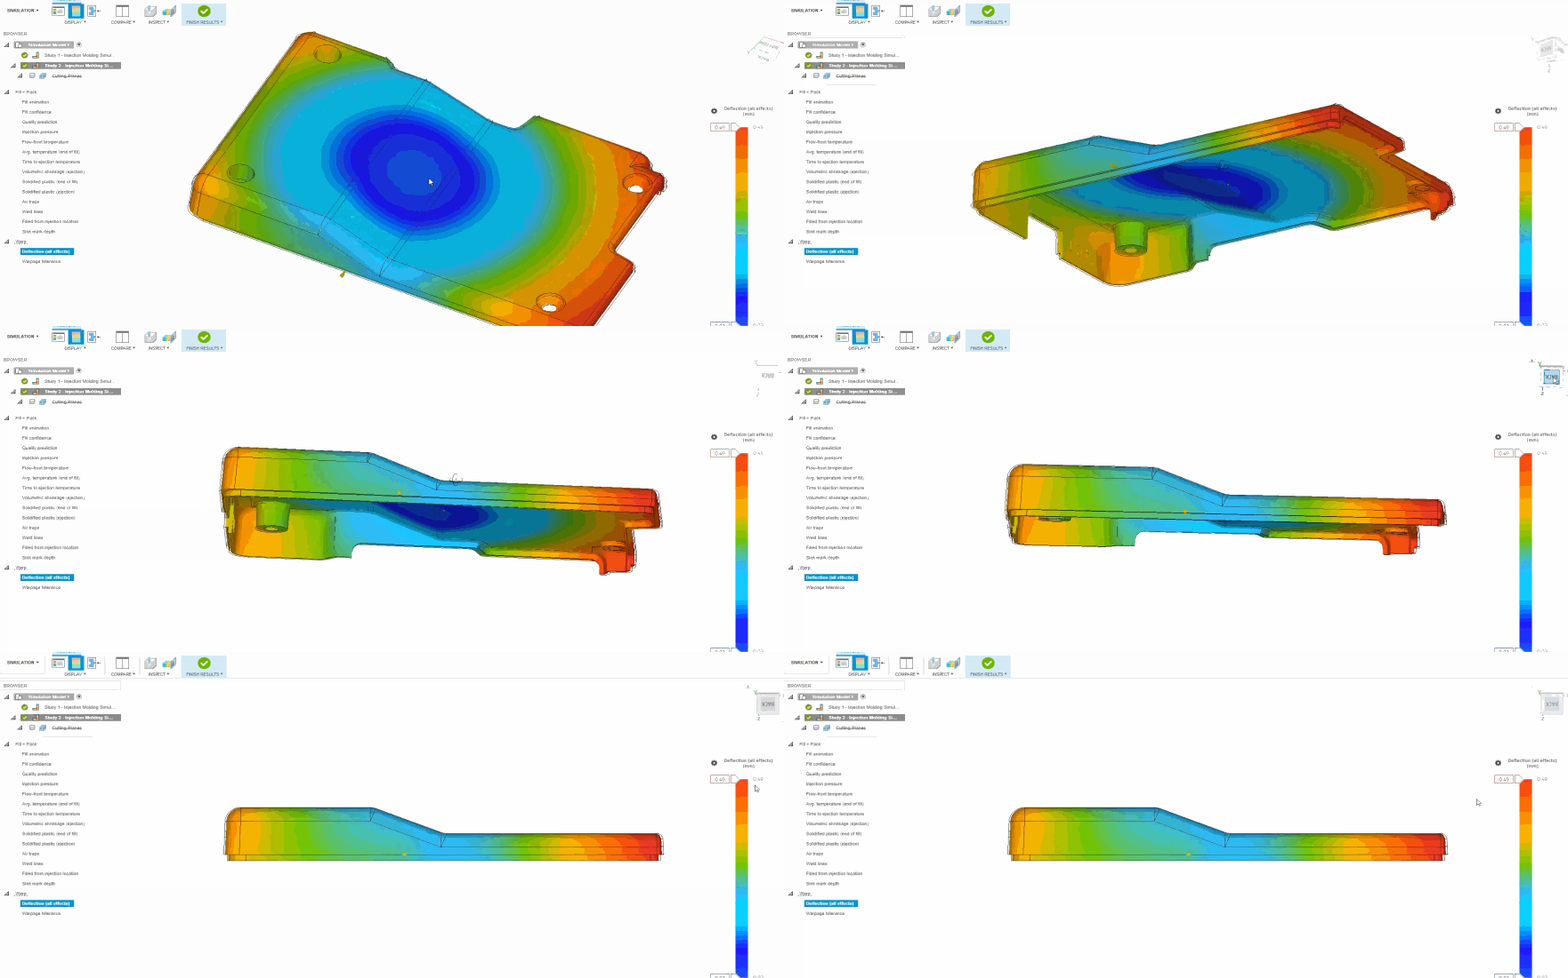
Once we understood our constraints, we honed in on design for manufacturability. We tested the part’s feasibility by using injection molding simulation in Fusion 360. This helped us end up with a product that was ready to be injection molded and produced at a high volume straight out of the box.
We used the plastic tools in the Fusion 360 Product Design Extension to create almost every part of the enclosure. We started by assigning the part a plastic rule, which in our case was 1.5 mm ABS rule that we then we then modified to better suit our needs.
Assigning a plastic rule allowed us to update all of our subsequent changes to use that core rule and concept at its base. This meant that when we added elements like fillets, there was an autogenerated radius that worked well with the 1.5mm thickness.

Designing for manufacturability allowed us to maintain our manufacturing bias throughout the whole process. So, instead of redesigning the whole enclosure over and over again, we simply made our initial part one that could be produced right away.
Want to learn more about how we used the Product Design Extension and injection molding simulation to create the factory product? Check out this class at Autodesk University!
Fusion 360 Factory Experience registration opens on-site at Autodesk University 2022, and the event is ongoing throughout the conference. Be sure to stop by the Factory Experience factory floor to reserve your spot.